A telescoping pole has two parts, one that fits inside the other. This makes the height adjustable and makes storage of the pole easier. A telescoping pole can be used for many things, including supporting tents, flying flags and mounting bird houses. A simple telescoping pole can be made from PVC pipe, some fittings, a drill and a ringed pin. The project takes only an hour or so and the pole will last a long time.
Step 1
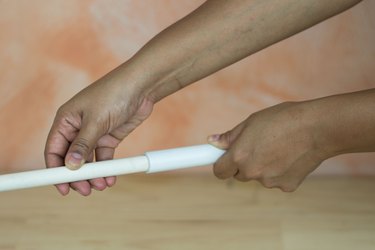
Ensure that the smaller pipe fits inside the larger pipe. It should slide and not be tight, but it should not wobble. If it does not slide smoothly inside the larger pipe, use an even smaller-diameter pipe.
Video of the Day
Step 2
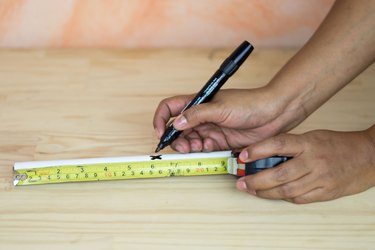
Mark a small X on the larger pipe about four inches from the top end.
Step 3
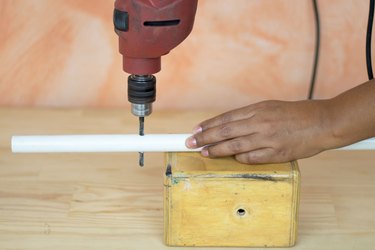
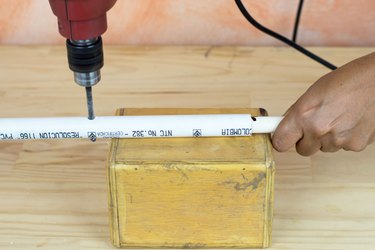
Drill a hole through the middle of the pipe, making another hole on the opposite side. Be careful to make the holes even. They should be equal distances from the top and bisect the pole through the middle. Make the hole slightly larger than the ringed pin.
Step 4
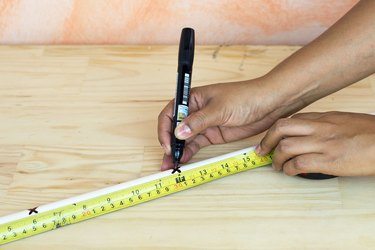
Mark a small X on the smaller pipe six inches from the bottom end. Make another X six inches above the first and another six inches above that.
Step 5
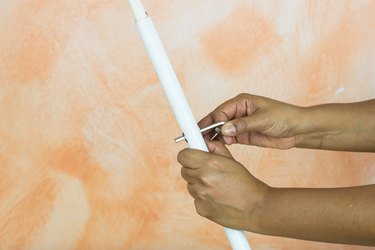
Slide the smaller pole inside the larger one. Line up the first X on the smaller pipe with the hole you drilled in the larger one. Holding it firmly, drill through the smaller pipe while it is inside the larger one. The drilled holes should line up and allow you to insert the ringed pin all the way through both pipes.
Step 6
Repeat Step 5 for each of the X marks on the smaller pipe. This will make the telescoping pole adjustable.
Step 7
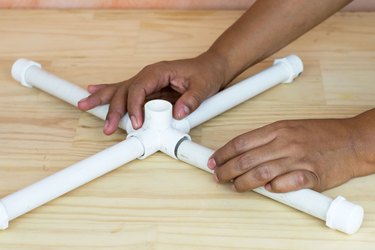
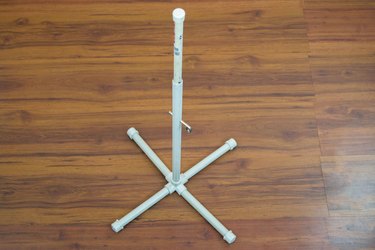
Insert four 2-foot PVC pipes into a five-way cross connector so that they form a foot for the pole. Slide an end cap on each pipe.
Step 8
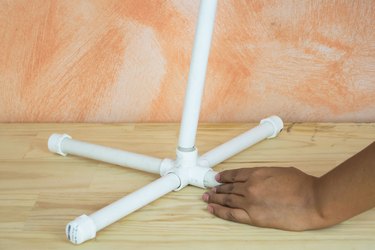
Insert the larger pipe you drilled into the fifth hole of the cross connector. Slide the smaller pipe inside and secure the height with the ringed pin. The telescoping pole is now finished.
Video of the Day