Deadbolt locks come in a variety of styles and finishes. Some deadbolts include a decorative plate that adds a finished look to the hardware. This plate also serves to cover the mounting screws so that they aren't visible. If you have a need to remove a deadbolt from your door and can't seem to locate the mounting screws, chances are that you need to remove the decorative plate. Fortunately, plate removal is fairly easy and will only add a few moments to your deadbolt removal time.
Things You'll Need
Video of the Day
How to Remove a Deadbolt Lock With No Screws
1. Inspect Your Lock
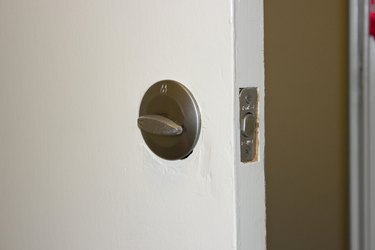
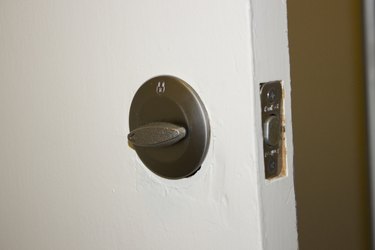
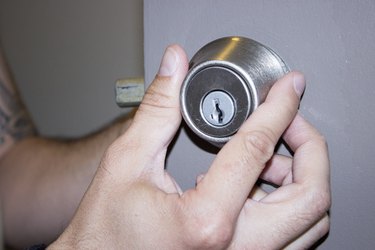
Examine the deadbolt on the both sides of the door. There should be a thumb-turn latch on the inside and a key cylinder on the outside. The mounting screws are hidden behind a plate on the inside portion of the lock.
Video of the Day
Tip
Some deadbolts have key cylinders on both sides; these are called double-cylinder locks, and they usually have screws on the face of the inside cylinder.
2. Remove the Thumb-Turn
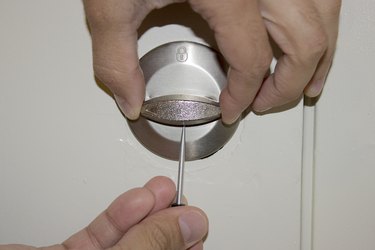
Remove the thumb-turn latch to gain access to the decorative plate. Look on the shaft that connects the thumb-turn latch to the inside chassis of the lock. Locate the small pin-hole on the shaft. Use a paperclip or an awl with a fine point to press the pin-hole to release the lever. Remove the thumb-turn lever and set it aside.
3. Remove the Decorative Plate
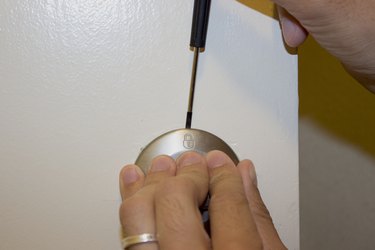
Examine the decorative plate that covers the inside chassis and locate a small notch along the rim. Use a small flat-blade screwdriver to gently pry the plate off of the lock chassis. Remove the plate and set it aside. The mounting screws should be visible.
4. Remove the Lock Chassis
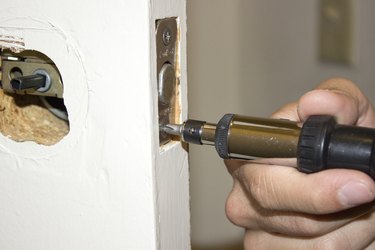
Unscrew the two mounting screws with a Phillips screwdriver. Remove both screws and set them aside. Grasp the inside chassis with one hand and the outside chassis with your other hand. Pull the two halves of the deadbolt apart and set them aside.
5. Remove the Latch Assembly
Open the door so that you can view the edge of the door. Locate the two screws that secure the latch assembly (the part containing the bolt that slides in and out) of the door. Remove the two screws with your screwdriver and slide the latch out of the edge of the door. Set all pieces aside and keep all components together to make reinstallation easier.
6. Gather the Parts
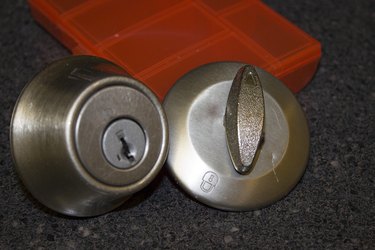
Place all of the lock parts in a sealable bag so you don't lose anything. You can also reassemble the lock so everything stays together in one piece. If necessary, take the deadbolt to your local home improvement center and have it re-keyed, or replace it with new hardware.
Tip
If you decide to replace the deadbolt, consider donating the old deadbolt to Habitat for Humanity's Restore program. Door hardware can be reused by those in need.