Trying to find the address on a house can be frustrating, especially if it's dark, or (worse yet) if they're non-existent! Give new visitors and delivery drivers a break and boldly tell them where to go with these decorative oversized house numbers!
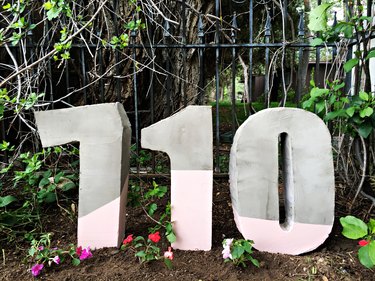
They're made from cement mix and then painted any color that suits your need. You can even give them a decorative design if you're so inclined! Not only are these numbers convenient, they're also great yard decorations. Set out a few solar lamps, spotlights, or drape some string lights around the numbers and no one will struggle to find your house again, day or night!
Video of the Day
Video of the Day
Things You'll Need
50-lb. bag of repair cement mix (you may need less or more depending on the size of your numbers)
Rigid cardboard
7/16"-diameter wooden dowels, 16" long (2 or 3, as needed)
Utility knife or Xacto knife
Scissors
Duct tape
Marker
Stir stick
Spray paint in desired colors
Painter's tape
WD40
Step 1: Make the Number Stencils
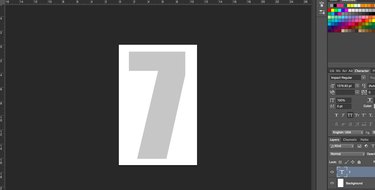
If you'd like to create numbers freehand, you can do it; but we used a photo-editing program to print numbers, so the instructions for this method are as follows:
Choose a bold font and whatever font size you choose. Our numbers are about 16" tall, which means the numbers required printing onto two separate 8 1/2 x 11" pages. To do this, set the program specifications for a canvas that is 11" wide by 17" high. Type in the number you choose, and stretch the image to within 1/2" of each edge of the canvas.
Now crop the canvas in half lengthwise so that it is the size of a regular letter paper, 8-1/2 x 11". You will only see half of your number now.
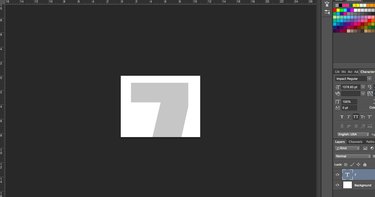
Print this page. Then redo the crop in the opposite direction, so that you now see the bottom half of your number. Print that page as well. Continue this process for all numbers.

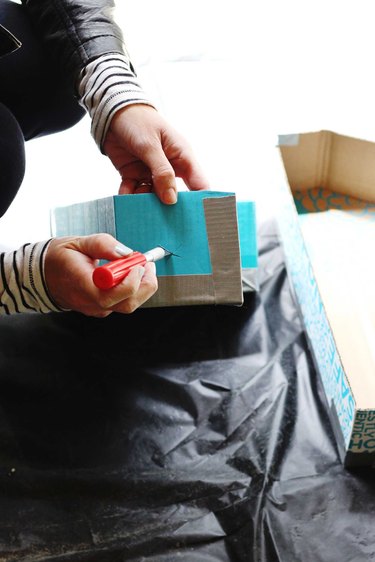
Step 2: Trace and Cut Out Your Numbers
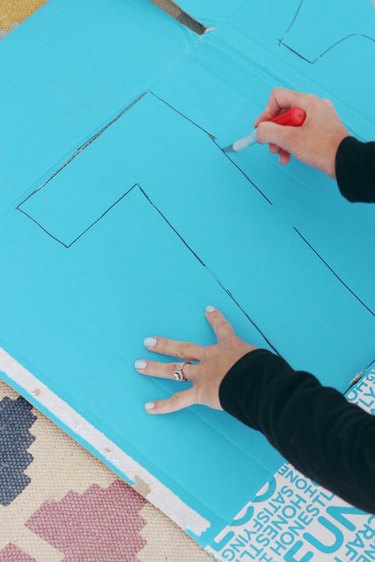
Cut each number out and then set them out on a sheet of rigid cardboard, aligning the edges to make the entire number.
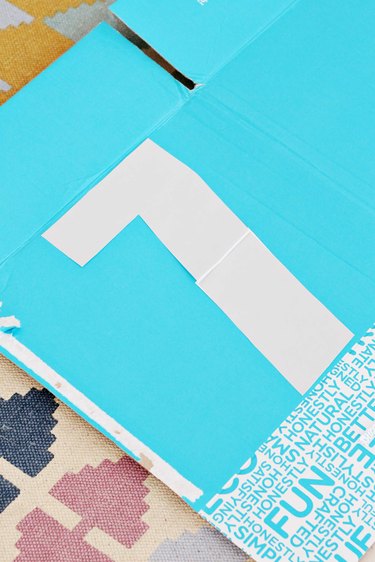
Trace around each number onto the cardboard with a marker.

Use a utility or X-acto knife to cut around each number.
Step 3: Form Your Molds
Now cut strips of cardboard to whatever thickness you want for your numbers. We chose to create numbers 4" thick, requiring 4" strips of cardboard.
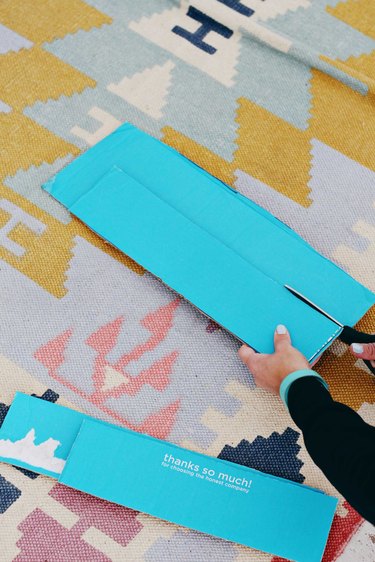
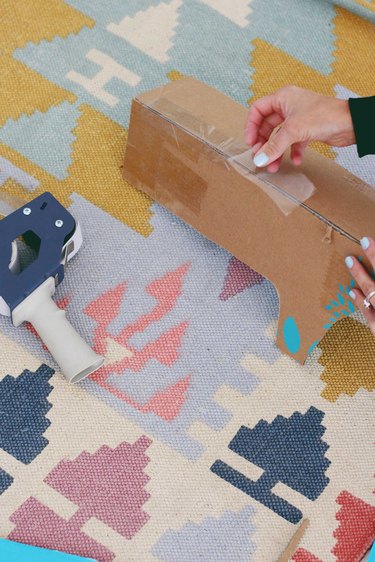
Trim the strips to the necessary lengths, and tape them around each number to form a mold. Make sure the seams are entirely sealed by tape, to prevent the cement mix from seeping. The molds should be formed backwards, in mirror image, so the smoothest side of the cement mix will be on the front face of the finished numbers.
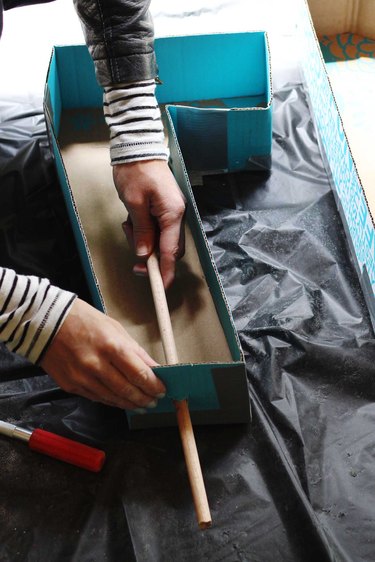
Step 4: Prepare the Molds
In order to hold our numbers upright in the yard when they're done, we're imbedding wooden dowels in the bottoms of the numbers. The dowels used here are 7/16" x 36" and then cut in half.
Use an Xacto knife to cut an "X" on the bottom middle of each mold.
Insert dowel rods out through these holes, imbedding them halfway into the molds.
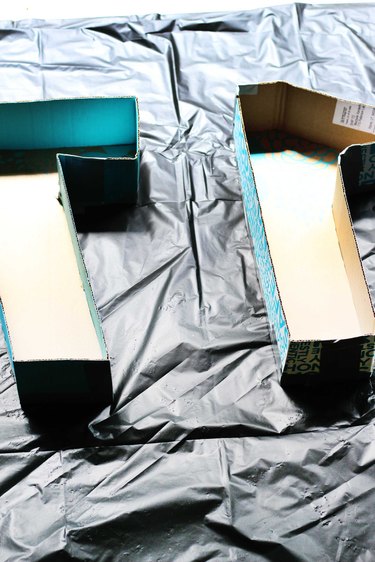
Now spray the inside of each mold with WD40. This is will ensure the mold will not cling to the cement mix after it dries, and you'll be thankful you did it.
Step 5: Create Your Cement Mix
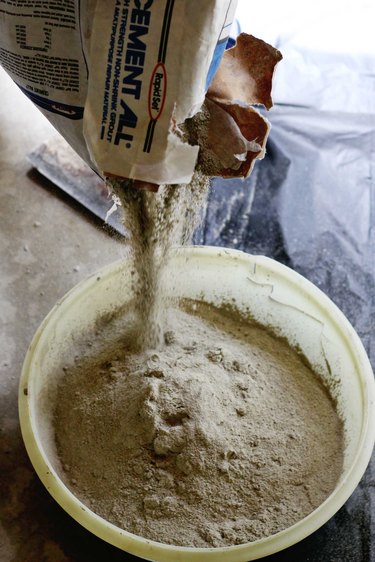
Be sure to purchase a cement mix or mortar product with very fine sands, and not traditional concrete mix, which includes coarser gravels that won't give you the smooth surface you want. Also, do not use pure Portland cement. Pure cement is a binder only, and is not meant to be used alone. We used Rapid Set Cement All in a 55-lb. bag, which is a standalone mix that requires no other ingredients.
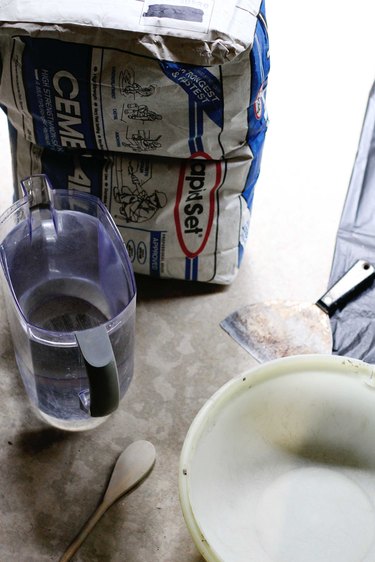
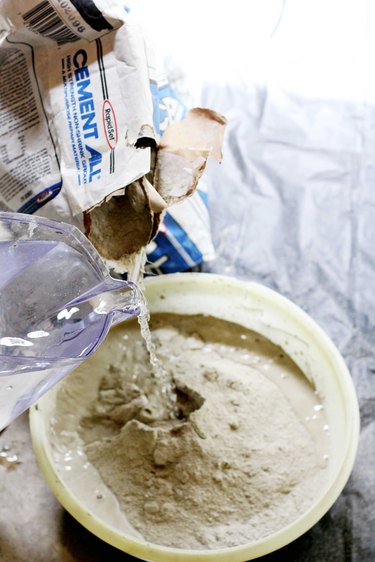
Pour the cement mix into a large bowl, then add water, a little at a time.
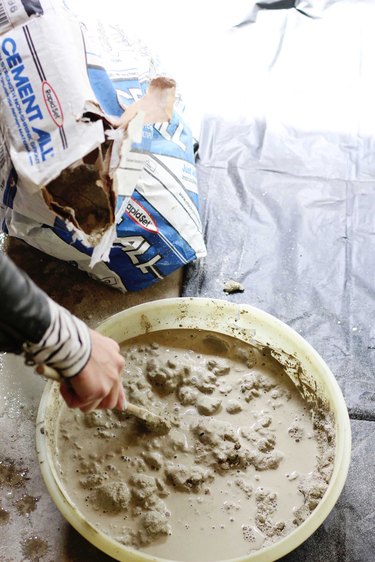
Stir your mixture thoroughly with a spoon or stick. Add more water or more cement mix as needed to get a workable, pourable consistency, but one that is not too runny.
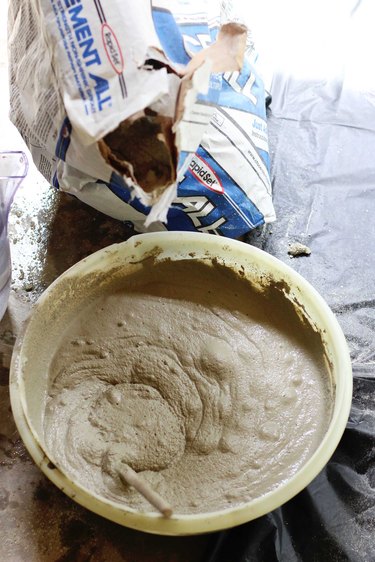
The final mixture should look like the photo below. Not soupy, but easy to stir and pour.
Step 6: Pour Cement Into the Molds
Immediately after mixing (this Rapid-Set product will set up fast) pour your cement into each mold.
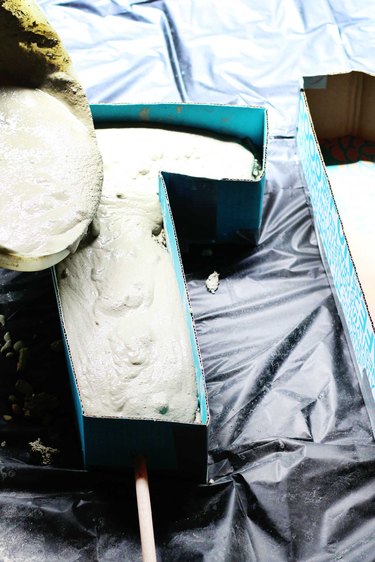
Use your spoon to spread the mixture out throughout the mold evenly and adjust the dowels so that they are sticking straight out. For larger numbers, like the "0," use two dowels.
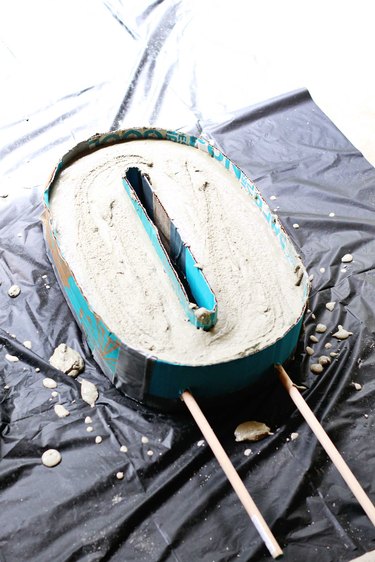
If your molds start to warp a little under the pressure of the cement, wait about 10 minutes, until the cement is starting to set up, and press the mold in at the sides to get them straight and even again. You can also prop stones or blocks of wood around the sides of the molds to hold them in place as the cement mix dries.
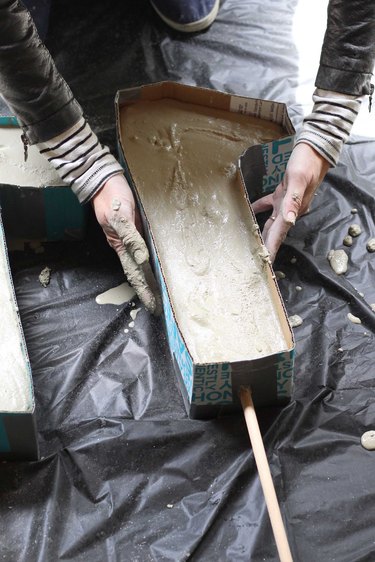
Step 7: Remove the Numbers from the Molds
This cement does set up rapidly, but you'll want to be certain it is dry before removing your numbers, or they could easily break. If you have overnight to wait, that is ideal, especially if your numbers are as large as ours.
When you're ready, just begin peeling the mold away from the number. If you applied WD40 to the inside of the mold before pouring cement mix, this should be easy. If you forgot that step, an electric sander held at a slight angle can pretty easily remove any cardboard that is still sticking.

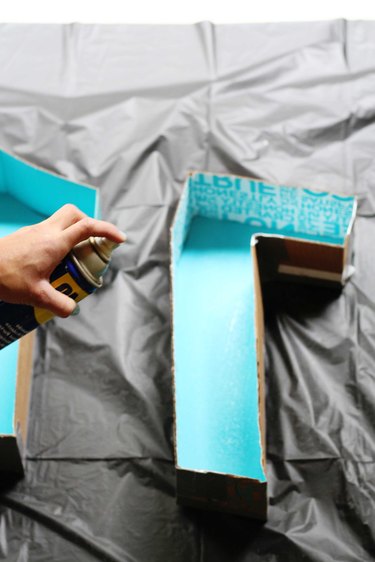
Step 8: Paint the Numbers
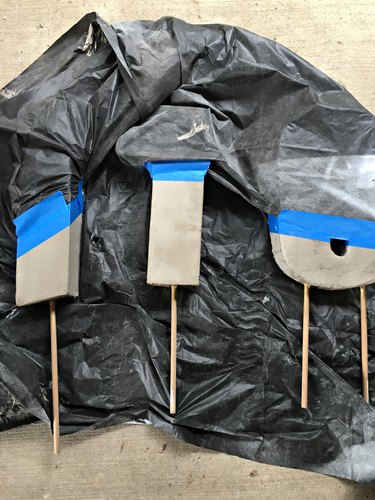
Although an unfinished cement surfaces gives your numbers an industrial look that may be ideal for your purposes, we decided to give ours a fun coat of paint. We chose a dip-painted effect, so first we used painter's tape to mark off the design we wanted.
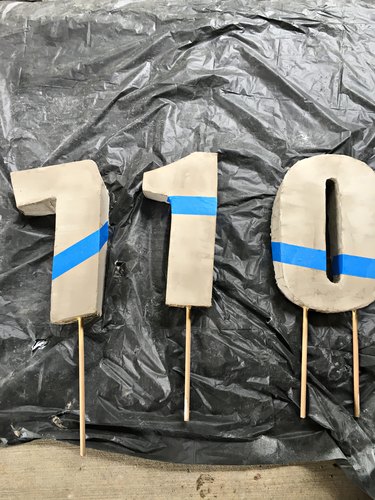
Then, the top part of the numbers (which won't be painted) were masked off with a drop cloth and taped down.
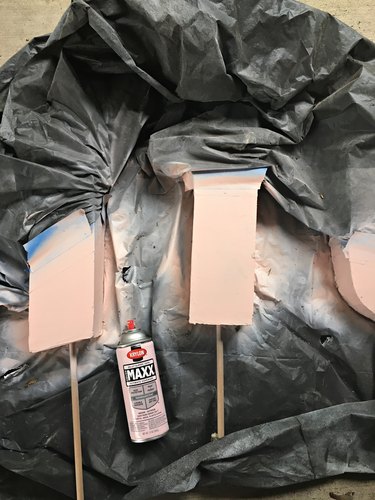
Using a spray paint with primer already added into it (shown here is Krylon Ballet Slipper pink) give each number a few coats of paint, allowing to dry in between. Using light coats of paint will help you avoid drips or uneven coating. We also found that using a flat or satin finish complements the cement best; glossy or metallic finishes seem to accentuate any unevenness.
Step 9: Set Them Up
When dry, remove the tape and "plant" your house numbers wherever you wish in your yard. If the dowels don't want to sink, you can pound "pilot holes" first with a metal rod, then insert your numbers.

