Things You'll Need
White House pictures
Printer (optional)
Card stock paper
Scissors
Rubber cement or glue stick
Green poster board
Miniature trees, shrubs and bushes (optional)
Miniature American flag
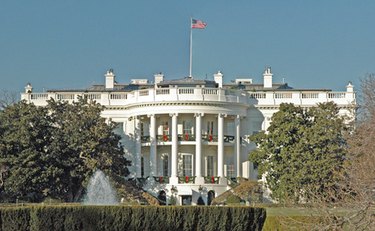
You can build a representational model of the White House using easy-to-find art supplies. The White House has been the home to a American presidents for over 200 years. The large iconic building has become a symbol of American freedom and leadership throughout the world. The process of constructing a detailed model of the White House becomes an educational one as the builder learns the many details and features of this well known residence.
Step 1
Download or draw pictures of the White House or print views of the building from all sides. Use rigid card stock that will be able to sustain its own weight in the completed structure. Add 1/2-inch to 1-inch tabs to the sides of each separate panel of the building. See the link in Resources for a White House paper craft model with tabs.
Video of the Day
Step 2
Cut out the individual sections of the White House to comprise the front, back, top and sides of the building. Leave the tabs intact. Fold the tabs in to create a 90 degree angle with the card stock panels they are attached to.
Step 3
Apply a thin layer of adhesive to the outward facing side of each tab before pressing it onto the adjacent card stock piece. Position the panels by sliding the tab around quickly to form an even corner seam before the glue completely sets. Allow the glue to dry for five to 10 minutes before moving on to attach the next piece.
Step 4
Rest the fully constructed paper White House model on a piece of green poster board. Apply a layer of adhesive all around the base of the building to hold it in position. Glue on miniature plants like trees and shrubs to add a touch of realism to the model.
Step 5
Glue a tiny American flag on a toothpick or other small post to the top center of the White House model.
Tip
Extra features like a black gate and swimming pool show that you have researched the White House grounds.
Video of the Day