Going to the salon for a professional manicure may help you unwind and relax, but let’s face it, the weekly indulgence can add up pretty quickly and leave your bank account distinctly smudged. You can choose to go with natural or nude-colored nails, but then you don’t get to show off that beautiful glitter polish you just nabbed. Make your hands and your wallet do a happy dance by giving yourself a professional-caliber manicure at home.
Step 1
Swipe a cotton ball soaked in an acetone-based nail polish remover over each nail to remove any old nail polish.
Step 2
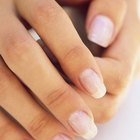
Clip nails straight across the top with a nail clipper, then file nails into the shape you want. The Beauty Bean recommends following the natural shape of your nail bed, which is usually straight on the sides and slightly rounded on top. This keeps your nails stronger and prevents snagging and breakage.
Step 3
Dab a small amount of cuticle cream on each nail bed and rub it in. Use a nail stick to gently push back cuticles. Don’t cut cuticles -- doing so can damage the nail and lead to infection, according to “Marie Claire.”
Step 4
Swipe a cotton ball soaked in rubbing alcohol over each nail to remove any oil or dust.
Step 5
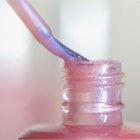
Apply a clear base coat by placing the brush at the base of the nail right above the cuticle and gently gliding the brush up to the tip of the nail. Start on one side of the nail and then work your way into the middle and eventually to the other side. Base coats smooth out the surface of your nail and supply an adhesive surface for the nail polish to stick to, which extends the life of your manicure. Base coats also protect your nail from stains if you’re using a dark polish. Allow the base coat to dry for three minutes.
Step 6
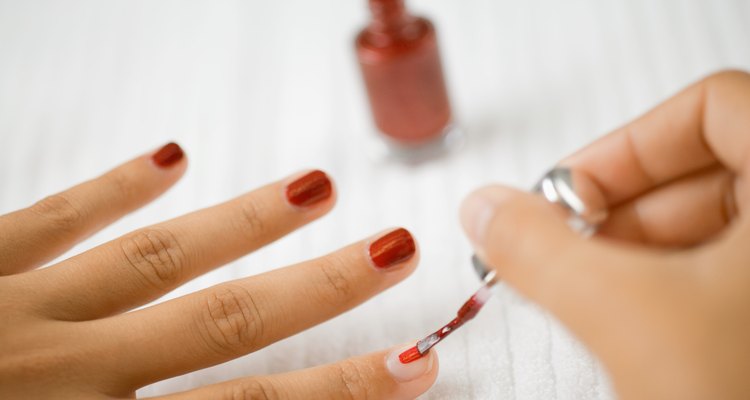
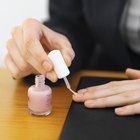
Warm up your nail polish of choice by rolling the bottle in between your hands for 30 seconds. Apply a thin coat of polish in the same manner as the base coat, by placing the nail brush at the cuticle and gliding your way up to the tip of the nail. Start on one side and work your way across the nail. Allow the polish to dry for about three minutes.
Step 7
Brush on a second thin coat of nail polish once the first coat has dried, starting at the base of the nail above the cuticle and working your way up to the tip of each nail, moving from one side of the nail to the other.
Step 8
Remove any stray polish on your fingertips with a nail stick saturated with nail polish remover or a nail-polish-remover pen. Avoid cotton swabs, which can unravel and deposit fuzz in your polish.
Step 9
Set with a clear top coat, placing the brush at the base of the nail above the cuticle and gently sweeping the polish up to the tip of the nail. Start on one side and work your way over to the other side. Wait at least 30 minutes before doing anything that might disrupt your fresh polish.
Related Articles

How to Round Your Nails
How to Apply Nail Polish Without Streaks
How to Use a Nailene Acrylic Sculpture ...

How to Fill in Nails
How to Get Nail Stickers to Stick Well
How to Paint Nails Light Pink
How to Use Sanding Blocks for Nails

How to Take Off No-Chip Nails
How to Remove Acrylic Nails Without ...

Rosebud Salve Uses
How to Whiten Natural Nails

Can Sweet Almond Oil Be Used to Soften ...

How to Get Clumps Out of Eyelashes
How to Make Thin Lines on Your Nails
How to Soak Acrylic Nails off in Nail ...

How to Fix a Crease in Nail Polish
How to Change Polish on Acrylic Nails

How to Do the Sharp Nail
How to Get Shiny Acrylic Nails at Home

How to Unclump Eyelashes
References
Writer Bio
Lindsay Boyers has a Bachelor of Science in nutrition from Framingham State College and a certificate in holistic nutrition from the American College of Healthcare Sciences. She is also a licensed aesthetician with advanced training in skincare and makeup. She plans to continue on with her education, complete a master's degree program in nutrition and, ultimately, become a registered dietitian.
Photo Credits
Pixland/Pixland/Getty Images