A Microsoft cordless mouse is more convenient than its wired cousin. The wireless variety allows you the flexibility and freedom that only a mouse without a cord can provide. However, cordless mice do have one weakness: batteries. Depending on the type of Microsoft cordless mouse you own, be prepared to change the batteries every four to six months.
Step 1
Locate the battery access cover on the Microsoft mouse. On some units, it is located on the base of the mouse (the part that sits on your desk). On other units, the batteries are stored in the body of the mouse.
Video of the Day
Step 2
Remove the battery access cover by pressing the clip to remove the plastic cover piece. If the batteries are located in the body of your mouse, press the release tab on the bottom of the mouse and flip the cover up. Remove the dead batteries and discard them.
Step 3
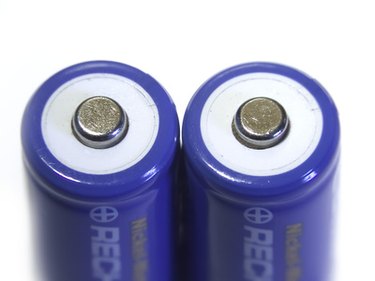
Look inside the battery compartment and identify the "+" and "-" symbols that indicate the polarity of the battery terminal clips. Insert the batteries into the mouse while ensuring the polarity of the batteries matches with the diagram inside the battery compartment. Close the battery access cover on the mouse.
Step 4
Ensure the red light from the optical beam inside the mouse is on. Finally, press the "Locate" or "Sync" button on the wireless mouse transceiver to restore the wireless connection between your computer and mouse.
Video of the Day