If your fluorescent bulb is flickering, switching on and off by itself, or dead altogether, test the bulb first. Testing a fluorescent tube is a relatively easy procedure that can be done without professional help. There are several steps involved that will allow you to determine the health of the bulb as well as the lamp. Keep in mind that most fluorescent bulbs have a fairly long working life, and there are several possible sources for the trouble.
Step 1
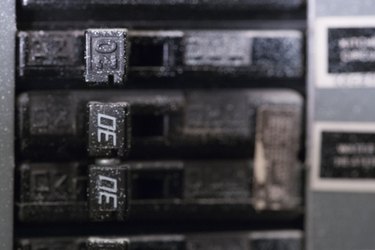
Make sure electrical power is flowing normally to the fixture by checking the circuits in your electrical service panel.
Video of the Day
Step 2
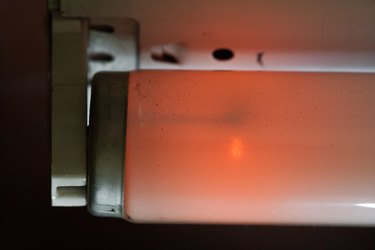
Remove the bulb from the fixture by twisting the bulb and guiding the two small electrodes at either end out of their connectors. There is a small opening in either side of the lamp, just above the connectors, that will help you maneuver the bulb out. Examine both ends of the bulb. If the glass has darkened, the bulb is at or near the end of its life. Check also for missing or bent electrode pins.
Step 3

The simplest way to test a bulb is to try it out in a fixture that you know is working properly. If the bulb works, it's the other fixture that has the problem.
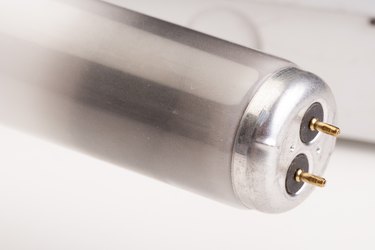
If you don't have another fixture for this simple test, you can test the bulb for continuity with a multimeter or continuity tester. Set a multimeter to the ohm (Omega symbol) setting, then touch one tester probe to each of the pins at the end of the bulb. If the tester shows a reading between 0.5 and 1.2 ohms, the bulb has continuity. Repeat the test at the other end of the bulb. A reading outside of this range indicates an open circuit--bad filament--or a short in the filament, and the bulb is no good.
To use a continuity tester, clamp the tester lead to one of the pins and touch the tester probe to the other. The tester should light up; if not, the bulb has failed.
Note: Passing the continuity test doesn't guarantee a bulb is good. A bulb can show continuity but still have other problems that prevent it from working.
Step 4

If you have an older fixture, the problem may lie with your starter. This is the small box that is placed on or near the lamp and primes the bulb with a high-voltage charge whenever you turn the switch on. (If your lamp always flickers a few times before going on, you have a starter system.) Remove the starter and then return it to its base or socket. If the bulb still malfunctions, your best move at this point is to replace the starter.
Step 5
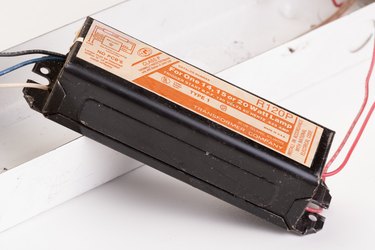
If the good bulb and new or replaced starter still don't work normally, your ballast may be malfunctioning. Remove the ballast cover with a screwdriver. If oil is leaking, replace the ballast or fixture.
Video of the Day