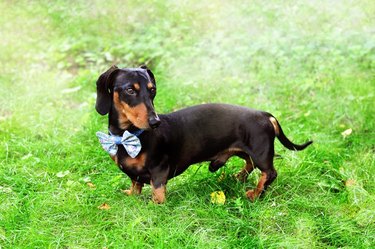
Dachshunds come in two sizes and three coat lengths: standard and miniature; smooth-coated, long-coated and wire-haired. Little dogs like miniature dachshunds, especially those with short hair, often need coats or jackets to stay comfortable. Although many commercial coats are available, sometimes it is fun to personalize your dog's apparel and make it something unlike any other dog might wear.
Items You'll Need:
• Cloth measuring tape
• Straight-edge ruler
• Pencil and paper
• Baby bib
• 1/4-yard material
• Scissors or pinking shears
• Straight silk pins
• Needle
• Thread
• Velcro buttons (optional)
Video of the Day
Video of the Day
Measure Your Dog
Step #1 - Stand your dog on a flat surface. It might be helpful to have an assistant to hold your dog still as you measure.
Step #2 - Use your tape measure to measure from the high point of the dog's shoulders to the base of its tail. Record the measurement on your paper. This measurement is your "topline" measurement.
Step #3 - Use your tape measure to measure from the point just behind the dog's shoulder and around the widest point of its chest. Record this measurement on your paper. This measurement is your chest measurement.
Step #4 - Use your tape measure to measure from just in front of the high point of the dog's shoulders around the wide point of its neck. Record this measurement on your paper. This measurement is your neck measurement.
Make Your Jacket
Step #1 - Place a baby bib around your dog's neck. The bib should lie along your dog's neck, like a cape. The bib should fit a bit loosely around its neck, leaving room for its collar. If your dog's neck is too small for the bib opening, mark the spot where the new fasteners should go.
Step #2 - Remove the bib from your dog. Measure a piece of material as wide as the distance between the end of the bib and the base of your dog's tail. Start at one cut edge of the material and add a half-inch for a seam allowance. Use your pencil to mark the seam allowance using a dotted line.
Step #3 - Baste along the seam allowance and tie off at both ends. Gather the fabric along the basted stitches until it is the same width as the baby bib. Hold the bib and the fabric together with right sides facing and pin in place. Sew the bib and fabric together at the seam allowance.
Step #4 - Cut four lengths of fabric for straps, using your measurements as a guide. Each strap should be 3 inches wide. One pair of straps should be long enough to meet under your dog's chest and tie securely. The other pair of straps should be long enough to meet under your dog's waist and tie. Fold each strap in half lengthwise. Sew together along the long side of the strap and one narrow end. Turn the straps right side out.
Step #5 - Pin two straps in place where the fabric meets the rear of the bib. Pin two straps in place near the middle of each long side of the bib at the deepest point of your dog's chest. Sew the straps securely in place.
By Jo Chester
About the Author
Jo Chester holds a certificate in pet dog training from Triple Crown Academy for Dog Trainers. She has trained dogs for competition in conformation, Rally and traditional obedience and agility. Chester has two goats, chickens, rabbits, a collie and a pet rat, in addition to several much-loved Toy Fox Terriers.