Hemera Technologies/PhotoObjects.net/Getty Images
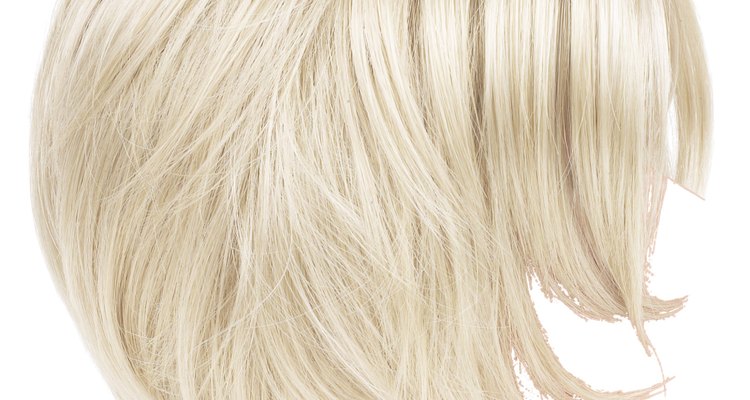
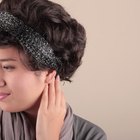
Lace front wigs are a popular choice for celebrities. Due to the lace hairline, it is impossible to tell the difference between your real hair and the wig. Recently, lace front wigs have become widely available to everyone. Although the application process usually requires adhesive products that only a professional can properly use, there are some lace front wigs that you can apply at home without tape or glue.
Purchase a lace front wig with comb grips. Some of the newest types of lace front wigs will come with combs on the inside. The combs are located on the right- and left-hand side of the wig, closest to your temples. If your local beauty supply store does not carry the new lace front, purchase it online.
Prep your hair for application. If your hair is long, put it into cornrows. If you have short hair, purchase and apply a wig cap. Use alcohol or witch hazel around the forehead to remove the dirt and oil that can damage your lace.
Wash your hands. Do not remove the lace front wig from the package until you have removed excess dirt and oils, which can ruin the quality of your lace front.
Cut the excess lace from the wig. Cut the lace close to the hairline of the wig, but do not cut the hairs.
Apply the lace wig. Place the wig on your head so that the inside combs are gripping your natural hair and the tip of the wig is laying on top of your natural hairline.
Style your hair. Most wigs come styled. However, you can alter this by cutting and styling it yourself. Be advised that you cannot apply heat to synthetic hair. Purchase 100% human hair if you want to curl or flat-iron your wig.
Related Articles

How to Apply Full Lace Wigs
How to Sew on a Full Lace Wig
How to Sleep in Your Wig
How to Blend a Lace Front Wig
How to Get Glue Residue Off Your Lace ...
How to Connect Wig Clips
How to Use Wig Tape

The Effects of Wig Adhesives

How to Re-Curl a Synthetic Wig

The Easy Way to Remove Weaving Glue ...

How to Make a Wig on a Sewing Machine

How to Remove Hairspray From Wigs

How to Make a Wig Conditioner

How to Comb Out a Play Wig
The Best Way to Detangle a Wig

How to Get a Smooth, Bald Look
How to Make Wigs Look Natural
How to Make a Toupee
How to Get Elmer's Glue Out of Hair

Hair Damage From Wigs
Writer Bio
Based in Baltimore, Maryland, Damica Brownswood has been writing music articles for over four years. Her most recent articles have appeared in several notable online music sources. Brownswood is currently pursuing a career in the entertainment business. In her spare time she enjoys saving money by creating things from scratch.
Photo Credits
Hemera Technologies/PhotoObjects.net/Getty Images