
How to Apply Window Clings

Clings give you a simple paint- and tape-free method of decorating windows for the holidays, for the season -- or just for fun. Static cling keeps this type of decoration in place; when you no longer need the decor, simply peel the clings away.
Wash them off and press them back onto the backing paper if you wish to save the decorations for another time.
Wash That Window
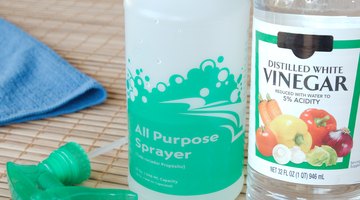
Before applying the clings to the window, the glass must be completely clean -- and not just for good looks. Any dust, grime or residue on the window may prevent the clings from sticking for long, if at all. Clean the side of the window where you wish to stick the clings using your favorite glass cleaner or equal parts vinegar and water. Wipe the cleaning solution off with a lint-free cloth such as microfiber. You just may want to wash the other side of the window as well, for the clearest view of your window decorations.
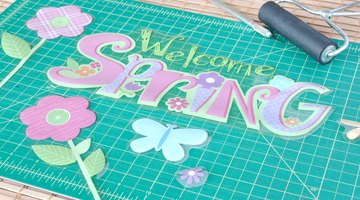
Planning Your Layout
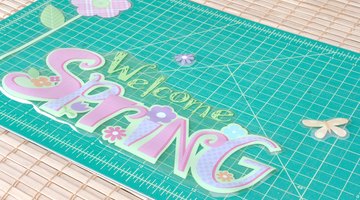
If you're using a large cling, such as one that makes a clear bathroom window look like frosted or stained glass, measure the window and the film to ensure the film is not too large for the space. If so, trim the film to size while it's still on the backing paper, trimming it slightly larger than you think you may need; you can always trim the excess off later with a craft knife. For a series of small decals -- a spooky Halloween scene or a springtime garden, for instance -- arrange the decal pieces on a table or on the ground until you're happy with the layout. Sketch a plan on paper, if you prefer. To plot letters in a straight line, use a piece of horizontal painter's tape on the window as a guide.
Wet Application Method
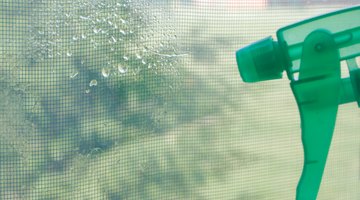
Window clings larger than 12 inches square adhere best to wet surfaces. Pour some water into a spray bottle, along with a small squirt of liquid dish soap. Place the lid on the bottle and swirl the bottle to mix the soap in. Spray the area of the window where the cling will go, and then quickly peel the cling from its backing paper and smooth it over the wet glass. Slide the decal into the desired position, and squeeze the water out from beneath it with a squeegee, working from the center outward. Pat the glass and decal with paper towels to absorb excess moisture.
Dry Application Method
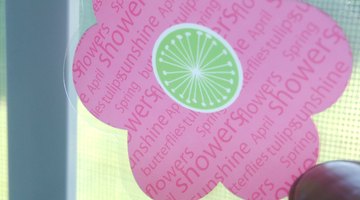
Clings less than 12 inches square stick to smooth surfaces on their own, no water required. Peel the cling from its backing paper, and then carefully position it exactly where you want it to stick. If the cling folds onto itself or isn't straight, peel the entire cling back off the glass and reposition it. Smooth out any air bubbles by running a roller or the edge of a plastic gift card gently over the cling, working from the center out.
The Drip Cap
- Clings give you a simple paint- and tape-free method of decorating windows for the holidays, for the season -- or just for fun.
- Wash them off and press them back onto the backing paper if you wish to save the decorations for another time.
- Window clings larger than 12 inches square adhere best to wet surfaces.
- Peel the cling from its backing paper, and then carefully position it exactly where you want it to stick.
- If the cling folds onto itself or isn't straight, peel the entire cling back off the glass and reposition it.
- Smooth out any air bubbles by running a roller or the edge of a plastic gift card gently over the cling, working from the center out.
References
Resources
Writer Bio
Kathy Adams is an award-winning writer. She is an avid DIYer that is equally at home repurposing random objects into new, useful creations as she is at supporting community gardening efforts and writing about healthy alternatives to household chemicals. She's written numerous DIY articles for paint and decor companies, as well as for Black + Decker, Hunker, Landlordology, SFGate and others.
Photo Credits
- Ray Robert Green/Demand Media
- Ray Robert Green/Demand Media
- Ray Robert Green/Demand Media
- Ray Robert Green/Demand Media
- Ray Robert Green/Demand Media
- Ray Robert Green/Demand Media
More Articles