If your garage door opener is malfunctioning, an unwanted remote is activating your garage door opener or your handheld opener has been lost or stolen, you may wish to reset the opener. The process for resetting your garage door opener varies depending on the brand, model and age of your opener, but fortunately, most garage door openers are simple to reprogram regardless of the type of technology used in the device. The easiest way to figure out how to reset your garage door opener is to check the user manual, but without manufacturer instructions on hand, you can follow a standard process to reset the majority of openers.
How Garage Door Openers Work
Video of the Day
Older garage door openers rely on DIP switches and radio frequencies to work. Newer models typically use wireless technology instead. Garage door openers can be programmed so that they open just one door or so that multiple openers can open all doors in a home with more than one garage. If a garage door opener's frequency or wireless signal interferes with other household devices, you may find that you need to reset it.
Video of the Day
To determine whether you have an older or newer model, check the main unit to see if it has either a series of switches or a button that says "Learn" or "Home." If your garage door opener has a button on the inside, it is likely a newer model. If it has switches, you will need to reprogram it that way.
Resetting Older DIP Systems
Older garage door opener models typically work via a series of DIP switches. Many units have a series of nine or 12 switches, but the specific number of switches may vary. These switches are located on both the main garage door opening unit and the handheld remotes. Switches can be toggled in either an off or on position. For the garage door opener to function, the pattern of switches must match on both the in-garage motor and the handheld remote. To access the switches, you may need to remove a control panel or cover.
Resetting Newer Openers
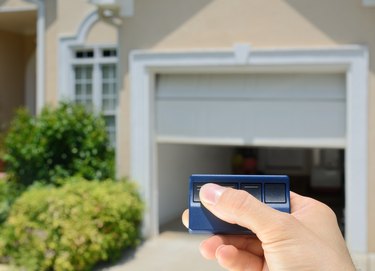
Most newer garage door openers function by learning the frequency of the handheld openers. To reset the system, you will need to first locate the button on the motor that reads "Learn" or "Home." In many cases, this button is located on the same side as the device's antenna and next to an LED. The LED colors in these devices vary by brand and model. Depending on the model you have, you may need to remove an access panel to reach this button.
Once you have located the "Learn" or "Home" button, most models require you to hold it down for five to six seconds or until the LED goes off. For some units, this is all it takes to reprogram the opener.
In other instances, just after holding down the button until the LED goes off, you will need to quickly press the same button again to reset the opener.