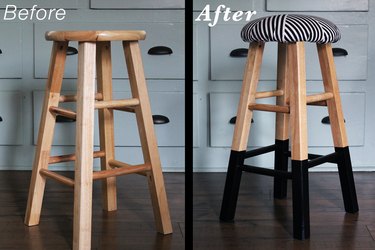
Turn a basic wooden stool into a stylish padded seat with foam and printed fabric. The only tool you need is a basic staple gun, and the whole project takes under an hour to complete, making this DIY one of the easiest ways to add style to any room.
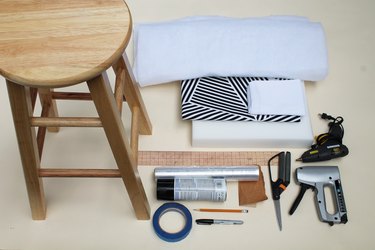
Things You'll Need
Wood stool
Ruler
200 grit sand paper
Painter's tape
Plastic wrap
Spray paint
Hot glue gun
2-inch foam
Batting
Fabric
Staple gun
Tip
If the stool is made of metal, use a hot glue gun to attach the fabric instead of a staple gun.
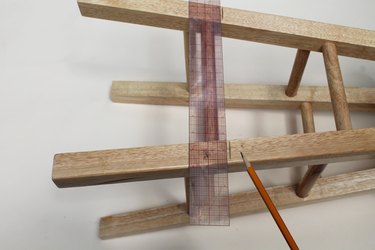
Step 1: Mark the Stool
Draw a line with pencil at the point to be painted. Use a ruler to measure up from the bottom of each leg to get an even height around the stool. If the legs are not straight, use the rungs as a reference point to mark a line parallel to the ground.
Video of the Day
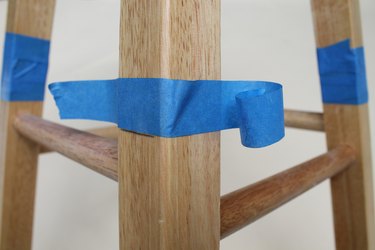
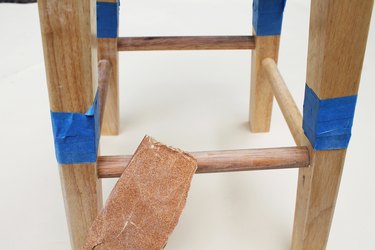
Step 2: Tape Off the Stool
Use painters tape to mask off the area that won't be painted. Place the tape carefully around each side, making sure the edge of the tape is parallel to the ground. Add plastic wrap to the legs and rungs to avoid any splatter from the spray paint.
Step 3: Prepare the Wood
Use a piece of sand paper to roughen the wood that will be painted. This will help the paint adhere to the surface.
Step 4: Paint the Stool
Hold the can of spray paint approximately 10 inches from the stool and spray a light layer to the surface. Allow the first layer to dry before adding another layer of paint. Continue this process until the paint completely covers the wood.
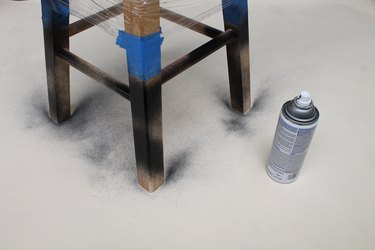
Tip
Spraying light and even layers as opposed to heavy layers will prevent paint splatter.
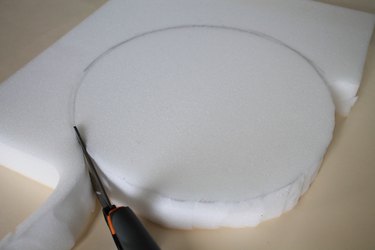
Step 5: Trace the Stool
Place the stool upside down on a piece of foam. Trace around the stool to mark the cushion seat.

Step 6: Cut Out the Cushion
Cut along the line and pull the extra foam away from the seat at each cut. It is okay if the edges of the foam are rough.
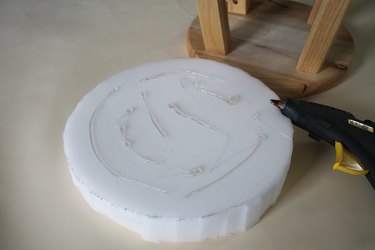
Step 7: Glue the Foam Seat
Place hot glue on the bottom of the foam cushion and attach it to the stool. Hold it down firmly until the foam is secure.
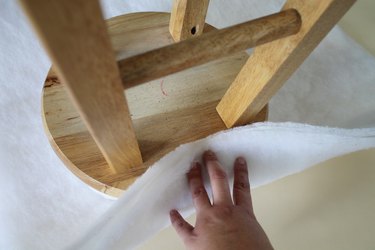
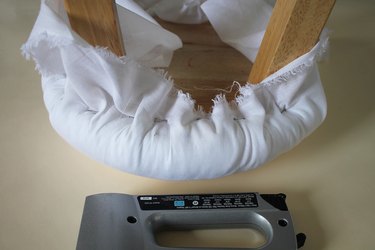
Step 8: Add a Layer of Batting
Turn the stool upside down and wrap one or two layers of batting around the stool. Use a staple gun to attach one point of the batting to the underside edge of the seat, securing it to the stool.
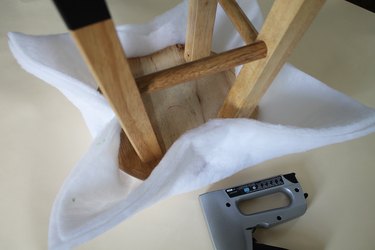
Step 9: Staple the Batting Layer
Pull the batting taught around the stool and add another staple directly across from the first staple. Continue to wrap and staple the batting tightly around the stool until you have four equally spaced staples. If the seat of the stool is square, place one staple on each side of the stool.
Step 10: Staple Around the Stool
Continue to attach the batting until it is fully secured to the stool.
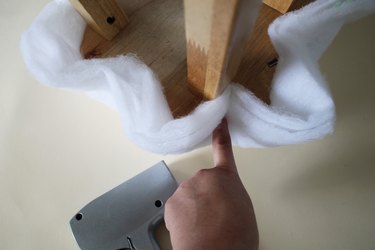
Tip
Be sure to pull the batting tight and place staples close to the edge of the seat.
Step 11: Trim the Batting
Cut off the excess batting close to the staple line.

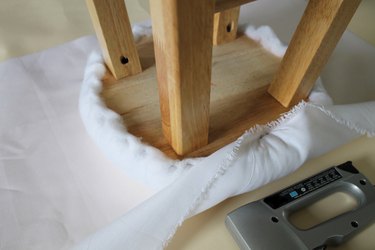
Step 12: Add a Liner
Place a piece of plain liner fabric on top of the batting layer. Staple it just past the row of staples that secure the batting layer.
Step 13: Staple the Liner Layer
Continue to staple the fabric to the stool. Pull the fabric tightly and evenly around the batting as each staple is secured.
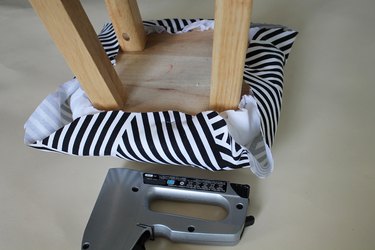
Step 14: Add the Fabric
Place the final fabric on top of the seat. Turn the stool upside down and staple it just past the last row of staples.
Tip
If the fabric has a pattern, turn the stool right side up and align the pattern with the seat before stapling it.
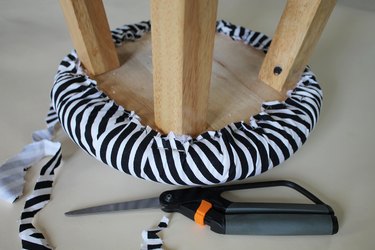
Step 15: Pull Tight and Staple
Pull the fabric tight at each new staple and continue around the stool until the fabric is entirely secured.

Step 16: Trim Excess Fabric
Trim off the excess fabric close to the staples. Use pinking shears or a hot glue gun to keep the edges of the fabric from fraying.
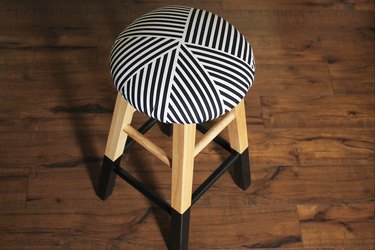
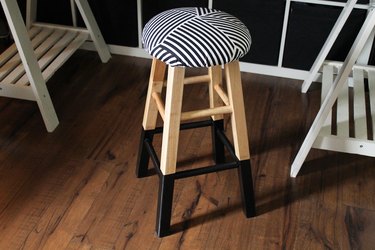
The Finished Product
Turn the stool right side up and enjoy the new padded seat.
Video of the Day