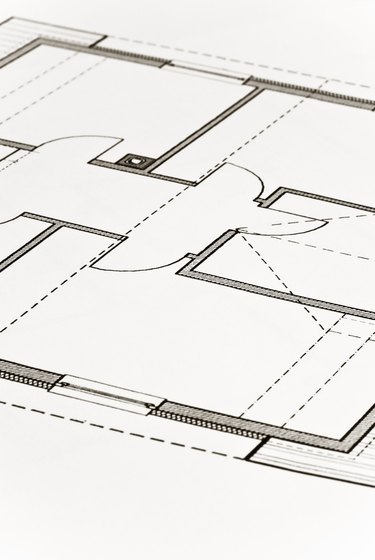
One of the lesser-known productivity packages from Microsoft, Visio 2013 lets you create diagrams such as flow charts, process diagrams, organizational charts and even floor plans and maps. Visio works with pre-loaded shapes and objects that let you drag and drop items onto your workspace. Once you've added an item, you can also adjust size and orientation with simple tools from the object borders. For floor plans, Visio 2013 includes a complete set of object stencils, including everything from structural walls and doors to electrical, plumbing and heating elements.
Step 1
Click on the "File" tab, then select "New" followed by "Floor Plan" from the Maps and Floor Plans section.
Video of the Day
Step 2
Look through the choices in the Shapes column. This column includes categorized stencils for different floor plan elements like walls, doors, windows and furniture.
Step 3
Select the "Walls, Shell and Structure" tab to create the exterior walls for your floor plan. Look through the different room shapes to find the one that best suits your needs. Click on the shape and then drag and drop it onto the page. Resize the room by clicking and dragging on the adjustment icons at the borders of each wall. Add as many rooms as you need, or resize a single room to fill the entire page by clicking on the green square icon at the shape border.
Step 4
Select a wall from the Walls, Shell and Structure tab to add interior walls to your room. Click on a wall, drag it into place on the page and then use the green icons at the edges of each wall to drag the end to the edge of the exterior structure.
Step 5
Add structural elements to your floor plan. Navigate through the various tabs in the Shapes column and drag and drop necessary elements onto your page. Columns, for example, can be found under "Walls, Shell and Structure," while stairs can be found in the "Building Core" tab. Change dimensions and orientation by clicking and dragging on the icons at the border or each element.
Step 6
Add doors and windows from under the "Walls, Shell and Structure" tab. Drag doors and windows over a wall to replace the area with a window or door opening.
Step 7
Add other elements from tabs like "Electrical and Telecom" or "Office Furniture."
Step 8
Save your floor plan.
Video of the Day