Creamy, thick and lusciously smooth, there's no denying Greek yogurt's superiority over the plain stuff. Not only is it a tasty addition to a meal at any time of day — whether it's paired with fruit at breakfast or used in a topping at dinner — but it's also loaded with healthy nutrients. Such versatility should make it a staple in your fridge, and you don't need to search a dairy aisle to make that happen. Check out just how easy it is to make your own Greek yogurt at home, and you can always have some ready for your next recipe.
Video of the Day
Things You'll Need
8 cups of milk, any type
1 tablespoon store-bought Greek yogurt (ingredients should only say "milk and live/active cultures")
Candy thermometer
Plastic wrap
Kitchen towels
Fine-mesh strainer
Paper towels
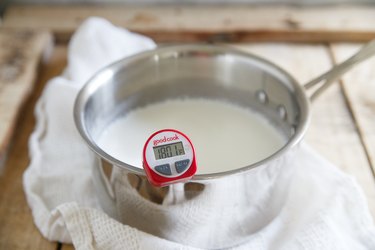
Step 1: Bring the Milk to 180 Degrees Fahrenheit
Pour the milk into a medium-sized sauce pot with a candy thermometer attached. Keep the heat on "medium-low" to start, and slowly bring the temperature up to 180 degrees fahrenheit while stirring frequently. Be sure not to scorch the milk or let it come to a boil.
Video of the Day
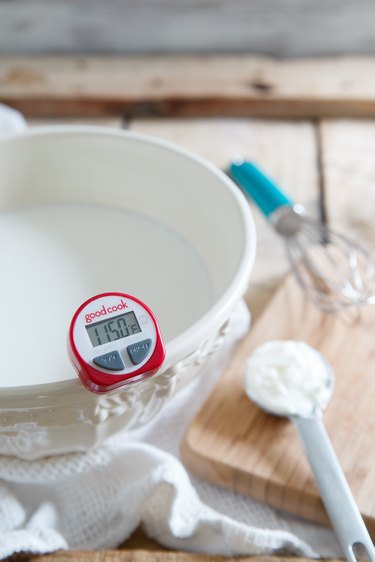
Step 2: Pour the Milk into a Bowl
Once the thermometer hits 180 degrees, transfer the milk to a new bowl and let it cool to 115 degrees. Stir occasionally to deter any skin from forming on the top of the milk. If it does, remove the skin — it can't be stirred back into the mixture and it will create clumps in your yogurt. The whole cooling process will take about 20 to 30 minutes.
Step 3: Whisk in the Greek Yogurt
Whisk the Greek yogurt into the milk until it is completely incorporated and smooth. Cover the yogurt with plastic wrap, and then wrap the bowl with a couple of kitchen towels. Set aside in a warm place for 8 to 12 hours.
Tip
If your oven has a "bread proofing" feature, this is the perfect opportunity to use it. Otherwise, you can just turn the oven on for 1 minute to briefly heat it up, and then turn off the heat and place the bowl inside. Repeat this every hour or two to keep the oven slightly warm.

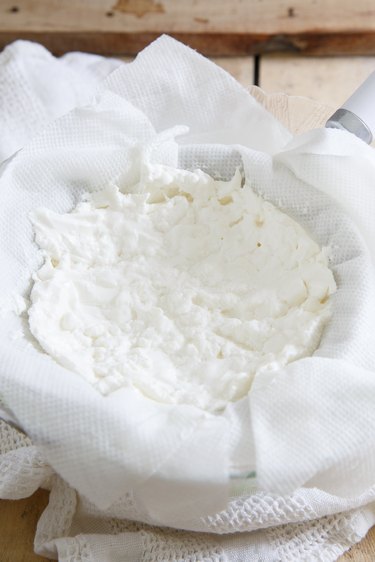
Step 4: Strain the Yogurt
After it has rested, the yogurt should have a consistency that's similar to custard. Place a fine mesh strainer over a large bowl and line it with a double-layer of paper towels. Scoop the yogurt into the strainer, cover it with plastic wrap and place the strainer in the refrigerator. Let it strain for about 6 hours.

Step 5: Remove the Strained Yogurt and Mix Well
When you remove the strained yogurt from the refrigerator, the whey will have drained to the bottom of the bowl and you'll be left with thick yogurt on top. Transfer the yogurt to a bowl and mix well.
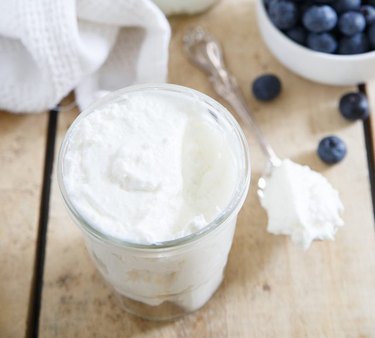
Step 6: Store the Yogurt in a Container
The yogurt is ready! If you're not enjoying the yogurt immediately, store it in mason jars or any other air-tight container. Homemade yogurt will last for about one week, but chances are you'll finish it well before that.
