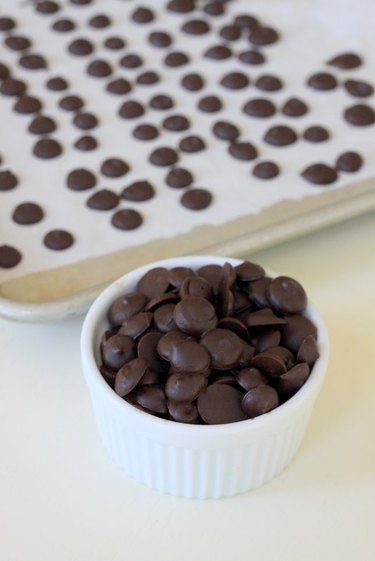
The benefits of making your own chocolate chips include quality control and freshness. You know exactly what went in, and this particular method also happens to be paleo-friendly, without refined sugar or dairy. These homemade chocolate chips are sweetened with honey, and by skipping the step of melting chocolate, there's no danger of seizing or grittiness. Just smooth, rich, decadent chocolate chips that are ready to bake when you are.

Video of the Day
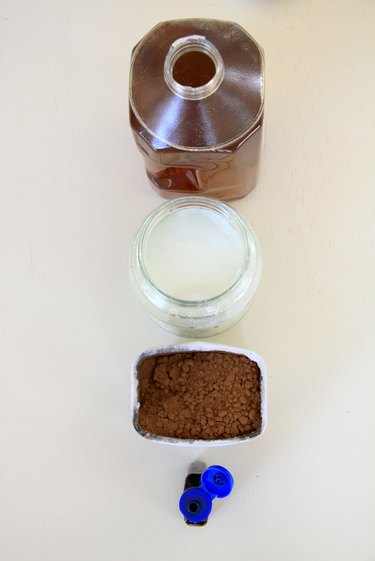
Things You'll Need
1 cup unsweetened cocoa powder
1/2 cup coconut oil
4 tablespoons honey
1 teaspoon vanilla
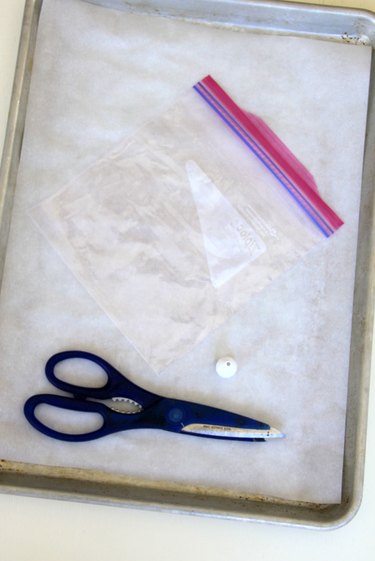
1 large baking sheet
Parchment paper
Zip-top bag or pastry bag, preferably with tip
Equipment needed is minimal: A large sheet pan covered with parchment paper, a zip-top bag, scissors and a medium-sized tip is optional.
Video of the Day
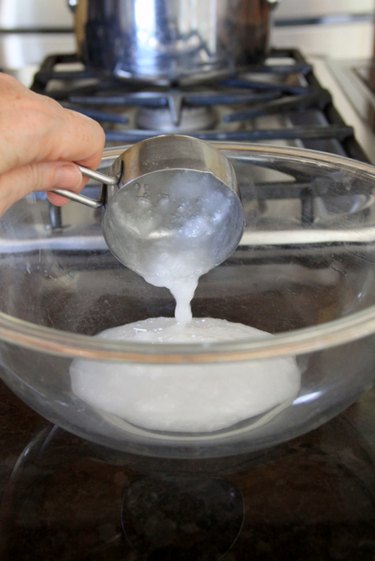
Step 1
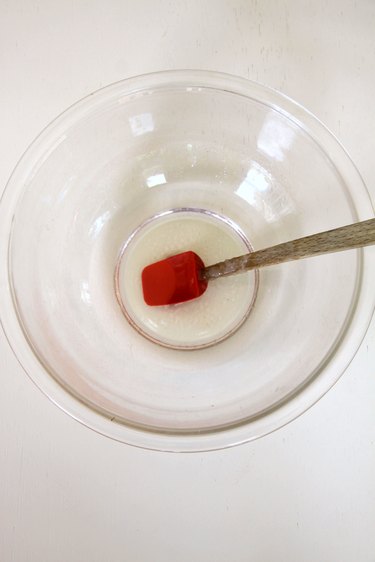
Melt the coconut oil in a double boiler or large heat-proof bowl by gently bringing the water to a low simmer. Just before the coconut oil is completely liquified, take it off the heat to cool. Give it a stir and the oil should become translucent.
Step 2
Add the cocoa powder, honey and vanilla.
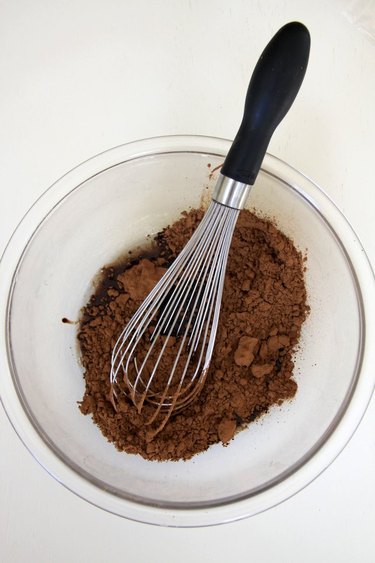
Stir until smooth and shiny.

Step 3
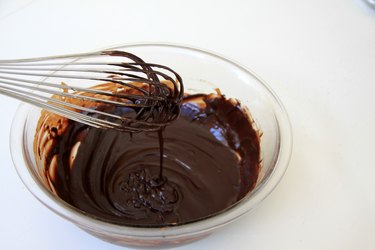
When the chocolate mixture is completely mixed and starts to thicken, refrigerate for 30 minutes. This will make it easier to work with as you create the chocolate chip shapes.
Step 4
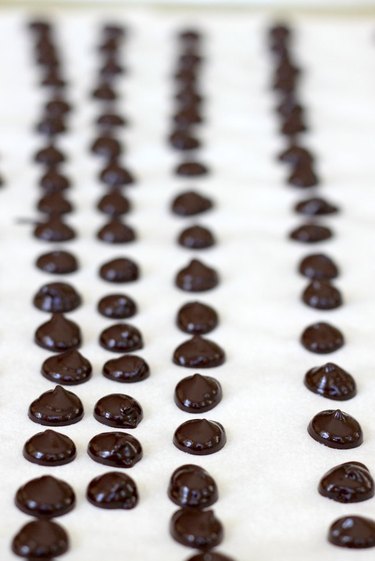
After the chocolate comes out of the fridge, fill the zip-top bag and cut a half inch off one corner, creating a tip. (Note: If you're using a pastry tip, put the tip in before filling the bag with chocolate.) Then begin squeezing the bag to make dots on the parchment paper.
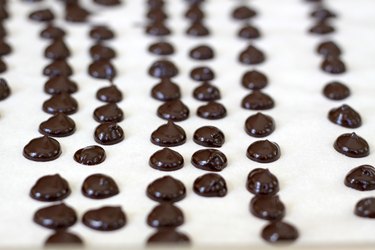
Squeeze the bag to create little dots on your parchment paper, then simply pull up. That makes the classic chip shape. Repeat until your pan is completely full, which should use all of your chocolate mixture.
Tip
The chocolate chips won't spread during this process, so if you set them as close together as possible you'll only need to use one pan.
Step 5
Put the whole pan in the freezer for 20 minutes. If space doesn't allow, refrigerate for 1 hour to set the chocolate. Then fold the parchment paper in half and freeze for 20 minutes.
Once cold and set, loosen from parchment paper by simply popping each chocolate chip from the bended sheet of parchment.
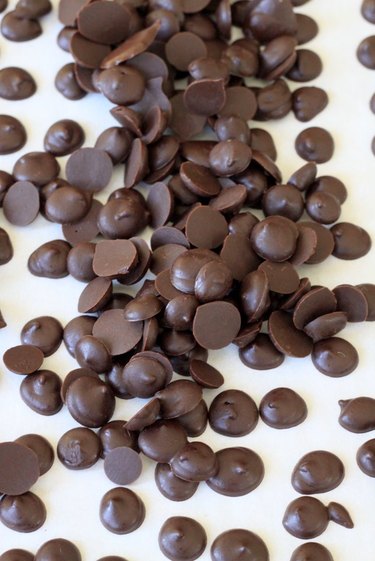
Store in a zip-top bag in the freezer. When you're ready to bake, use your chocolate chips straight from the freezer. They'll melt faster than store-bought chocolate chips, so move quickly but the flavor is completely worth it.