When you've set your sights on modernizing a kitchen, that's when doubt can really take hold. Shake off that stress! Luckily, you don't need to hire a home expert to give your kitchen a Pinterest-worthy makeover — you can take on the challenge yourself. Tackle these minor projects to have a major impact on the look and feel of a property's most beloved space. You can keep the bragging rights, too.
Give Your Counters a Cover
From family dinners to Christmas cookies, granite countertops can take a serious beating. But those stains don't need to stick around. Keep your counters looking "new home" fresh by properly, and safely, sealing the stone surface.
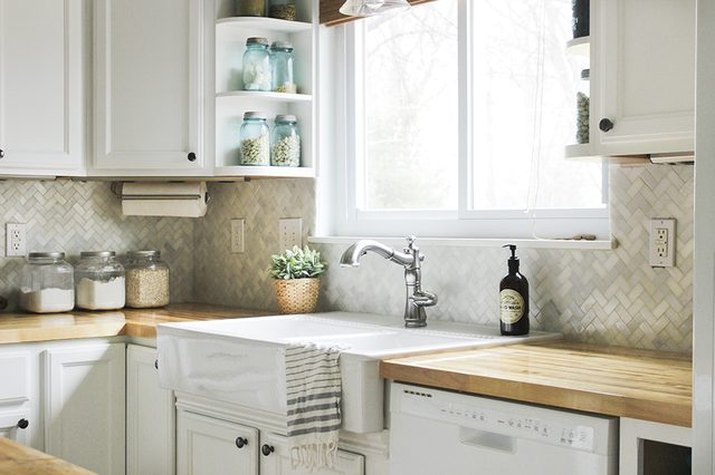
Go From Bare to Backsplash
Once your countertops are safely sealed, look forward! Yep, that bare wall above your granite counters definitely needs a tile backsplash. Why? Because it's one of the fastest and least expensive ways to give your entire kitchen a stylish detail.
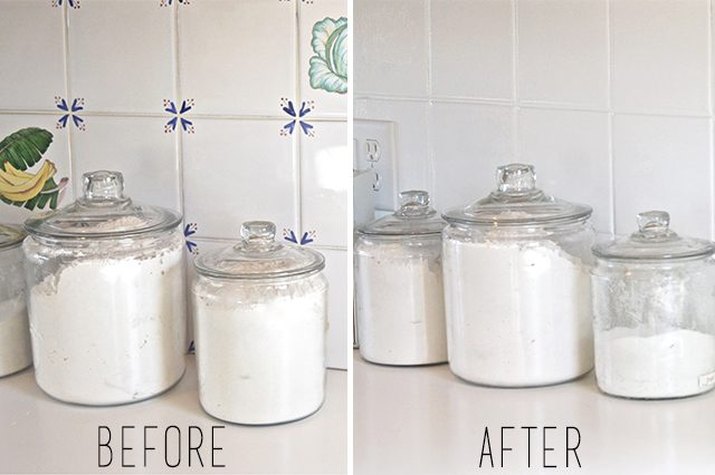
Give a Blast from the Past a Pass
So you already have a backsplash, but it's giving you 80s flashbacks – and not in a good way. Don't worry: if you can spare about $30, you can refresh outdated tile with paint in just a few hours.
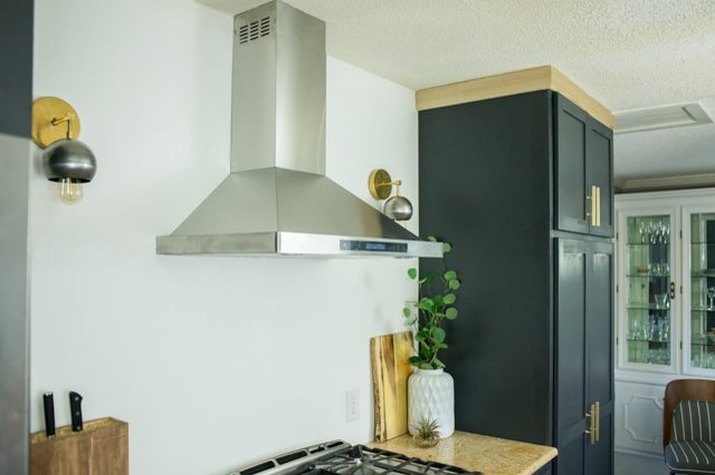
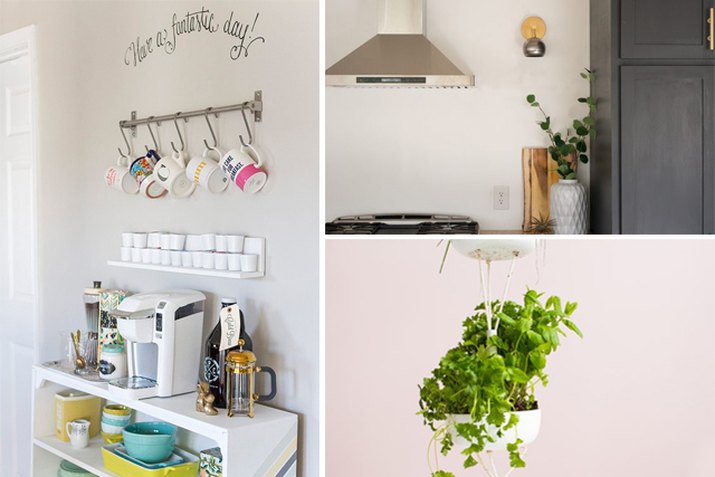
Explore a Range of Possibilities
For a more robust update, try installing a ductless range hood above your stovetop. This steel beauty will immediately modernize your kitchen by making it feel more open. Bonus? It doesn't require any additional vent holes in your ceiling or roofline (although we do recommend that you check with your local building code to make absolutely sure you're in the clear).
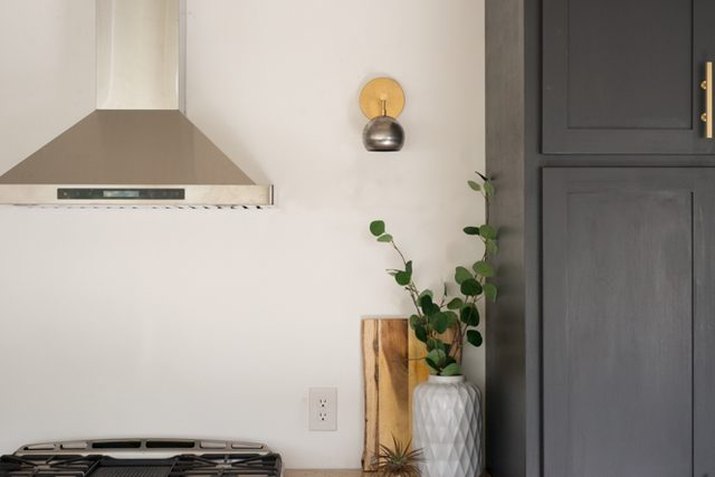
Go Ahead and Set the Mood
Next, it's time to set the mood. Yep, we're talking about wall sconces. Whether you're sipping wine with friends or cooking up an early morning breakfast for you and your boo, lighting is a simple way to set the tone for your entire space.
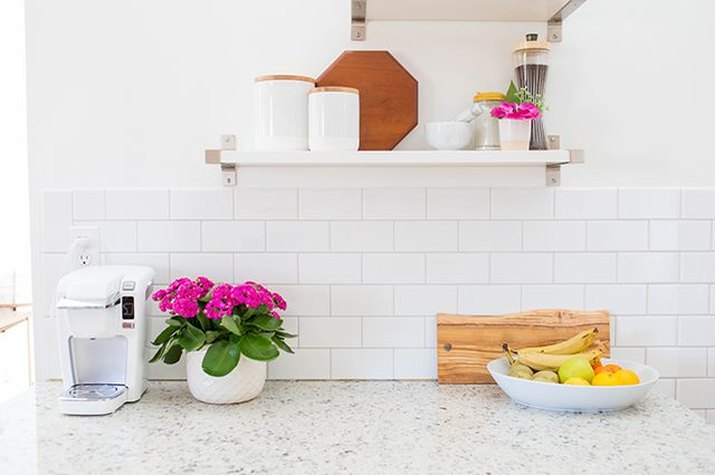
Make the A.M. Struggle Less Real
Many of us can't start our days without turning on a coffee machine. But if you consider your countertop space a precious commodity, design a coffee bar instead. It will help keep all of your caffeine must-haves in one place, so you can get your necessary cup of joe with ease.
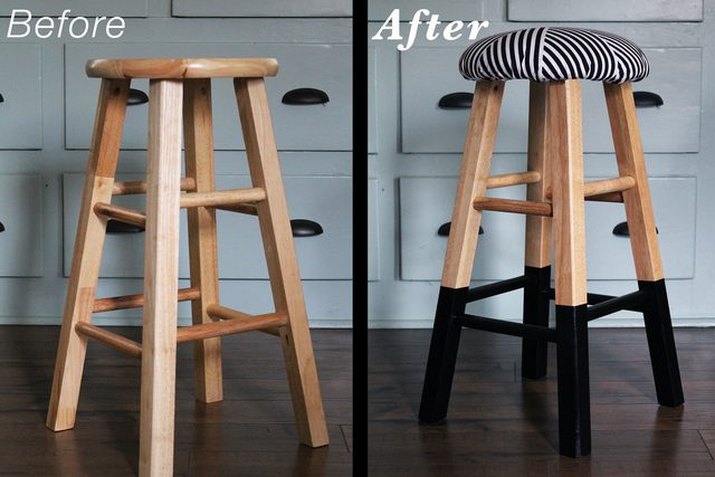
Pull Up a Stool with a New Attitude
Now, it's time to start putting the finishing touches on your kitchen upgrade. Start with the seats that everyone sees as soon as they walk into the room: the bar stools. If you don't have the dough for new bar stools (who does, really?), just upcycle the ones you have with an of-the-moment fabric and a fresh coat of paint. It's a simple way to reimagine a classic item for a modern space.

Put Everything in its Proper Place
Of course, no kitchen is really "ideal" until all of your cabinets are properly organized. Get your KonMari on and discard old and under-used items. Soon, your entire collection of dishes and utensils will be in order.
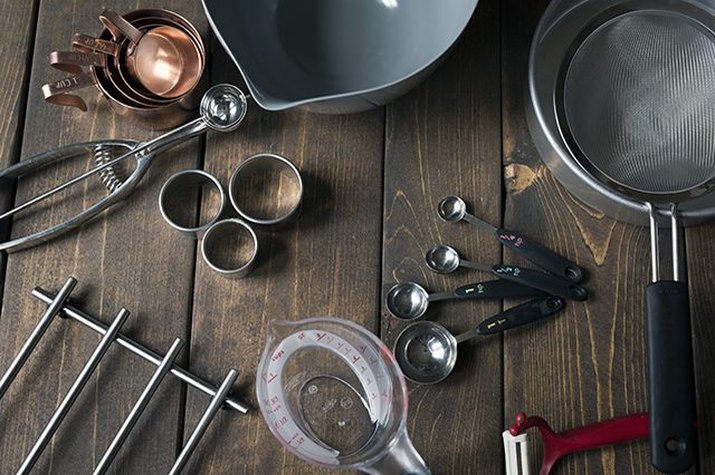
Let Everyone Eat Cake
If you tossed out old baking sheets and measuring spoons to get those well-organized cabinets and drawers, then it's time to replace them with the best tools and equipment you need to get your bake on. Even if you're not a culinary whiz, these items are guaranteed to make you feel like any sweet recipe is within reach.
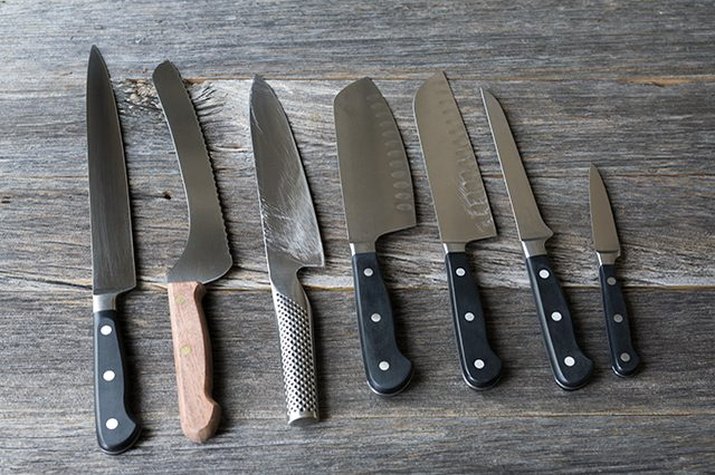
Cut to the Chase
Knives follow that same streamlined mentality: dull blades are no good to you. If you want to slice and dice every food imaginable, you'll need your kitchen to be outfitted with all the proper knives. Just get the ones you know you'll use regularly, and you'll be all set.
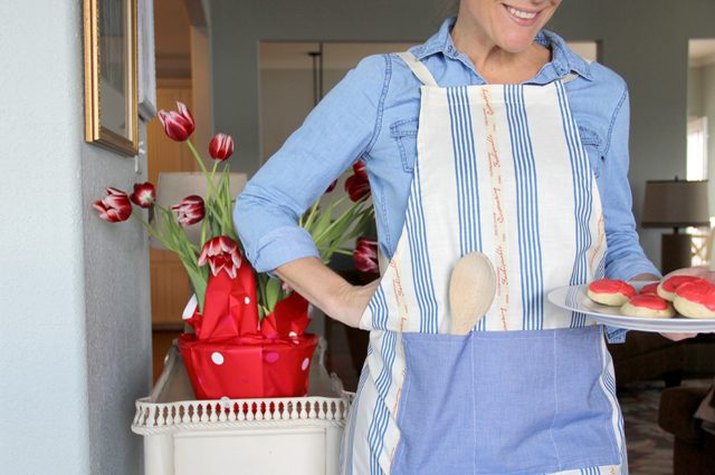
Get an A+ for Effort with an Apron
Whether you're trying to nail a Giada-worthy kitchen outfit or you're just hoping to protect your favorite shirt, an apron is a must-have when you're spending any amount of time in front of an appliance. Plus, it's irresistible when it has pockets.
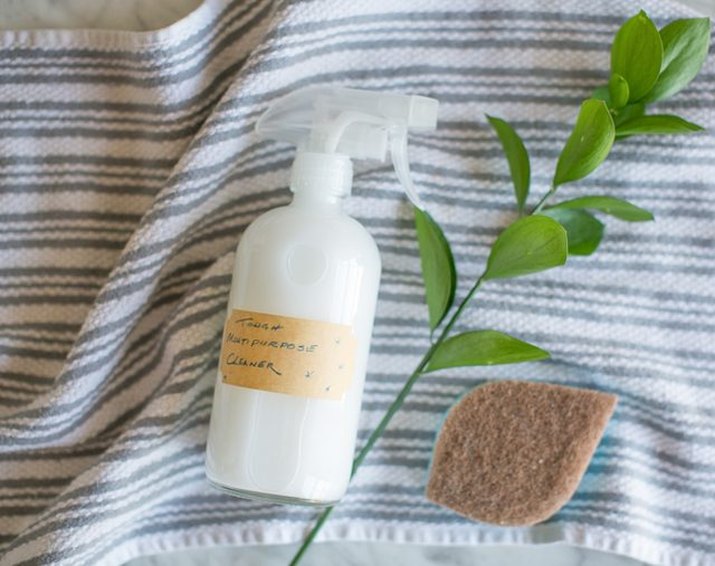
Keep Everything So Fresh and So Clean
Once your kitchen is sparkling, it's ready to be used. But with use comes dirt, smells and a lot of other not-so-pleasing issues. This is why you need a multi-purpose cleaner in your arsenal. It's a chemical-free formula that will restore your kitchen's luster without any harsh residues.
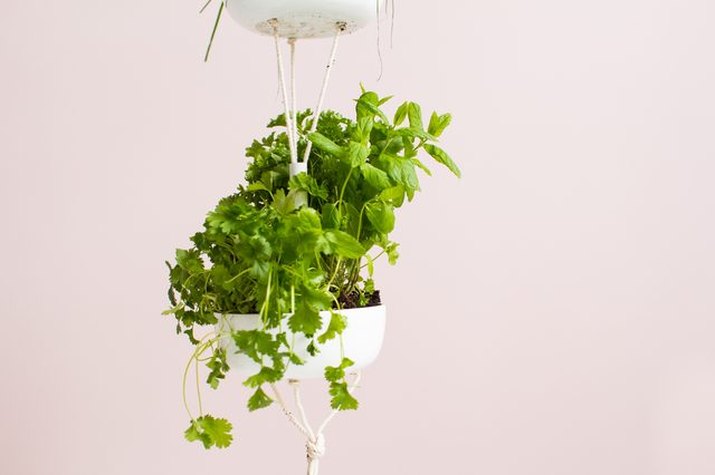
See What's Hanging
Finally, no kitchen would be complete without a fresh touch. Hang this herb garden to add a bit of spice to your space — and your favorite dishes.
Advertisement
Video of the Day