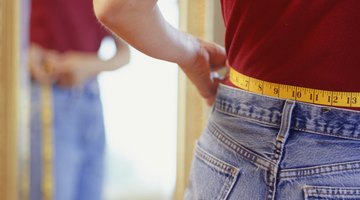
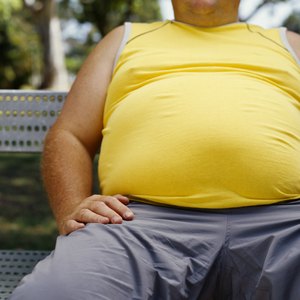
The lower back and upper butt area can be a problem spot, creating the dreaded "muffin top." The resulting excess fat that hangs over the back of your pants can be uncomfortable and cause you to be self-conscious.
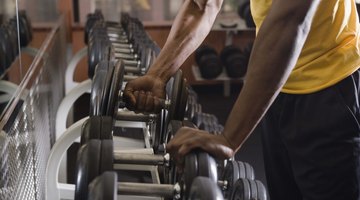
One of the reasons you may hit the gym is to burn calories to manage your weight.
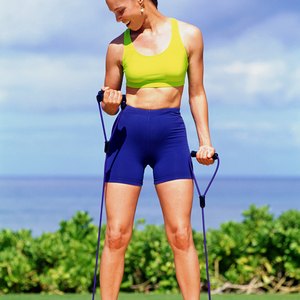
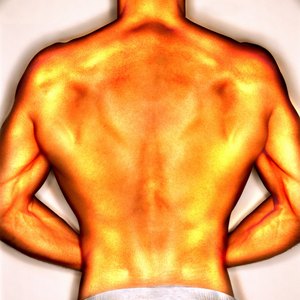
Chest expander cables cannot replace free weights, resistance machines or a full gym, but they are effective exercises for building functional strength.
The bottom line when it comes to losing weight is to burn more calories than you consume.
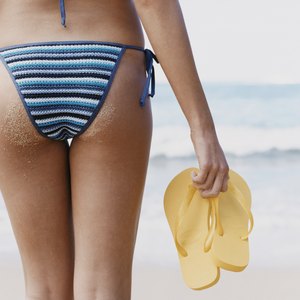
Carrying excess weight in your rear end doesn't necessarily pose a health risk but it can damage your confidence.
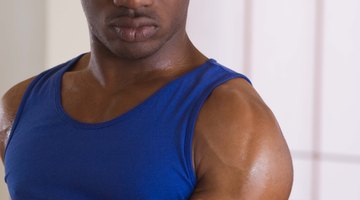
Fitness professionals have a technical term for people whose most intense exercise is opening a bag of potato chips: deconditioned.
If you take a class in tai chi you'll also learn about qi gong, as it is usually practiced within a tai chi class.
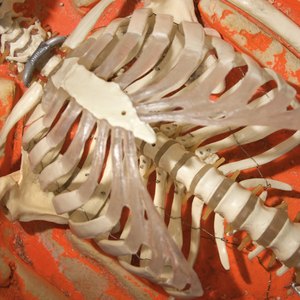
Sternal precautions are standard for all surgical procedures requiring a median sternotomy, or splitting of the chest bone.
Most gyms have some type of back extension equipment, be it a Roman chair or a larger machine with attached weight stack.