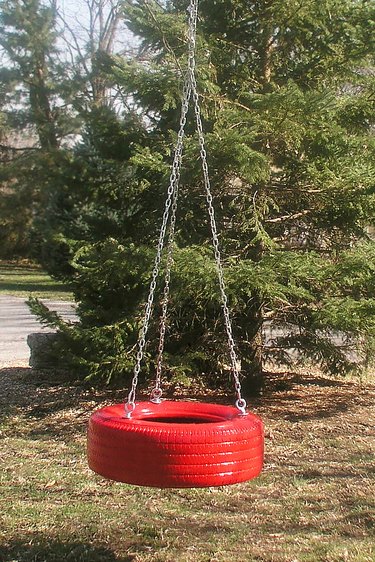
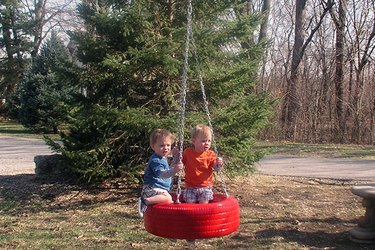
Nothing reminds us of lazy summer days more than an old-fashioned tire swing hanging from a tree. This version of the timeless classic features a tire supported horizontally by three points of attachment and a swivel point that allows movement in multiple directions. Spend an afternoon assembling a tire swing and guarantee years of enjoyment for the children in your life.
Things You'll Need
Video of the Day
- Latex outdoor primer and paint
- Paintbrush
- Portable drill
- 3/8-inch drill bit
- Chalk
- 3/8-inch eye bolts with nuts, 3
- 3/8-inch fender washers, 6
- Lock washers, 3
- Lock nuts, 3
- Wrench
- 3/8-inch quick connectors, 6
- 4-foot welded steel link chains, 3
- Swivel
- 10 to 20 feet of welded steel link chain
- Carpet scrap (optional)
- 10-foot stepladder
Video of the Day
Note: All hardware components including the chain should be weight rated for at least 500 pounds. The chains must have a link diameter of at least 3/8 inch.
Wash the Tire
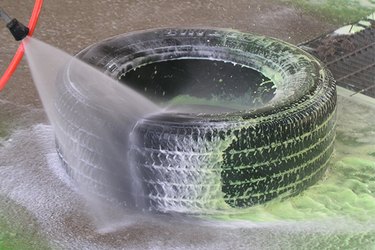
Most tire and automotive shops have to pay a disposal fee for old tires, so staff there are usually happy to give you one. Consider the size and weight of the tire before you make your choice; it is best to avoid steel-belted tires. On your way home, stop by a self-serve car wash and give the tire a good scrubbing with a pressure washer.
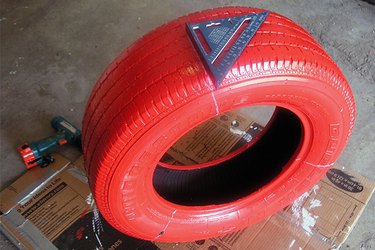
Prime and Paint the Tire
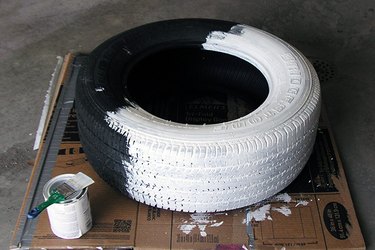
An old tire can deteriorate and shed small bits of rubber, which mark clothing, so although not completely necessary, a coat of primer and paint will provide a clean surface and protect the tire from degrading due to weather exposure. A good latex outdoor primer and latex outdoor enamel will produce a nice glossy surface, although spray paint will work as well. Allow the tire to dry completely after washing it, and then apply one coat of primer. When the primer is dry, apply a coat of paint.
Drill Drainage Holes
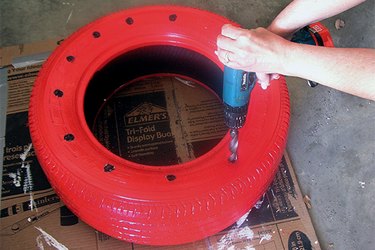
Choose the most attractive side, and turn the tire so this side is facing down. Drill 3/8-inch holes on the less attractive side about every 6 inches around the sidewall of the tire for rainwater drainage and to keep mosquitoes from setting up home inside pooled water.
Plot and Drill Holes for the Eye Bolts
Measure the outer circumference of the tire, and divide this number by three. You will use this measurement to evenly space the eye bolt holes. Turn the tire upright and use chalk to draw lines up the side of the tire and into the sidewall at three points spaced according to the number you calculated. In the center of the sidewall, drill 3/8-inch holes at these locations.
Insert the Eye Bolts

Turn a nut onto an eye bolt all the way to the top. Thread a fender washer onto it and push the bolt through one of the holes drilled in the sidewall. Put another fender washer on the inside, followed by a lock washer and finally the lock nut. Use a wrench to tighten the nuts as far as possible. Repeat for the remaining two holes.
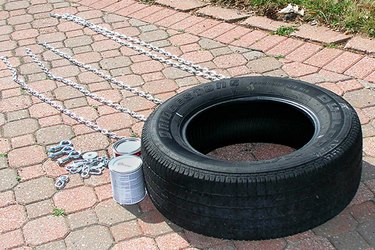
Connect the Chains
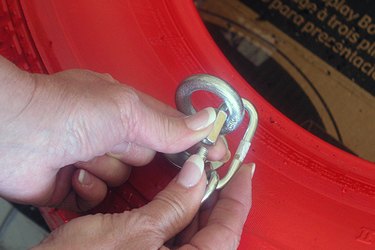
Attach each 4-foot chain to an eyebolt with a quick connector.
Assemble the Swivel Connection
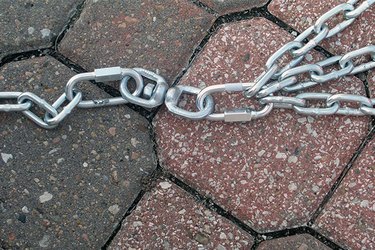
Connect the opposite ends of the three 4-foot chains to a quick connector, and then secure the quick connector to the swivel. Attach another quick connector to the opposite end of the swivel and also to the long chain length.
Hang the Swing
Ideally, the swing should be hung about 10 feet off the ground, about 10 feet out from the trunk and from a tree branch at least 6 inches in diameter. The bottom of the tire should sit at least 12 inches off the ground, depending upon the size of the child using the swing. It should be high enough that the child's feet do not hit the ground. The area around the hanging spot should be clear. (The higher the swing is hung, the wider the arc that the swing will reach.)
Use a stepladder to reach the chosen tree branch. Loop the long chain over the branch and use a quick connector to secure the swing at the desired height. For a permanent installation, protect the tree branch by placing a scrap of carpet under the chain to avoid damaging the tree.
Note: The swing can also be mounted under a deck, on a playset, or on a brace between two smaller trees.
Test the Swing
Try out the swing for safety, but remember -- you built it for the kids! Look forward to creating lasting childhood memories for them in the years to come.