They do so much and ask for so little in maintenance. Once the work of installing outdoor security lights is over, you simply sit back and let them do the work of deterring trespassers who walk under the motion sensors, illuminating the dark for evening get-togethers and generally doing as they're designed to do. Until they don't. Every machine needs a bit of maintenance to get by. Subjected to extreme changes in temperatures annually and the onslaught of rain, damaging UV rays and insects, outdoor security lights can become dim or stop working altogether. It's not too difficult to fix flaws in your fixed outdoor lighting with a bit of troubleshooting and gear you have on hand.
What to Look for First
Video of the Day
A soft cloth dipped in window cleaner or a rubbing alcohol solution can be used to remove dust, the little bodies of insects that are inherently attracted to the bright night light and mildew that may have gathered over the sensor. Don't use a harsh cleaner on the sensitive finish or lens. The lens of the infrared sensor that alerts the light to switch on should be given a bit of extra attention. You can use a cotton swab with a touch of dish soap and water to gently remove tiny particles from the corners if necessary.
Video of the Day
Stubborn Security Light Solutions
If you've thoroughly cleaned and coddled the light and it still isn't functioning the way it should, there are a few quick fixes for this simple apparatus.
Check out the manual setting that's built to bypass the sensor. If the light is off when the manual button is on, you may simply need to change the light bulb. It happens to the best of us.
If the light is on when the switch is set to manual but doesn't catch movement, check the detector sensitivity setting. This may need adjusting if you've added lighting or large structures to the area.
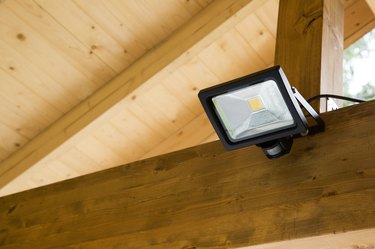
The detector aim may be off, so to ensure the motion detector is looking where it should, you can gently loosen the screws to the mount until the sensor sees the area you need.
Shine on Anew
If you're replacing an old fixture, make sure to also replace the neoprene gasket to keep water from making its way into the opening. Attach per the directions for your security light and then check the programs. Adjust the brightness and motion sensitivity to your area.
The higher the light, the larger the coverage area, so try to find a solid place for the light to be securely placed high above the action but not too high that it won't detect motion.
Check to see if there are large blind spots and add another fixture to that area. Don't attempt to light up a large area with brighter lights. This creates more shadows and therefore more places for critters and burglars to lurk.