


The golden days of good weather are never as enjoyable as when you can spend a lazy day on the water floating on your raft or swimming tube. However, if you can't figure out how to inflate your device, you won't be having much fun. So, grab your air pump and that swim tube to begin the process of filling up your inflatable.
Items you will need
Electric air pump
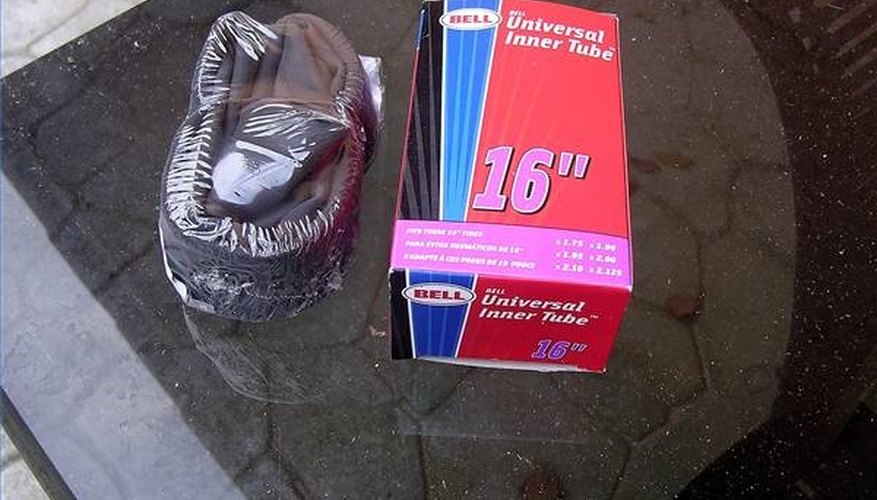
Unopened new swim tube.
Take the tube out of its storage container (or box, if it's new). Unfold the raft in an area that will be large enough to fit the inflated object. Use appropriate care when handling the tube. You do not want to puncture it accidentally or tear the plastic. Try to smooth out all the creases so that when you begin inflating it, it will fill up as evenly and quickly as possible.
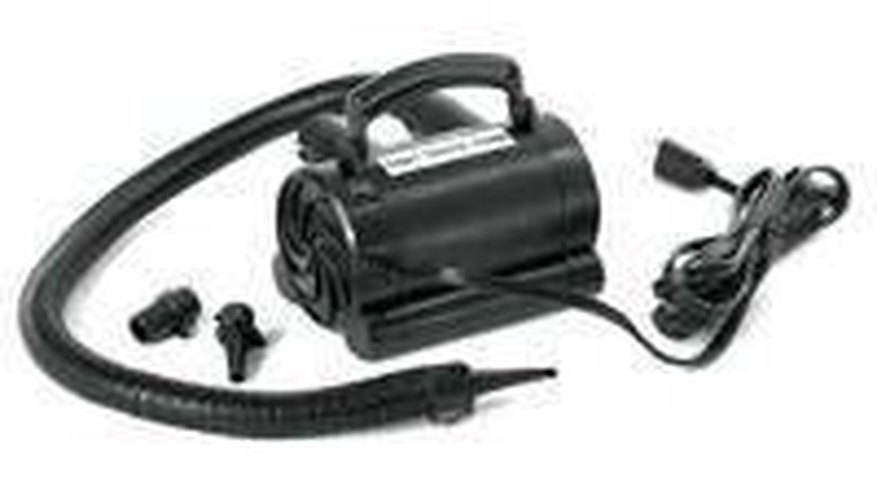
Electric air pump with attachments.
Get the electric air pump and plug it in. Make sure it has a long enough cord so that it can easily reach the electrical outlet and the inflatable. You will want your air pump to come with different size attachments so that the nozzle can connect with the protruding fill-hole on the swim tube.
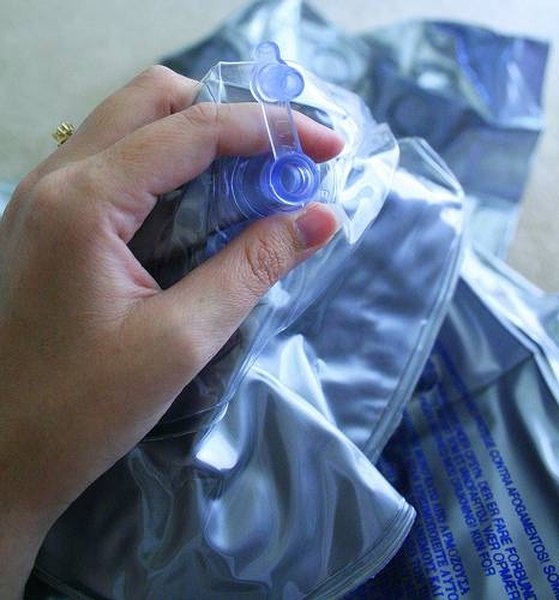
The tube's fill-hole.
Attach the pump with the proper attachment to the fill-hole on the tube. There should be a tight seal so that no air escapes. Once you are certain the seal is correct, turn on the air pump. If your pump has different settings, begin with the "low" option.
Closely monitor the raft as it's filling with air. If the suction between the pump and the fill-hole is staying intact, you can increase the speed on the air pump to "high." If the suction seems weak you might need to hold it together with your fingers. In that case, keep the setting on "low" and take your time. Smooth out any creases in the plastic that might need to be cleared up. Make sure the air is getting into all spaces of the inflatable.
Remove the air pump and immediately close the fill-hole, once the swimming tube has been fully inflated. Tuck it in to its groove so that it lays flat with the rest of the raft's surface. Now, you are ready to take it to the water.
Writer Bio
Alexandra Haller has more than 10 years' experience as a writer. She has written for numerous health and fitness outlets, including "Runner's World" and "Reuters." She has worked as a copy editor for the American Mathematical Society, editor-in-chief for Her Active Life and is now a proofreader for Plante & Moran.