Setting up a Linksys WRT54G series router requires two steps. First, plug in all the cables to get your wired Ethernet connections up and running. Next, use the router's Web interface to set up Wi-Fi, enabling wireless Internet for your laptops and mobile devices.
Hardware Setup
Step 1: Connect the Modem
Plug the Ethernet cable from your cable or DSL modem into the Internet port on the router.
Video of the Day
Step 2: Connect Your Computers
Connect one or more computers to the Ethernet ports on the router, labeled 1 through 4. The order doesn't matter; all four ports work identically.
Step 3: Connect the Power
Plug in the router's power adapter and wait a few minutes while the system starts. You now have Internet connectivity on your wired computers.
Wi-Fi Setup
Step 1: Log In
Visit the Web address 192.168.1.1 in any Web browser on a computer connected to the router. Log in with the password admin, leaving the user name blank. If that doesn't work, enter admin in both the user name and password fields.
Step 2: Open Wireless Settings
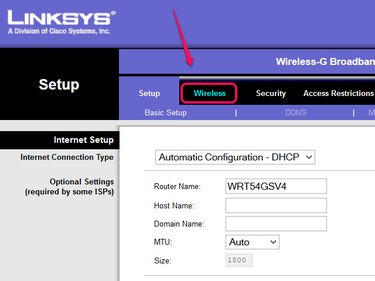
Open the Wireless tab in the router's setup interface.
Step 3: Name the Network
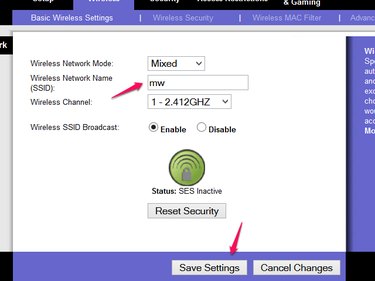
Pick a name — SSID — for your wireless network. Everyone in range of your router can see the name, so don't include any private information. Leave the rest of the options on their defaults. Click Save Settings and then Continue.
Step 4: Set Up Security

Open the Wireless Security tab. Set the security mode to WPA2 Personal and enter a password of at least eight characters in the Passphrase or WPA Shared Key field. Click Save Settings, and your wireless network is ready for use.
Video of the Day