When you learn to read a ruler, you will probably encounter metric and English standard rulers. Sometimes rulers have metric on one side, while they have Engish rule on the other. It depends on how you need to measure which side you will use.
Another issue you may find with English rulers is how the inches are marked. Some rulers have 1/8 inch markings between each inch while others have 1/16 inch. This article will cover both.
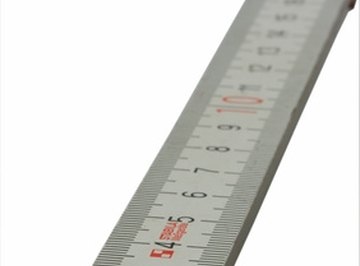
Reading a metric ruler is the simplest of the three. On a metric ruler centimeters are marked. Because of the standard length of a ruler, there will be about 14 centimeters. Between each centimeter there are 10 small markings, called millimeters. 10 milimeters equal 1 centimeter.
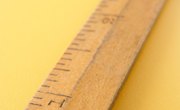
Reading English rulers is a little different. First, count the number of dashes or marks in between each inch. If there are 8, that means each mark is 1/8 inch. If there are 16, each mark is 1/16th of an inch.
Line up whatever you are measuring. If you are using a metric ruler, count the number of whole centimeters and then count the dashes. For example, if you count 4 whole centimeters and 3 dashes, the measurement is 4.3 centimeters.
If you are using a ruler marked in 1/8 inches, count the whole inches and then count the 1/8 inches. Converting with an English ruler is a little different. Every two 1/8 inch marks is 1/4 inch. Every 2 quarter inches in a half inch. Always simplify the number. Line up the item you wish to measure and measure to the nearest 1/8 inch.
Using a 1/16 is very similar to a 1/8 inch marked ruler. Line up you item and measure to the nearest 1/16 inch and simplify the number.
About the Author
This article was written by the CareerTrend team, copy edited and fact checked through a multi-point auditing system, in efforts to ensure our readers only receive the best information. To submit your questions or ideas, or to simply learn more about CareerTrend, contact us [here](http://careertrend.com/about-us).
Photo Credits
ruler image by Oleg Kapustin from Fotolia.com