nitrub/iStock/Getty Images
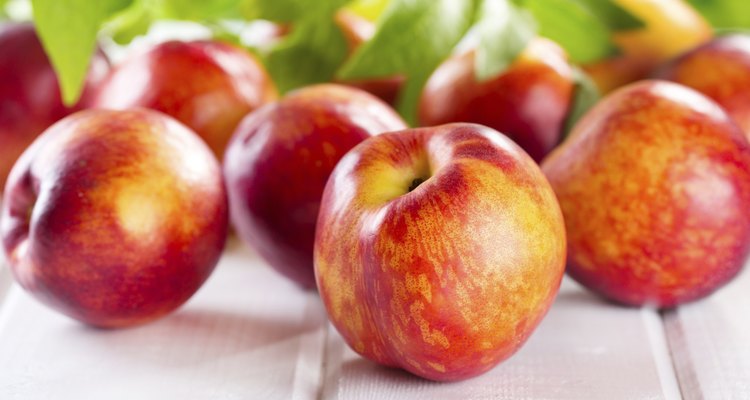
Nectarines (Prunus persica nectarina) are fruit that grow on trees in USDA Hardiness Zones 6 to 8. They are a smooth-skinned peach and are the same species as the peach. Because of this, nectarines are also canned as slices or halves, the same way as peaches.
Preparing the Fruit
adlifemarketing/iStock/Getty Images
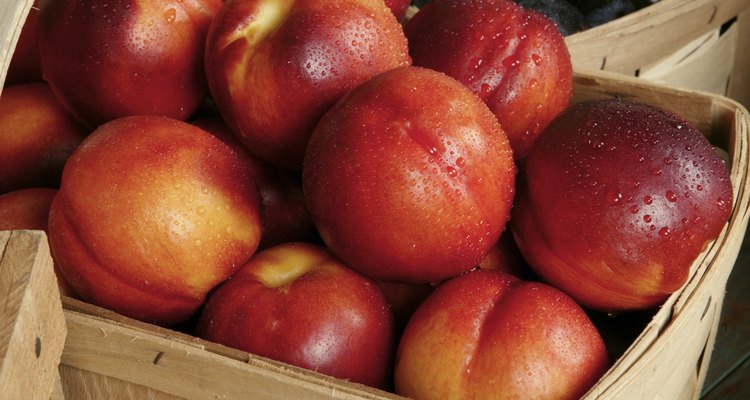
Choose nectarines that are freshly picked, ripe and show no signs of rot or bruising. Remove the stems and wash the nectarines in cold water to remove dirt and any chemical residue. To remove the skin, carefully dip each nectarine into boiling water using tongs and then quickly dip it into cold water. Slip the skin off using your fingers. Cut the nectarines in half and remove the pit. Nectarines can be canned in halves or in slices. To prevent darkening of the fruit while you are preparing it, soak the fruit in an ascorbic acid solution. Ascorbic acid can be found in the canning section in some grocery stores and online. Prepare it according to the manufacturer's instructions. A bushel of nectarines (48 pounds) will yield 16 to 24 quarts of canned nectarines.
Syrup
alisafarov/iStock/Getty Images
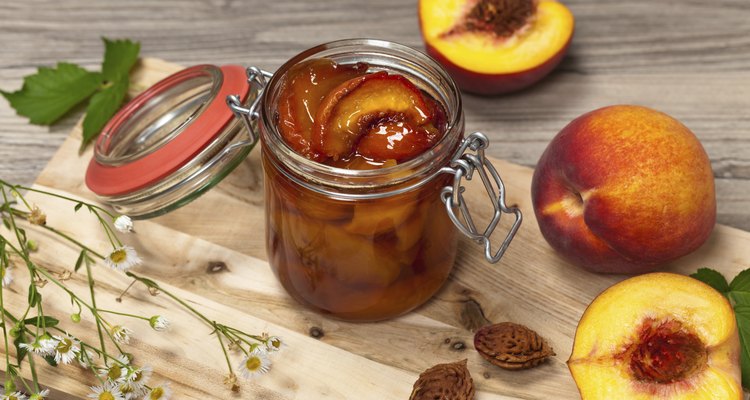
Canned nectarines are packed in a sweet syrup made with sugar and water that helps the fruit retain its color and flavor. For a 4-quart load, mix 5 cups of water and 3-1/4 cups sugar in a large pot and bring to a boil. For a 7-quart load, mix 7-3/4 cups water and 5-1/4 cups sugar in a large pot and bring to a boil.
Raw Pack
Alexlukin/iStock/Getty Images
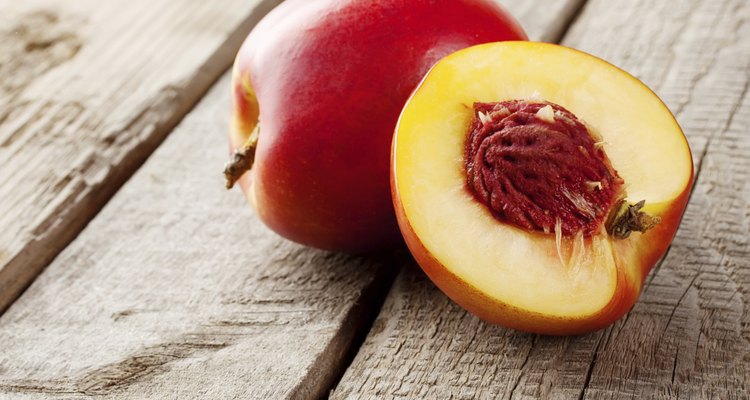
Pack the nectarine slices or the halves, cut side down, into clean, quart-size canning jars. Carefully fill the jars with hot syrup, leaving a 1/2-inch head space for the liquids to expand into when they are boiled. Put on new, clean lids and bands.
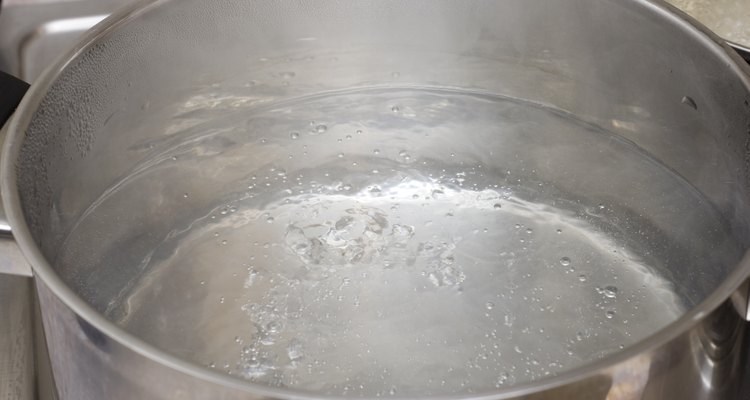
Water Bath
Anna Karwowska/Hemera/Getty Images
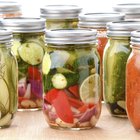
Boiling water bath canning is used to preserve high acid foods, such as nectarines. Fill the canner halfway with water and fill the canning rack with the completed nectarine jars. Bring the water to a boil. When the water reaches a temperature of 140 degrees Fahrenheit, place the canner rack holding the canned nectarines into the boiling water. The water must be at least 1 inch over the tops of the jars. The recommended coverage is 1 to 2 inches. If more water is needed, add boiling water until the cans are properly covered. Cover with the canner lid and set the timer for the recommended boil time. Boil for 30 minutes at altitudes under 1,000 feet. Boil 35 minutes at altitudes of 1,000 to 3,000 feet. Boil 40 minutes at altitudes of 3,000 to 6,000 feet. Boil 45 minutes at altitudes of 6,000 feet and above. When finished, turn off the burner and use a jar lifter to remove the jars one at a time. Place the jars on a flat surface, at least 1 inch apart, and allow the jars to cool undisturbed. The jars can be moved and placed in storage after they have completely cooled and the lids have sealed.
Related Articles
How to Blanch, Peel, & Freeze Whole ...
How Long Can You Freeze Fresh ...
How to Preserve Pimentos
How to Freeze Fresh Beets

How to Freeze Raspberries

How to Freeze Whole Peaches & Plums

Red Currant Jam Recipe

How to Make Elderberry Jam
Does Caviar Go Bad?
How to Boil Beetroot
How to Juice a Daikon Radish

How to Make Blueberry Jam
Tayberry Jam Recipe
How to Freeze a Prickly Pear Cactus
How to Can Pickled Corn in Jars
How to Preserve Rutabagas

How to Make Pickled Asparagus
How to Can Jelly Using a Pressure Canner
How to Preserve Kohlrabi
How to Can Green Tomatoes & Peppers ...
References
- The Encyclopedia of Country Living: An Old Fashioned Recipe Book; Carla Emery
- National Center for Home Food Preservation: Selecting, Preparing and Canning Fruit
- National Center for Home Food Preservation: Maintaining Color and Flavor in Canned Food
- National Center for Home Food Preservation: Syrups for Canning Fruit
- Utah State University Extension: Using Boiling Water Canners
Writer Bio
Elizabeth Yetter has been writing about food and gardening since 2006. She currently resides in the heart of Pennsylvania German country where she has learned traditional recipes and farming techniques. She currently writes Kindle books about local and worldwide superstitions.
Photo Credits
nitrub/iStock/Getty Images