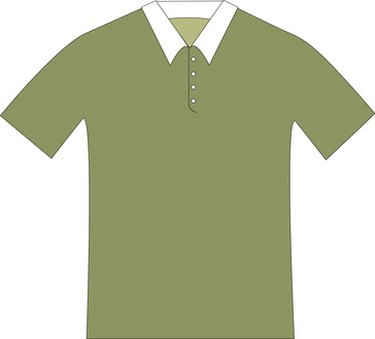
Repurposing your old polo shirts is a creative and eco-friendly activity. Sewing crafts not only showcase your skills and make a great hobby, it's a great way to save resources. Although the polo shirt is known for its clean silhouette and no-nonsense style, you can create a variety of projects to extend the life of your worn polo shirts with a little creativity and imagination.
Sleeveless Polo Shirt wih Chest Pocket
Video of the Day
Convert your polo shirt into a sleeveless polo shirt. Cut off the polo shirt's sleeves. Finish the armholes with a hem by turning the raw edges in and pressing with an iron. Run a straight or double-needle topstitch to secure. Do not discard the excess fabric from your short sleeves: You can use this to make a shirt pocket without purchasing new fabric. Draft a pocket on a paper pattern. Cut the pocket slightly larger than the pattern to allow for seams. If your sleeves have rib cuffs, you can preserve the rib and feature it on your chest pocket. Machine stitch your pocket. Add iron-on embroidered patches or other embellishments if desired.
Video of the Day
Tank Top
Place your polo shirt on your work surface. Trace your shirt's outline on a paper pattern. Shape a tank with a French curve ruler. You can also mark your tank shape directly onto your shirt with tailor's chalk instead. If your shirt has an elongated front button placket, you can modify your tank's neckline to include a one-button placket. Cut and remove your collar and sleeves, but do not discard. Cut out your tank.
Make self-fabric bias binding with fabric from your sleeves or rib collar. Measure your neckline and armhole circumference with a flexible tape measure. Cut binding strips to this length. Cut three 1-inch wide strips on the bias, one for your neckline and two for your armholes. If necessary, stitch several pieces together to form a long strip. Fold the strips lengthwise in half. Press and attach each strip with an overlock stitch for a clean finish.
Mini Backpack
Place your polo shirt onto your work surface. Take a ruler and mark a horizontal line below your front placket. Cut across the line, but do not discard the upper body. Turn your bottom fabric inside out and machine stitch across the bottom hem to close. The opposite end will remain open. Measure a 1-inch border across the top of each edge, fold the fabric over and machine stitch. This will become the closure when you run your drawcord or drawstring through both tunnels.
Open two side slits approximately 2" from the bottom seam, one slit on each side. Measure the length needed to run drawstring from one side slit to another, including the tunnel. Use drawcord or make self-fabric drawstring from your upper body fabric. Insert two separate drawcords or self-fabric drawstring into one side slit. Run a straight stitch to secure one side only. Run the drawcord on the outside of the backpack and loop it through your tunnel. Insert the drawstring and secure with a machine stitch. Repeat, and tug the handles to close the top of the polo shirt bag.
Reusable Tote
Make a reusable tote for your groceries or other items. Draft your tote on a paper pattern. Make a 14-by-15-inch paper pattern for your tote's body. Make a 15-by-5-inch pattern for your tote's bottom panel. Make a 24-by-1-inch patter for your tote's handles. You can modify these specs according to your shirt size or to make a mini tote. Cut two pieces for your tote's body, one piece for your bottom insert and two pieces for your handles.
Machine stitch your two tote body pieces at each sideseam. The top will remain open. Pin the bottom panel in between the two tote panels to begin to form the tote bag shape. Stitch the bottom panel slowly, removing pins as you sew. You can add a reinforcement stitch all around the bottom panel to secure to ensure you avoid splitting a seam with a heavy object. Machine stitch one end of your tote's handles on each tote panel. Pin the two opposite ends to your tote and try it on over your shoulder. Make any necessary length adjustments. Machine stitch the opposite ends. Embellish your tote with trim such as beads or iron-on patches.