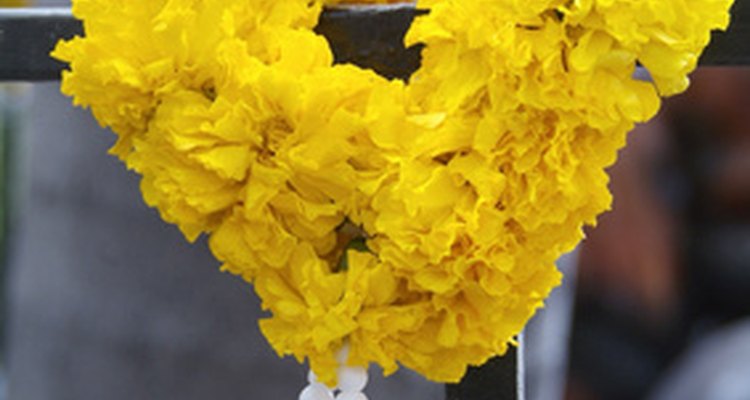
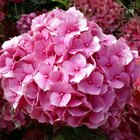
When Indian couples marry in a traditional wedding, they give one another long floral necklaces in a ceremony called Jaimala, also known as the exchange of the garlands. The Jaimala symbolizes the couple's respect for each other and their promise to accept one another. Wedding garlands are made of vibrantly colored blooms strung tightly together for maximum visual impact and are a colorful, sweet-smelling part of the Indian wedding. Buying an Indian wedding garland from a florist can be expensive, but you can purchase the flowers and make the garland yourself.
Measure and cut a length of thread twice as long as you want your garland, plus 12 more inches (for example, for a 48 inch garland cut a piece of string 108 inches long). Thread one end through the needle and pull it through until both sides are of equal length. Tie the loose ends of the thread together in a very large knot three inches from the end.
Cut off the heads of the carnations at the base of the stems.
Insert the needle through the center of a carnation from the stem end up through the middle of the blossom. Gently push the blossom down the thread until it is snug against the knot. Insert the needle through the next carnation from the stem end up through the middle of the blossom and push the second flower down the thread until it is pressed snugly up against the first one. Repeat until you have 24 flowers (or half the total amount you're using) strung onto the thread.
Insert the needle through the center of the next carnation from the blossom end down through the stem end; push it down the thread until it is snug against the previous flower, bloom-to-bloom. Continue in this way, threading flowers onto the garland blossom end first, until you have strung all the blooms. Make sure they are packed together snugly; there should be 3 inches of thread left at the needle end of the garland.
Tie the threads at the ends of the garland together firmly so that it forms a circle; double or triple-knot the threads. Clip off the needle and the loose ends of thread. Mist the flowers with water and keep in a cool, dark place until ready to wear.
Related Articles
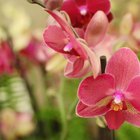
How to Make a Cascading Orchid Bridal ...

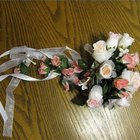
How to Make Long-Stemmed Rose Bridal ...

How to Make a Wedding Cascade Bouquet
How to Make Bows for Wedding Bouquets

How to Make a Flower Scarf Fold

How to Make a Corsage for a Man

50th Wedding Anniversary Floral ...

How to Make Artificial Bouquets

How to Make Renaissance Headpieces
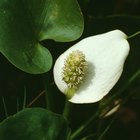
How to Make a Silk Calla Lily ...

How to Make Crystal Wedding Bouquets & ...

How to Make a Presentation Bouquet
How to Care for Cut Hydrangeas for ...

How to Fold a Hankie and Make a Flower

How to Make Wedding Corsages With Silk ...

How to Decorate a Gazebo With Wedding ...

Corsage Flowers & Meanings

How to Make a Bridal Cascading Bouquet ...
How to Make a Wedding Core Lasso

How to Design a Crescent Floral ...
References
Writer Bio
Siva Stephens has been a writer since she could hold a pencil. She has written newspaper articles, medical manuals, advertising copy and gags for cartoonists. Stephens has been publishing online since 2004, most recently as a contributing author for the Oregon Encyclopedia Project.
Photo Credits
yellow garland on an iron fence image by Thor Jorgen Udvang from Fotolia.com