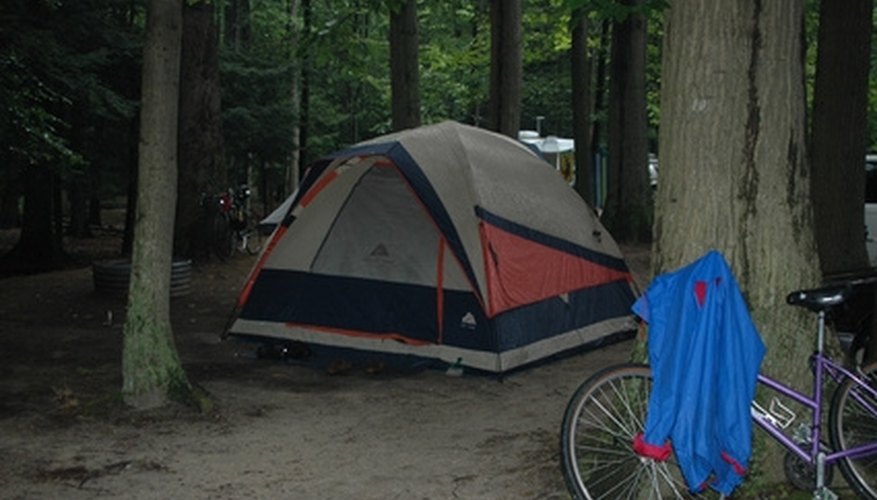

Folding a tent after a long trip of camping can be a chore, particularly for those who have lost or never had folding instructions to their tent. The manufacturer's tent bag is made to protect the tent's fabric from tears, punctures and mold. Additionally, the tent bag holds all the components of the tent in a small bag, which keeps the size of the tent small for travel and holds all of the tent's poles, stakes and gear. Though each model is different, Coleman tents are designed to be simple to construct and put away.
Remove the tent flap by unclasping it from each tent pole and removing the stakes that hold it down. Open the tent's windows and doors.
Take down the tent by removing the stakes from the ground and unhooking the tent poles from the metal pins located around the bottom of the tent. Lay the tent flat and slide the poles out of the pole sleeves.
Line the poles on the ground alongside the tent in order of size. Fold all tent poles except for the longest one by gently pulling on each section and bending it to meet the section behind it. Leave the longest tent pole on the ground along the front door of the tent.
Place the rain fly on top of the flattened tent. Fold the tent into a rectangle by folding in porches and extended windows into the middle of the tent, then straightening out the floor canvas by again pulling on the tent's corners.
Compare the length of the tent to the longest tent pole; if the tent is longer than the tent pole, fold in the edges to facilitate rolling the tent.
Collapse the longest tent pole. Put all poles in the designated pole bag and tie the top.
Fold the tent in half lengthwise, matching the front door of the tent to the back door. Place the tent bag along the top of the tent to ensure that the tent is not too wide for the bag; if so, fold the tent over again until its width is less than that of the bag.
Gently walk on the folded tent to remove air. Kneel at one end of the tent, facing the edge, and begin rolling the tent very tightly. Walk on your knees backwards as you roll, squeezing out air with your knees as you go.
Place the rolled tent into the bag. Put the pole and stake bag on top of the tent in the bag. Zip the bag.
Tips
- Use the creases in the tent floor to identify fold lines, if possible.
- These instructions are for basic Coleman tents. Refer to your user's manual for information about your specific tent.
References
Tips
- Use the creases in the tent floor to identify fold lines, if possible.
- These instructions are for basic Coleman tents. Refer to your user's manual for information about your specific tent.
Writer Bio
Lauren Thompson lives in Kansas City, Missouri and works as both a writer and freelancer. Her background is in technical and spec writing for the information technology industry, as well as financial services. She also writes opinion and editorial articles for KCParent and Parents Edge, specializing in entertainment, food and political realms.