If you want to connect all of your computers together so that they can share files and access the same Internet source, you will need to use a networking device. While routers are the most common networking option, a network switch is a less expensive choice that can work just as well. Although a network switch lacks the built-in firewall of a router, it is a more than adequate choice for most small-scale networks in a home or office setting.
Step 1
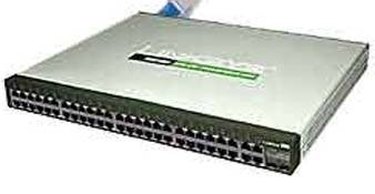
Place the first network switch next to your cable or broadband Internet modem. Plug the AC power adapter for the switch into a wall outlet, but do not yet connect it to the modem or any of your home computers. Power on the computer closest to the modem. Insert the disc that came with the switch into the computer's CD or DVD drive. Follow the on-screen instructions to install the software drivers for the network switch.
Video of the Day
Step 2
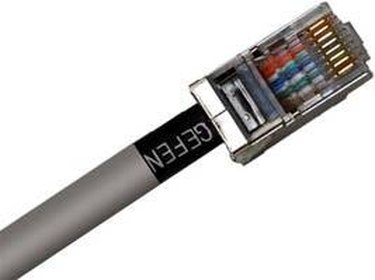
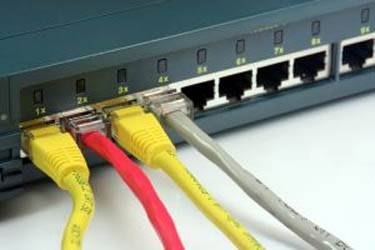
Connect either end of an Ethernet cable into the outgoing port on your broadband or cable modem. Hook the other end of the Ethernet cable into the port on the switch that is marked as "WAN" or "Wide Area Network." Plug a separate Ethernet cable into any of the other numbered ports on the networking switch. Connect the other end of the cable into the Ethernet port on the computer.
Step 3
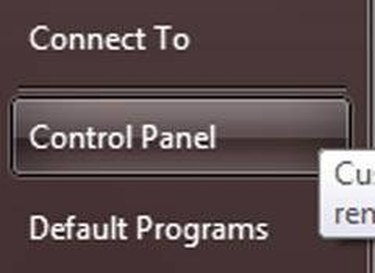
Bring up the computer's Start menu and click on the "Control Panel" option. Scroll down through the various Control Panel entries and then double-click the entry labeled as the "Network and Sharing Center." Click on the text link at the left side of the screen labeled as "Connect to a Network."
Step 4
Click on the radio button marked as "Wired Network" and then click on the "Next" button. Scroll down through the list of networking devices that the computer has detected. Locate the entry for your network switch. Click on the entry and then click on the "Connect" button.
Step 5
Connect Ethernet cables to the other computers that need to be networked together. Plug the other end of the cables into any of the open numbered ports on the networking switch. On those computers, repeat the setup process of connecting to the switch by going through the "Network and Sharing Center" menu.
Step 6
Set up a second switch if you are running out of ports on the original switch. Install the switch software on whichever computer that the switch will be physically located closest to. Run an Ethernet cable from any of the numbered ports on the first switch to any of the numbered ports on the second switch. Do not connect the cable into the "WAN" port. Run Ethernet cables between the second switch and any additional computers in the same manner as you did with the first switch.
Video of the Day