Things You'll Need
Jewelry wire
Wire cutters
Jewelry pliers
Assorted beads
2 crimp beads
2 calottes
2 jump-rings
Measuring tape
Toggle clasp
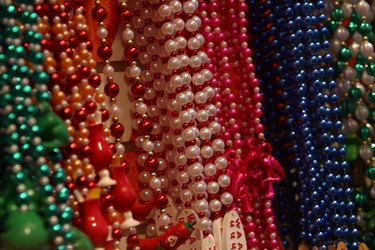
Beaded bracelets are decorative items of jewelry made out of threaded plastic, metal, glass or ceramic beads. Store-bought beaded bracelets can be costly, but you can make your own bracelet for a fraction of the price. Use different colored, shaped and textured beads to create a unique bracelet that reflects your individuality and personal style; beaded bracelets also make great gifts for friends and family. All the materials required to make beaded bracelets can be purchased from craft stores or online retailers.
Step 1
Cut a length of jewelry wire 2 inches longer than the desired length of your beaded bracelet.
Video of the Day
Step 2
Slide a crimp bead onto one end of the jewelry wire. Hold the jewelry pliers over the crimp bead and squeeze the handles firmly to secure the crimp bead shut. Cut off any excess wire after the crimp bead with wire cutters. Thread a calotte onto the wire so the open shell covers the crimp bead and the hook faces away from the bracelet. Squeeze the main part of the calotte closed, so shuts over the crimp bead.
Step 3
Arrange the beads in the order you want them to appear on your beaded bracelet. Thread the beads one-by-one onto the jewelry wire.
Step 4
Thread a calotte onto the jewelry wire after the last bead, with the hook side facing away from the bracelet. Thread a crimp bead onto the wire so it fits into the middle of the calotte. Firmly squeeze the calotte with the pliers to secure it shut. Close the calotte around the crimp bead with the pliers to secure the end of the bracelet.
Step 5
Curl the hook end of the calotte to form a small loop by gently twisting it with the pliers. Repeat with the calotte hook on the other end of the bracelet. Twist open a small gap in the jump-ring and thread it through the calotte hoop. Thread the toggle clasp onto the jump-ring, then close the jump-ring with the pliers. Repeat with the other end of the bracelet, using the opposite part of the toggle clasp.
Tip
Allow extra starting jewelry wire if you use large beads.
Warning
Keep your fingers away from the tips of the pliers and wire cutters.
Store beads and small findings away from children.
Video of the Day