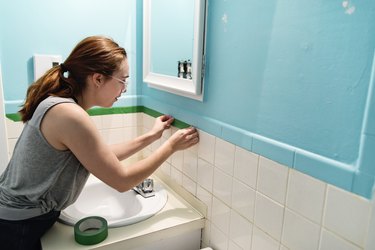
Bathrooms are the perfect choice for experimental faux paint treatments because of the smaller area of the wall space. However, it is also true that bathroom walls are more visible, so if a wall treatment isn't done well or is too aggressive, it will be more noticeable.
Feather dusters are fun to use to create unique patterns on your walls. The feathers fall in random ways and, unlike a brush, they will not cover the entire surface. You can also drag, pounce and swirl with a feather duster or with tone-on-tone treatments of more than one color, or you can even achieve a nice depth of field that can look aged or even a bit like stone.
Video of the Day
Video of the Day
Step 1: Prep the Bathroom Walls
Prep your bathroom as you would for any painting. Paint your entire wall surface with a middle tone color. This will become your base color, and it should be the tone you prefer. The other two paint colors will add depth and highlights. Keep in mind that feather dusters can throw paint during your application, so cover any surface that may get splattered. Mix and pour one of your paints into a large paint tray or onto a plastic plate and keep a few paper bags handy.
Step 2: Wet the Duster
The idea is to get the tips of your feathers wet with paint but not dripping. As you work your feather duster, it will rather quickly become too wet and the marks it will make will not be as nice. Pounce off excess paint on your paper bags each time you put paint on your feather duster.
Step 3: Enhance the Base Color
Try for consistent inconsistency. Work one color around the room using several feather dusters as needed. Do not try to cover the base paint; you are simply adding to the color of the base paint or enhancing it. You want the base color to come through.
Step 4: Try Two Colors
When you have completed the first feather dusted color, clean up and do the second feather dusted color. You can work with wet or dry walls, and you will have different effects if you allow the paint to dry between coats. Again, now you are trying to allow two colors to show through, so this round of painting may require a lighter touch. You will quickly discover a certain pattern or look that will emerge that you favor. Reserve two clean feather dusters for later use.
Step 5: Adjust the Color
After your complete second round of feather duster painting, pour two more paint trays or plates: one in your base color and one in your first color. Go over your walls slowly to adjust any areas that are too heavy or too light in any of the three shades. Again, if you have worked the room wet, then do this wet; if you have allowed each coat to dry, do this final pass after the second feather duster painted coat has dried. Your finished look should appear monotone or tonal, but not three obvious colors.