Things You'll Need
Pin backing
Ribbon
Scissor
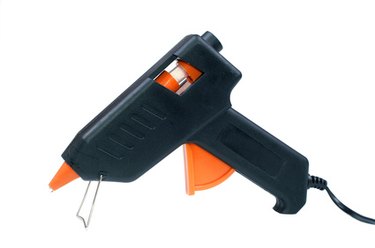
Hot glue gun and sticks
Wooden ribbon
Paint
Paint brush
Making your own ribbon pins can be a worthwhile project. For example, you can make a looped ribbon to pin to your shirt to signify your support for troops overseas or your support of cancer survivors. You can also make an award pin or a celebration pin for a party or anniversary. This project works for any size pin backing and any type of ribbon or wood piece, and you can arrange the ribbon any way you like. You can buy all the supplies at craft or hobby stores.
Ribbon
Step 1
Plug in the hot glue gun to warm it up.
Video of the Day
Step 2
Cut a piece of ribbon with the scissors. Decide how you want the ribbon to look. If you want it tied in a bow, tie it now.
Step 3
Put a strip or dot of hot glue onto the flat part of the pin backing.
Step 4
Press the ribbon firmly on the glue. Hold it in place for about 10 seconds while the hot glue sets up.
Step 5
Allow it to dry before use.
Awareness Button
Step 1
Paint a plain, ribbon-shaped piece of wood. Find these at craft stores.
Step 2
Let the paint dry.
Step 3
Plug in the hot glue gun.
Step 4
Put a strip or dot of hot glue onto the flat part of the pin backing.
Step 5
Press the back of the piece of wood firmly to the pin baking. Hold it in place for about 10 seconds while the hot glue sets up.
Warning
Hot glue burns. Handle carefully.
Video of the Day