Things You'll Need
Damp sponge
Solid work surface such as granite or hardwood bench
Leather-embossing stamps and dies
Leather-embossing wheel (optional)
Wood or rawhide mallet
Leather finish
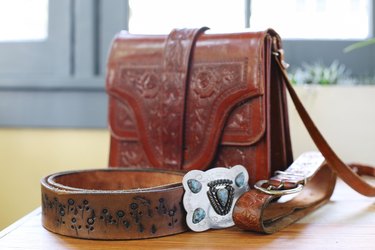
An embossed design on a leather craft project, like the name of the person receiving it as a gift, or perhaps flowers or geometrical designs, gives it a permanent personal touch. The embossing process requires stamps or special embossing tools sturdy enough to leave an impression in the leather. Embossed designs appear raised -- that is, the space around the actual design, such as a flower, is pressed down -- leaving a raised flower design in the middle. Wet vegetable-tanned leather is required for embossing; other types of leather may not reveal a clean imprint after embossing.
Step 1
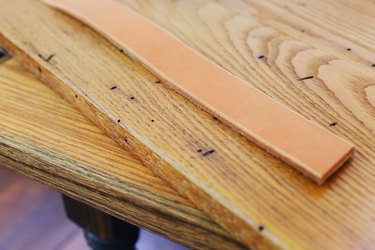
Place the leather face-up on your work surface.
Video of the Day
Step 2
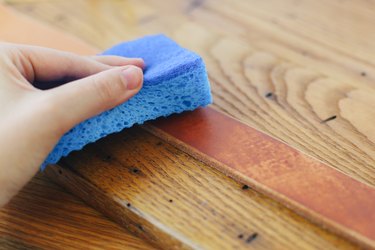
Wet the top of the leather with the sponge until it is thoroughly wet; the leather appears darker when wet. Wet the back side as well if the leather is thick. Allow it to dry for 10 to 15 minutes or until the leather lightens slightly.
Step 3
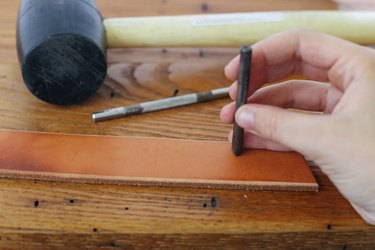
Position the stamp or die atop the leather, holding the handle straight up vertically; if crooked, the embossed design may be deeper on one side.
Step 4
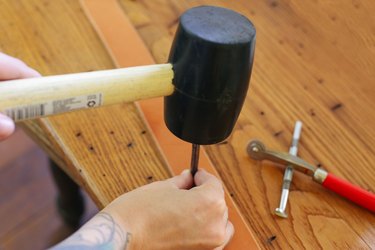
Tap the top of the stamp or die with the mallet firmly several times. Hold the stamp or die down firmly while hitting it so the embossing tool does not bounce away from the leather. Carefully tilt the stamp or die away at an angle to inspect the leather. If the embossing is not deep enough, tilt the tool back into place without moving it off the design, then hit it with the hammer a few more times. Do this as many times as desired to complete your design.
Step 5
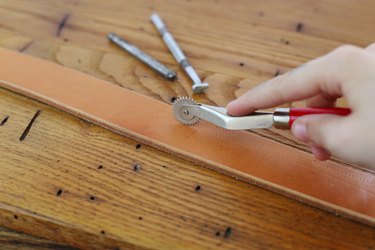
Create a design such as series of interlocking chain links or rows of diamonds with an embossing wheel, if you want to. Press the wheel down firmly into the leather, then roll it in the direction of the desired design. Keep pressure consistent as you roll the tool to ensure the design looks the same from start to finish.
Step 6
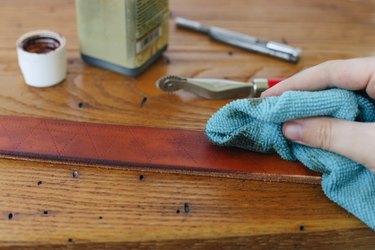
Apply a leather finish to your project to protect your work. Pour a small amount of leather finish onto a damp cloth, then rub it over your work in circular motions. Ensure the finish gets into all the details of the leather designs to completely protect the leather.
Tip
Leather at least 2 millimeters thick reveals better results than thinner leathers; the farther the stamp or tool can be pressed into the leather, the deeper the impression.
If working with thin leather, place several sheets of felt beneath it to help create a clear embossed impression.
Practice your techniques on scrap leather of the same type and thickness as your project pieces; this allows you to get a feel for the ideal amount of pressure required to create a clean impression with each stamp or die.
If creating a design that requires lining the stamps up one after another, such as spelling out a name, apply a piece of painter's tape to the leather to act as a bottom-edge guide for each stamp or die.
Warning
Exercise care when hammering leather stamps and dies to avoid hitting your fingers.
Video of the Day