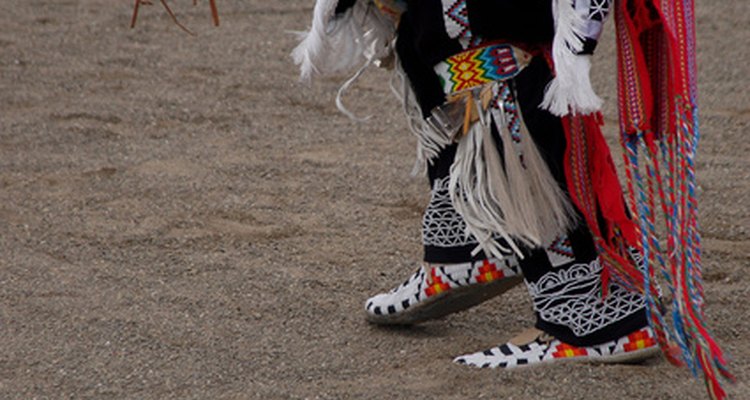
Native American moccasins come in all shapes, sizes and colors. They can be used for costumes, cultural events or just for a fashion statement. Moccasins are one of the most comfortable types of shoes to wear. While it takes a certain level of skill to make elaborate moccasins, a simple pair of moccasins can be sewn by anybody with basic sewing skills. After the task of making a simple pair of moccasins is mastered, more detail can be added, if desired.
Place the left foot directly on top of a piece of suede. Trace around the foot with a piece of chalk, adding 1 inch all around for seam allowance.
Cut along the chalk lines of the fabric. The resulting fabric piece will be the sole of the shoe.
Cut out two pieces of suede that are each 3 inches wide and as long as the side of the sole of the shoe. Sew these side pieces to each side of the sole.
Cut a piece of fabric that is 5 inches long and 3 inches wide. Sew this piece to the back of the sole, curving one of the 5-inch edges to match the curve of the heel of the shoe.
Cut out a semicircular piece of suede that is 5 inches wide at the base and 3 inches tall in the middle. This will form the toe of the shoe.
Sew the semicircular piece of suede to the front of the shoe, matching up the curve of the semicircle with the curve of the front of the sole.
Fold over the raw edges of the shoe 1/4 inch and sew the fold in place. Turn the moccasin right side out and repeat the whole process with the other shoe.
Related Articles
How to Make Mens Moccasin Boots
How to Make a Shoe for a School Project
How to Clean Scuff Marks Off of Tan ...
How to Repair Sperry Shoes

The Best Way to Stretch Patent Leather ...

How to Keep Flip-Flops From Slipping
Uses for Shoe Polish

How to Clean Airwalk Ugg-Style Boots
How to Stretch out the Tops of Western ...
How to Quickly Break-in New Sneakers

How to Roughen Up the Soles of Your ...
How to Polish Wingtip Shoes
How to Make Wrap-Around Moccasin Boots

How to Deodorize Suede Sandal Footbeds

How to Clean the Soles of Leather Shoes
How to Make Apache Moccasins
How to Protect Light-Colored Leather ...
How to Care for Chukka Boots

How Do I Polish Brown Burnished Leather ...
How to Make Leather Men's Shoes
References
Writer Bio
Courtney Clark studied English, creative writing, film and history at Southern Virginia University from 2005 through 2008, earning a Bachelor of Arts. During her time at SVU, Clark participated in the English Honors Society and the university's film club.
Photo Credits
native american image by Joy Fera from Fotolia.com