
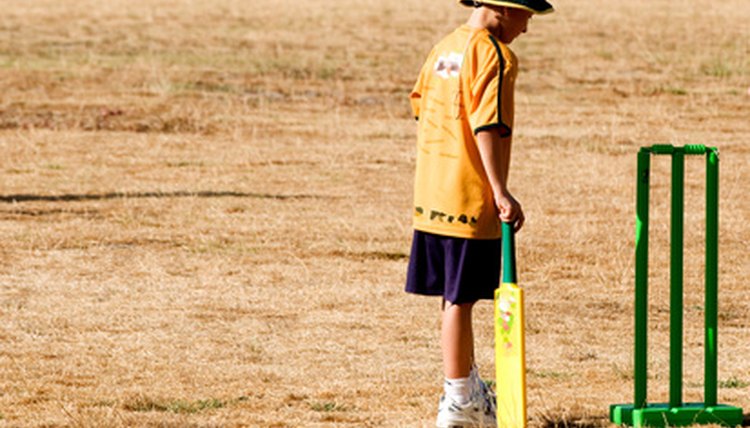
How to Make Your Own Cricket Bat Stickers
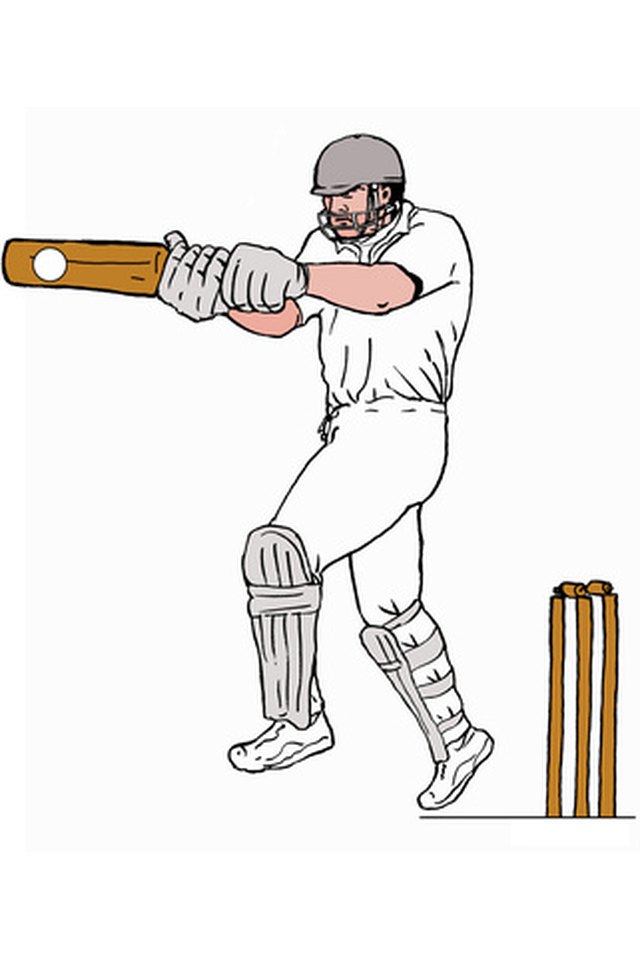
Enliven your cricket game by personalizing your paddle with stickers. Cricket, a traditional English game, still thrives today, but now players showcase their personality by stylizing their bats with stickers. Stickers may be ordered online or made at home. The flat part of a typical cricket bat measures approximately 2 inches wide and 22 inches long, giving you plenty of room to decorate with either a single sticker or multiple stickers. Make your own stickers for your cricket bat and go to bat in style.
cricket batsman man batting side image by patrimonio designs from Fotolia.com
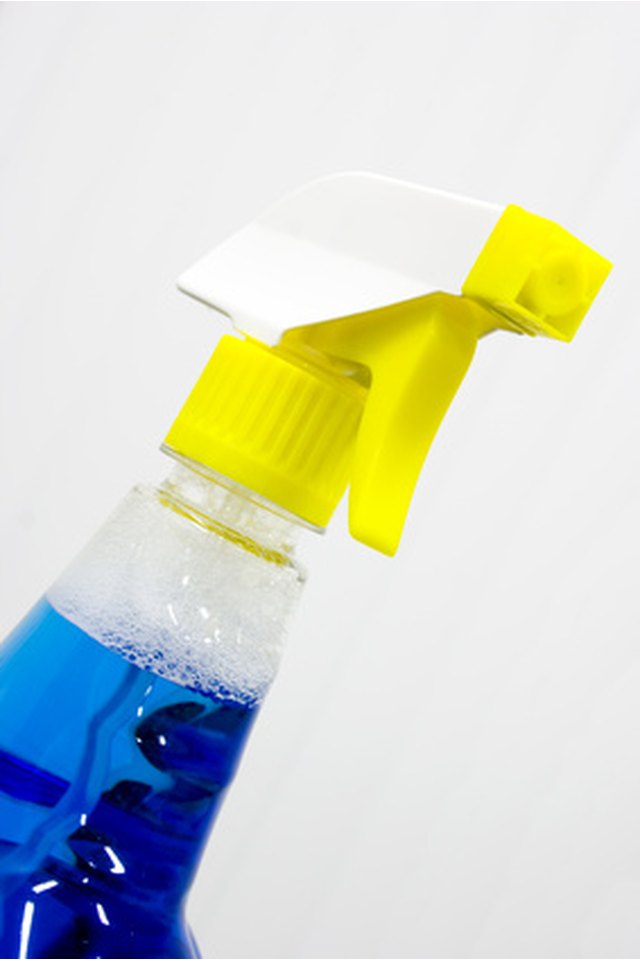
Wipe the bat with a soft cloth to remove large pieces of dirt and debris. Then use a household cleaner to wipe the surface again. Stickers adhere more easily to a clean surface.
cricket batsman man batting side image by patrimonio designs from Fotolia.com
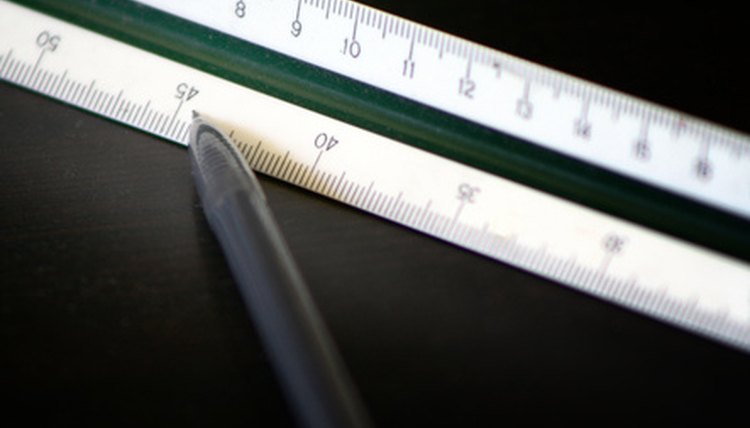
Using the paper on which you want to create your sticker design (either colored or white), sketch out the dimensions of the cricket bat to establish your workable area.
cricket batsman man batting side image by patrimonio designs from Fotolia.com
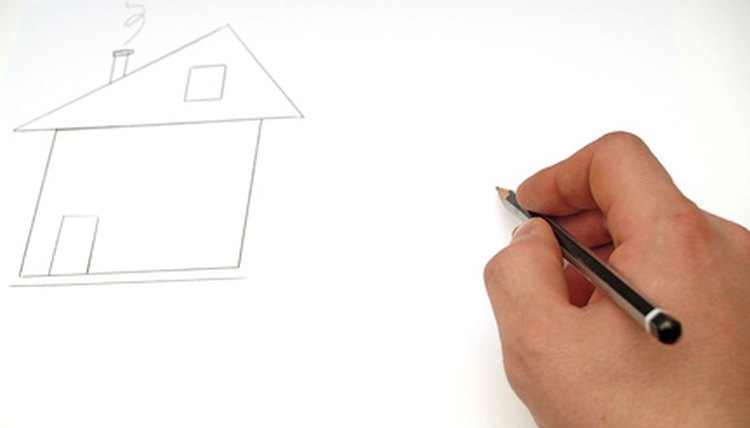
Draw your personal sticker design within the marked area.
cricket batsman man batting side image by patrimonio designs from Fotolia.com
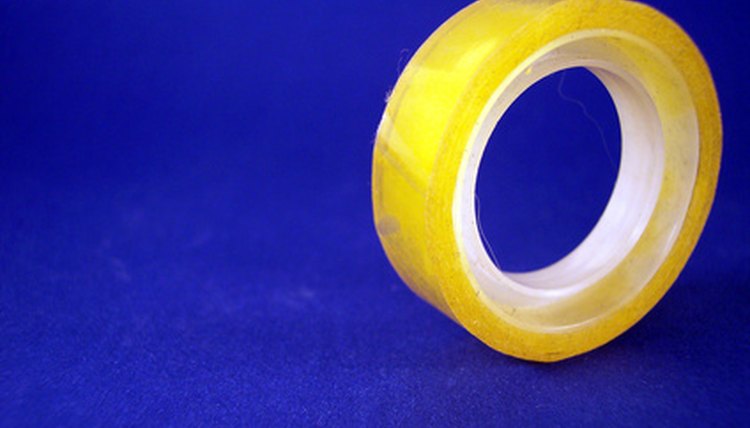
Adhere carpet tape (double-sided tape) to the back of the paper on which you have drawn your sticker. For a 4-inch sticker, use two pieces of 2-inch wide tape to cover the back surface. Make sure that the tape extends to the end of the image, covering the entire picture backing. This creates the sticky side of your homemade sticker.

cricket batsman man batting side image by patrimonio designs from Fotolia.com
Use scissors or a paper cutter to cut around your image, creating the desired sticker size for your bat.
cricket batsman man batting side image by patrimonio designs from Fotolia.com
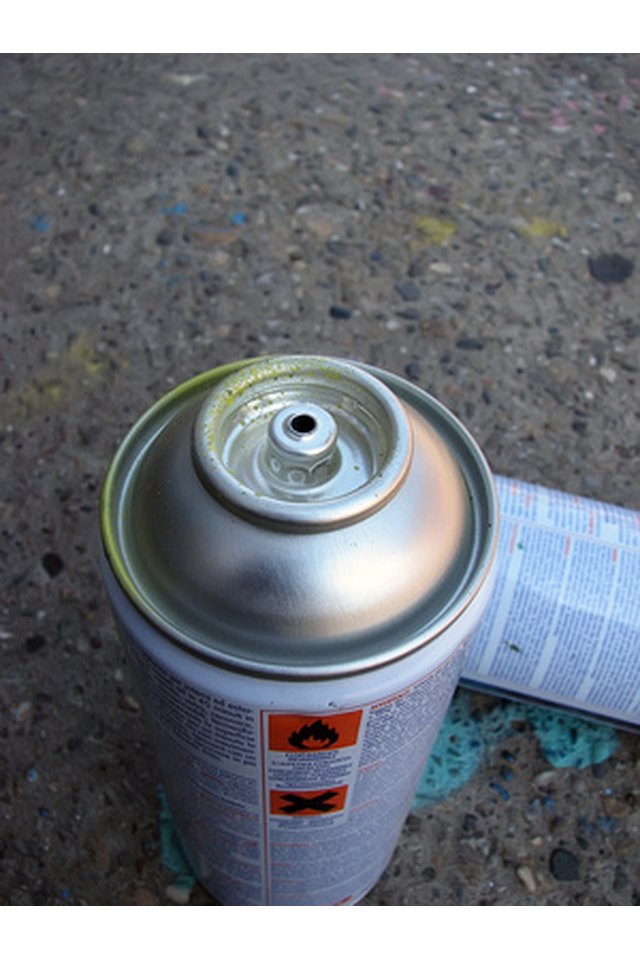
Coat the custom sticker with acrylic spray to make it more robust for outdoor play.
cricket batsman man batting side image by patrimonio designs from Fotolia.com
Remove carpet tape backing by peeling it off, and adhere your homemade sticker to the clean surface of your cricket bat.
Tips
Use plastic carpet tape, as opposed to cloth carpet tape, which can be difficult to cut.
Use wider carpet tape for fewer gaps between tape. For large stickers, an acceptable gap is an eighth of an inch. For a cricket bat size, use two pieces of 2-inch wide tape.
The acrylic spray does not make your sticker waterproof. Wipe bat after each use to prolong the life of your stickers.
Warnings
Use acrylic spray in a well-ventilated area to avoid inhalation.
Tips
- Use plastic carpet tape, as opposed to cloth carpet tape, which can be difficult to cut.
- Use wider carpet tape for fewer gaps between tape. For large stickers, an acceptable gap is an eighth of an inch. For a cricket bat size, use two pieces of 2-inch wide tape.
- The acrylic spray does not make your sticker waterproof. Wipe bat after each use to prolong the life of your stickers.
Warnings
- Use acrylic spray in a well-ventilated area to avoid inhalation.
Writer Bio
Jennifer Tanzman has been writing since 2005. She has been published in "Acta Astronautica," "Journal of the International Academy of Astronautics" and "Johns Hopkins APL Technical Digest." Tanzman earned a Master of Science in mechanical engineering from Johns Hopkins University, as well as a Bachelor of Science in mechanical engineering from Binghamton University.