
How to Make Shirred Curtains

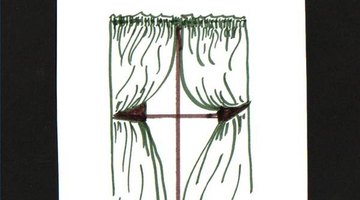
Shirred curtains are a pair of window treatments created in lightweight fabric with gathers along the top where a rod is inserted, leaving a row of ruffling. Sometimes the fabric is transparent, allowing natural light to come in but providing privacy. These curtains are often hung in kitchen windows or behind heavier draperies. The length depends on the size of the window.
Creating shirred curtains
-
Measure the window where shirred curtains will hang. Double the width of the window to calculate the amount of fabric to purchase. Lengthwise, add sufficient fabric for a 4-inch hem for the bottom of the curtain, as well as 6 inches to the top to accommodate 1-inch ruffles and 2 inches to insert a curtain rod. It is better to purchase a little extra than not enough.
-
Using a sewing machine and with coordinated thread to the curtain fabric, sew a half-inch straight stitch seam along both lengths of the pair of curtains to be made, wrong side in. Press the seams flat with an iron on a setting appropriate to the type of fabric used.
-
Fold the top of each curtain panel, wrong side in, about 5 inches using a measuring tape and pin with straight pins where a straight stitch will be made. Press with an iron, then straight stitch across. Measure 2 inches below that for the opening for the curtain rod to be inserted to hang in the window. Pin with straight pins, folding in excess fabric for a neat finish and straight stitch the opening closed. Press with an iron.
-
Insert the tension spring curtain rod through the 2-inch opening at the top of the curtain, gathering the fabric for even distribution, and hang in the window to see how they will look. Using straight pins, pin the bottom hem of the curtains, folding in remaining fabric for a neat finish, so that there is about a half-inch space between the bottom of the curtains and the window sill, but below the window glass. Remove the rod and straight stitch the opening. Press with an iron. Rehang the curtains on the window rod, gathering the curtains so the two panels open at the center of the window opening.
Tips
- If desired, shirred curtains can also have a bottom spring tension rod as well as the top rather than hang loosely along the bottom.
Writer Bio
For over 25 years, Natasha Lawrence has written for publications from "Alaska Business Monthly" to "Savannah Magazine" and provided destination content as Florida city editor for Wcities. Her expertise in arts and crafts includes calligraphy, painting, mosaics, jewelry making, paper crafts and home decor, often offering workshops in museums and art centers.
Photo Credits
- Image by Natasha Lawrence
More Articles