Everybody notices elegantly fashioned glass art. Often times the skill and craftsmanship that is poured into these divine items are often overlooked. Glass is universally understood as fragile, very breakable and needs to be melted down before molding. This fact should not frighten a novice glass worker away. Knowing the items needed, following step by step instructions and awareness of safety procedures will have you well on your way to melting glass at home.
Items Needed to Successfully Melt Glass
Video of the Day
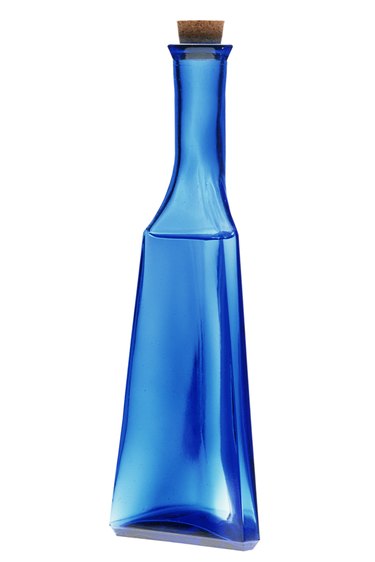
Old recycled bottles or any other glass items can be sufficient enough for starting your glass art. There is a variety of glass on the market that can be researched [here] (http://www.warmglass.com/Glass_types.htm).
Video of the Day
This is a good check list to make sure all items are accounted for and ready for use before starting this exciting craft.
Instructions for Melting Glass
Here are basic guidelines to melt glass at home:
- Use clean glass only. For bottles with labels soak them for 8 hours to ensure there will be no imperfections on your final surface.
- Put on safety gear.
- Heat kiln to between 1200 F to 1800 F. Please check [this link] (http://www.americanglasssupply.com/html/glassfiring.html) to determine your ideal temperature range and process.
- Light the blowtorch and use to add final shaping towards the end.
- Do not cool the glass art too rapidly, this will cause it to break sooner or later.
Tips and Warnings
A person might not be concerned about a small cut, burn or even want to wear a protective mask when melting glass. Glass safety is important. The glass needs to have heat distributed evenly to mold effectively. Silica dust can enter the lungs without a mask on, which means you are breathing glass particles. Do not look at the beautiful glass without special infrared-blocking glasses, this can cause blindness. Please check out these [tips] (http://www.americanglasssupply.com/html/glasssafety.html) on safety also.
Creating Your First Glass Art
There are still many things to learn and know when you melt glass at home and create glass art. Bottles can be melted by draping which is letting the weight of melted glass shape over a mold at 1200 F. Glass marbles can be melted until they stick together using the tack fusing method at 1350 F. Crushed pieces can be placed inside a mold by frit casting at 1480 F. Please check out other resources on the internet or visit your local library to learn as much as you can.