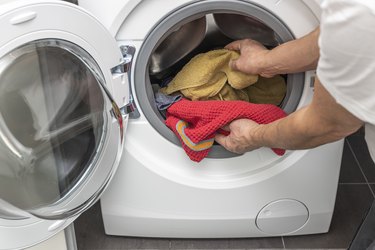
Moving into a new home is always an exciting moment. It's after you move and begin to hook up your appliances that you may find that the house lacks an exhaust vent for the dryer. While an dryer vent is essential for safe operation, if you are renting or don't want to put a hole in the basement foundation, you can vent a dryer through a window. By using a window, you can install a safe temporary or semi-permanent solution while avoiding the expense of drilling a hole through cement, bricks or siding.
Things You'll Need
Video of the Day
How to Vent a Dryer Through a Window
Step 1: Before You Begin
Put on safety gear, including safety goggles, work gloves and a dust mask to protect your eyes and hands. Also, unplug the dryer. Never work on or around an appliance without unplugging it.
Video of the Day
Step 2: Remove the Window Glass
Remove the glass from the window. If you have a divided window, you only have to take out the glass on the side that you will use to vent the dryer. Alternately, open the window and remove the screen. Store the screen safely in a closet or the garage so you can replace it when you move.
Step 3: Measure the Opening
Measure the window opening and cut a piece of wood, acrylic or plexiglass that will slide into the opening. The insert should be snug enough to fill the entire space.
Step 4: Mark for the Vent
Mark the center of the insert. Then drill a hole so you can insert the jig saw or use a hole saw to make a 4-inch hole.
Step 5: Insert the Dryer
Insert the dryer vent hood into the hole, with the opening facing downward. This should be a snug fit as well. Use the caulk and caulking gun to seal the area around the flat piece on the vent hood to the insert.
Step 6: Insert the Wood or Plexiglass
Place the insert in the window. If you merely opened the window to provide access, use window locks and a cut down broomstick or board in the track to secure the window so it cannot be opened from outside.
Step 7: Caulk the Insert
Use the caulking gun to place a bead of caulk around the edge of the insert where it meets the window frame. Once the insert is secure in the window and the vented hood is secure, you are ready to add the elbow.
Step 8: Add the Vent Elbow
Place a 4-inch pipe elbow on the inside opening of the dryer vent hood. Position it so that it is facing the direction of the dryer where you will run the long 4-inch-diameter dryer pipe to the bottom of the dryer where the outlet vent is. Use the foil tape to seal the elbow to the vent hood.
Step 9: Add the Vent Pipe
Add the metal pipe or flexible duct the to the elbow. Use the foil tape to seal the connection. You may also need to add an elbow to the output vent on the dryer to connect the vent pipe. Add the elbow and seal it with the foil tape, then connect the piping to the elbow and seal with the foil tape.
Step 10: Check for Air Leaks
Turn on the dryer and look for any leaks. If you followed the steps correctly, you should have no leaks. To determine if you have a leak, run your hand around the pipe as the dryer is running. If you do feel air coming from the taped joints, use some more foil tape to seal the leak.
Step 11: Check the Outer Vent Flap
Go outside and make sure that the flap on the dryer vent is opening when the dryer is running, so the moisture, lint and any fumes or gases safely exhaust outside. If it is not opening properly or is sticking, try gently wiggling the flap until it moves freely. Lubricate if necessary, so it moves freely.