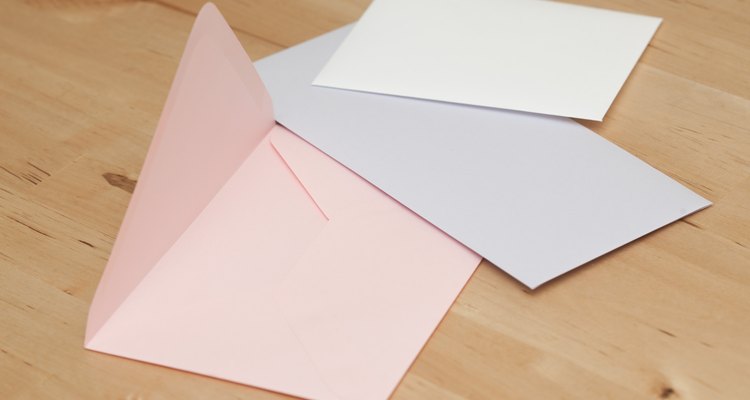
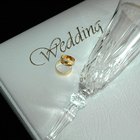
There is no one standard size for wedding invitations. The size largely depends on the standard sizing for envelopes as well as the availability of those envelopes. You can create invitations on any type of paper, but they generally fit within one of three standard announcement-sized envelopes.
Announcement Envelopes
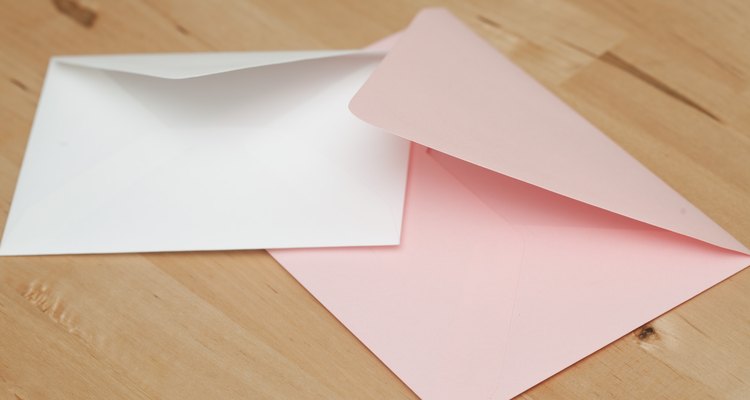
Standard envelopes with the designation of "A" are considered announcement envelopes. These envelopes are commonly used for greeting cards, announcements and invitations.
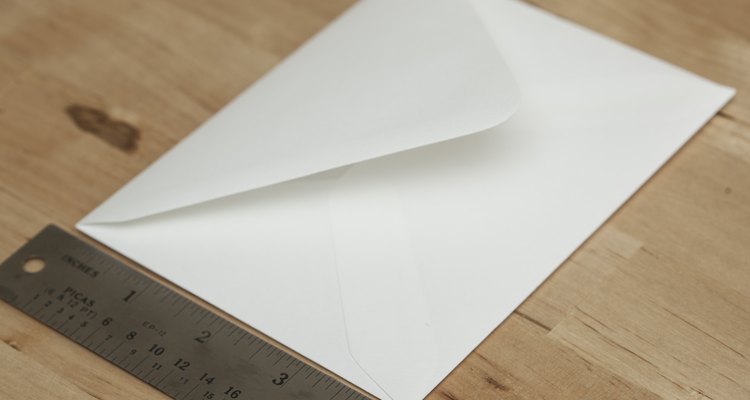
Envelope Edges
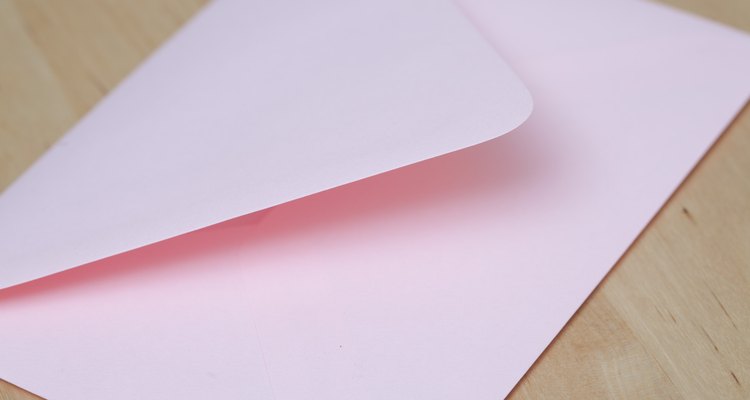
Announcement envelopes typically have a V-shaped pointed edge that is glued down or a square-shaped opening edge.
A-7 Envelopes

A-7 sized envelopes hold invitations that are approximately 5 inches by 7 inches. The envelopes are 5.38 inches by 7.63 inches on the outside and 5.25 inches by 7.25 inches on the inside.
A-10 Envelopes

A-10 envelopes hold invitations that are 4 inches by 9 inches. The inner dimensions of the envelope are 4.13 inches by 9.5 inches and the outer dimensions are 4.38 inches by 9.75 inches.
A-2 Envelopes
A-2 envelopes hold invitations that are 4.1 inches by 5.25 inches. The outer dimensions of the envelope are 4.375 inches by 5.75 inches, with the inner dimensions only slightly larger than the recommended invitation size.
Related Articles
How to List Family Names on a Gravestone
How to Address an Envelope With ...

Ideas for a 31st Year Anniversary Gift

How Do You Address Wedding Invitations ...
Save the Date Postcard Etiquette
How to Make Toasted Bread Sticks With ...

Do the Groom's Parents or Bride's ...

How to Write a Newspaper Engagement ...

How to Wear a Collar Brass Class A ...

Proper Etiquette for a Graduation ...

How to Calculate the Number of Wedding ...

The Difference Between First and Second ...

Etiquette on Addressing Guests in ...
How to Cook Tender Rolled Flank Steaks ...

Bar Mitzvah Invitation Etiquette
How to Cook Chicken Kebabs in a Bottom ...
How to Get a Certified Copy of Your ...

How to Address an Invitation to a Pastor
How to Write a Wedding Invitation

How to Roast Italian Sausage
References
Writer Bio
Elizabeth Tumbarello has been writing since 2006, with her work appearing on various websites. She is an animal lover who volunteers with her local Humane Society. Tumbarello attended Hocking College and is pursuing her Associate of Applied Science in veterinary technology from San Juan College.
Photo Credits
Juno Le/Demand Media