
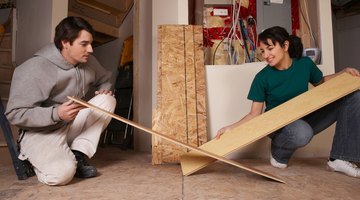
Do I Need a Nail Gun for Laminate Flooring?

Laminate flooring looks very similar to hardwood flooring, but the installation process is completely different. Hardwood floor planks must be nailed into each other and into the subfloor below. Courses of laminate flooring simply lock into the adjacent plank.
The installation process for laminates is much faster than that used to install hardwood flooring.
Floating Floors
Floors that are not nailed into a subfloor or underlayment are called “floating floors.” All construction materials expand and contract to some degree with changes in humidity and temperature. Hardwood flooring planks expand and contract as individual pieces of material, while laminates -- like any other floating floor -- expand and contract as a single large unit. A 1/4-inch wide expansion joint all along the room’s perimeter allows the floating floor enough room to move as needed.
Snap Together
Rather than nails driven through the tongues of laminate planks and into the subfloor, some manufacturers have designed planks that just snap together. This type of system uses no fasteners or adhesives to join boards together. The tongue of one plank often has a small ridge milled into its top, and the ridge fits neatly into a small slot milled into the top of a groove on an adjoining board. Bringing the two boards together creates a snap, and the planks hold together solidly.
Glue Together
An alternative means of joining laminate boards together is to apply glue along the tongue before joining boards. The glue dries quickly and creates a strong bond. Excess glue squeezes out the top of the joint and must be wiped away quickly before it dries. Glue-together style laminate flooring does not have the additional ridge and slot system found on snap-together style boards. Glue adhesion replaces the need to lock pieces together.
Hammers
Although a nail gun is unnecessary when installing laminate flooring, a hammer or mallet is required whether working with glue-together or snap-together style floors. Hammers tap one plank into the next one. Only gentle blows are needed, and those are made against a tapping block or scrap piece of wood to protect tongues and grooves from damage.
References
Writer Bio
Robert Korpella has been writing professionally since 2000. He is a certified Master Naturalist, regularly monitors stream water quality and is the editor of freshare.net, a site exploring the Ozarks outdoors. Korpella's work has appeared in a variety of publications. He holds a bachelor's degree from the University of Arkansas.
Photo Credits
- Jupiterimages/Photos.com/Getty Images
- Jupiterimages/Photos.com/Getty Images
More Articles