Engraved wood is an art form all by itself. And Dremel has taken the liberty of making the journey much easier for their customers. Using high-speed rotary cutting heads and one of their easy-to-use rotary tools, engraving wood has never been easier. There are many different engraving cutters available in different shaper and sizes, so you can customize your work even further. So find a nice pattern and a worthy piece of wood, and let's get started!
Step 1
Transfer the pattern that you would like to engrave into the wood onto the wood with carbon paper and a pencil.
Video of the Day
Step 2
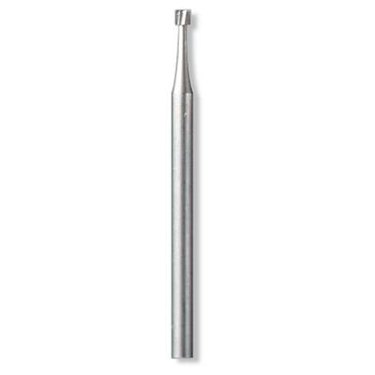
Loosen the collet of the Dremel tool and place the desired engraving accessory into the collett. Tighten the collet with the wrench.
Step 3
Plug the tool into a power supply and turn the tool on to the ideal engraving speed (6,8, or 10 depending on wood hardness and the engraving cutter used; refer to the Speed Settings page in the owner's manual that came with your tool, or download a copy using the link below).
Step 4
Follow the traced pattern on the wood to complete the engraving. Change cutting heads to create different details in the wood as you go.
Step 5
Wipe the dust off of the tool when you are finished using it. Use a vacuum to clean the saw dust up.
Video of the Day