Things You'll Need
Carpenter's level
Stud finder
Drill and drilling bits
Winged drywall anchors
Hammer or mallet
1-1/2-inch wood screws
Screwdriver
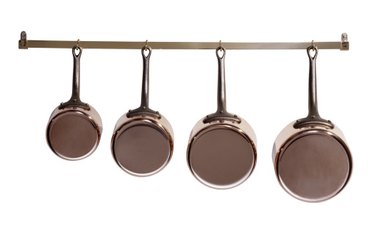
Kitchen organizing tools such as hanging pot racks are indispensable for storing cooking implements, especially in a small kitchen. Wall-mounted pot racks are available in a wide variety of styles, features and finishes. They typically include either movable or fixed-position hooks and are predrilled for installation on a wall. Because the pot rack may be expected to support several heavy pots and pans, it must be securely attached to the wall studs whenever possible. If it is not possible to mount the rack onto wall studs, you will need winged drywall anchors to securely install the pot rack.
Step 1
Test-fit the pot rack on the wall where you want to install it. Pass the tip of a pencil through the screw holes on the rack to faintly mark their positions on the wall. Remove the rack. Use a stud finder to locate the wall studs nearest to the screw hole marks. If possible, plan to hang the rack so it will be securely attached to the wall studs.
Video of the Day
Step 2
Position the rack on the wall where you have decided to install it. Use a carpenter's level to make sure the rack is level. Mark the positions of the screw holes on the wall. Erase previous marks if they are not in the same positions as the new marks. Drill a pilot hole through each screw hole mark. Make sure the diameter of the drill bit is smaller than the threaded shanks of the wood screws. If you feel resistance from a wall stud as you are drilling, then you won't need a wall anchor to attach the pot rack in that pilot hole.
Step 3
Draw a small circle around each pilot hole that is located in a hollow portion of the wall. Use a drill bit just large enough to bore a hole through which the folded wings of the wall anchors will pass, and enlarge the pilot holes in the hollow portions of the wall. Collapse the wall anchors by pinching the wings together. Push one anchor into each enlarged hole in the wall. Gently tap the anchors so they are flush with the wall.
Step 4
Reposition the pot rack on the wall, aligning the screw holes in the rack with the pilot holes or wall anchors. Pass the tips of the wood screws through the mounting holes in the rack and into the pilot holes or anchors. Tighten the screws with a screwdriver.
Video of the Day