Things You'll Need
Felted wool sweater
Measuring tape or ruler
Straight pins
Scissors
Large needle with large eye
Wool yarn
Two 1 1/2-inch buttons with large holes

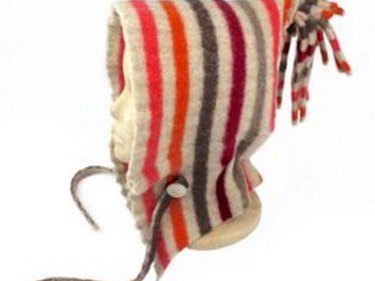
Upcycling wool sweaters into felted wool hats creates warm, practical, and stylish accessories for the entire family. This environmentally friendly felted wool hat is easy to make and requires no specials tools. Many colors, sizes and styles can be created with slight variations to the instructions.
How To Make a Felt Hat
Step 1
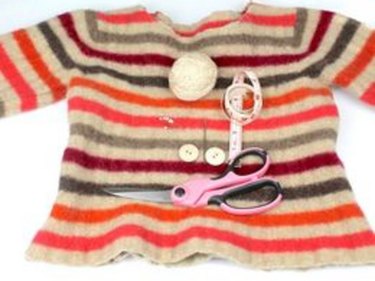
These simple tools are needed to create this felt hat: a measuring tape or ruler, pins, scissors and a needle. Materials used to make the hat are the torso portion of a felted wool sweater, wool yarn and two large buttons.
Video of the Day
Please see the last slide for an itemized list of materials.
Step 2
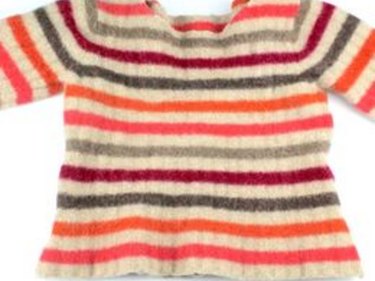
Choose a felted wool sweater with a bottom edge wider than its waist. Note that the bottom edge becomes the brim of the hat so beware of worn edges.
Step 3
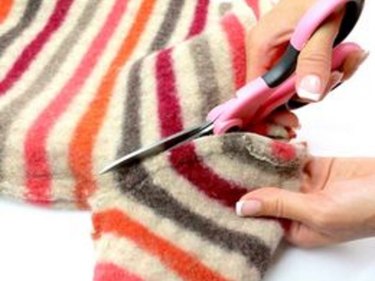
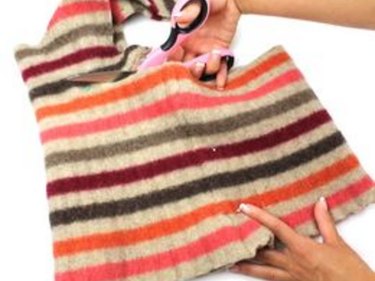
In order to more easily work with the torso portion of the sweater, turn the sweater inside out and remove the sleeves by cutting inside the armhole seam.
Step 4

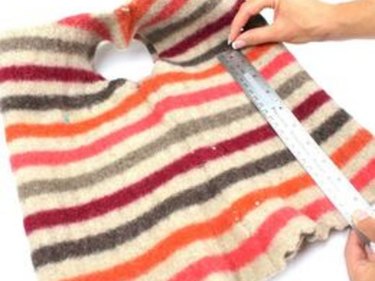
Measure head size and adjust instructions as needed. The instructions given are for the most common women's head size (circumference 22 inches). To adjust the size, increase or decrease measurements proportionally in reference to head circumference.
Step 5
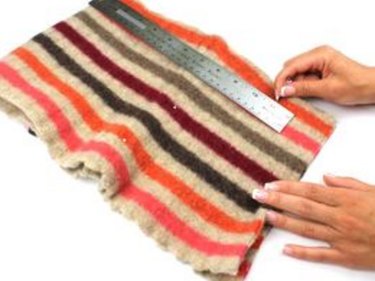
Turn the torso section right-side out. Match the side seams in the middle and pin them together. Measure 9 1/2 inches from the bottom edge of the sweater and pin horizontally through both layers from one side to the other.
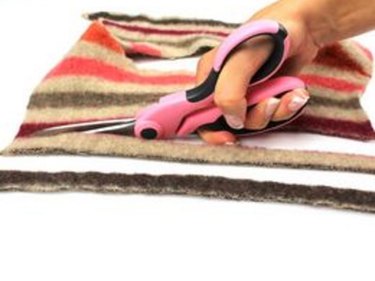
Step 6
Cut the felt horizontally along the pins and vertically at the right fold line.
Step 7
Rotate the felt about ninety degrees so the remaining fold is at the top. This fold will be the top center of the hat. Starting at the fold, measure 11 inches down on the right side, 12 1/2 inches down from the midpoint, and 14 inches down from the left side. Mark each point with a pin.
Step 8
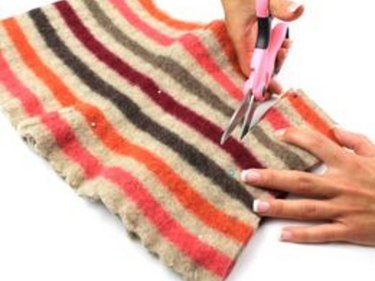
Cut through both layers of fabric from the right to the left, creating the curved lower neck edge of the hat. Use the pins as a guide.
Step 9
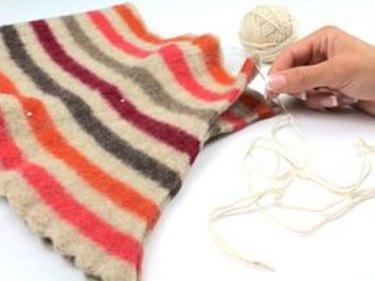
Thread the needle with about 30 inches of yarn, double it, and tie a single knot using both ends.
Step 10
Using a whip stitch, join the two layers of fabric on the right side of the fold starting at the bottom and sewing upward. This will create the center back hat seam. Stop the seam about two inches from the fold, leaving a 2-inch hole. Knot the yarn on the inside.
Step 11
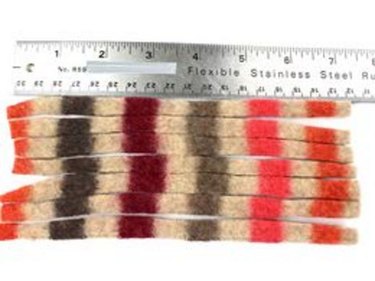
From the remaining portions of the sweater, cut approximately 21 strips of felt 1/2 inch wide each; seven strips 7 inches long, seven strips about 5 inches long, and seven strips about 3 inches long.
Step 12
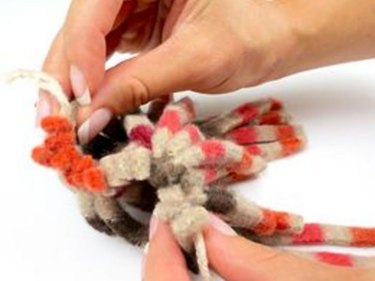
Thread the needle with about 24 inches of doubled yarn, knotting both strands together. Insert the needle 1/2 inch from the end of each strip, starting with the longest, and pull them tight to the knot. Finish with the shortest strip and tie another knot to secure.
Step 13
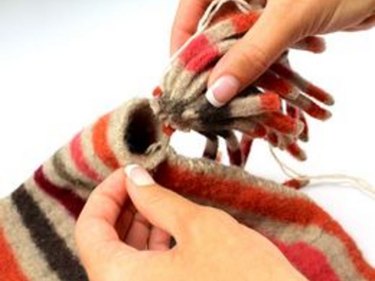
To create the tassel, roll or fold the strips together, sewing in place as needed. Insert the tassel into the 2-inch opening.
Step 14
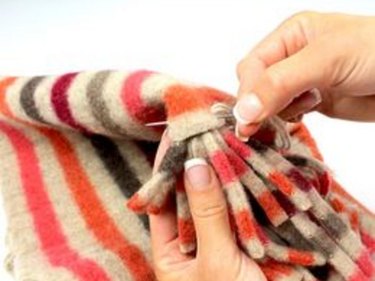
With the tassel perpendicular to the back seam, sew through the hat and tassel several times, securing the tassel in place. Finish with yarn to the inside and knot securely.
Step 15
Make ties by cutting two, 12-inch felt strips (5/8 inch wide each) from the remaining portion of the sweater.
Step 16
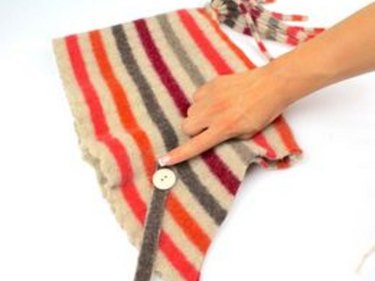
Try the hat on and decide where to place the ties. The ties are decorative as well as functional and should be placed where they comfortably hold the hat on the head. Generally the placement is even with the bottom edge of the back center neckline (with the hat flattened) and about 3 inches inside the front edge of the hat.
Step 17
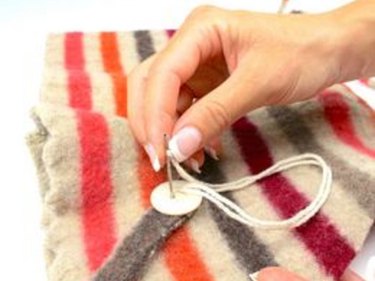
Starting from the inside, sew the ties and buttons to each side of the hat. Knot the yarn on the inside.
Step 18
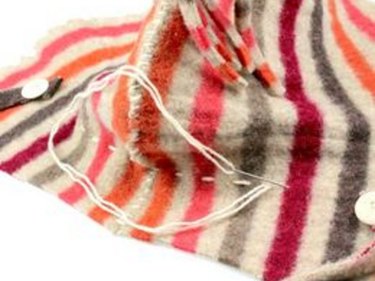
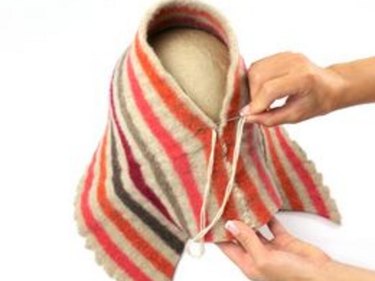
Measure a 10-inch line, two inches from, and parallel to, the bottom edge of the hat with the back seam in the center. With 24 inches of yarn (doubled), sew a simple straight stitch (about 1/2-inch stitches) along the line.
Step 19
Pull the thread and gather the fabric of the neckline to fit. The total seam length should be about 5 inches. Knot the thread securely on the inside. Tie the ties together under the chin for warmth or leave ties loose for a relaxed look.
Tip
Steps 5, 7, 18, and 19 may be decreased and increased as needed to adjust the hat size for children and men. The density of the wool has an effect upon the final fit. Denser wool has less ability to stretch. The denser/thicker/heavier the wool, the larger the measurements in steps 6 and 8. Check wool edges for fraying. If the fibers stay together when rubbed it's properly felted and won't fray. Choose buttons with large holes to ensure that the large needle fits through the holes.
Video of the Day