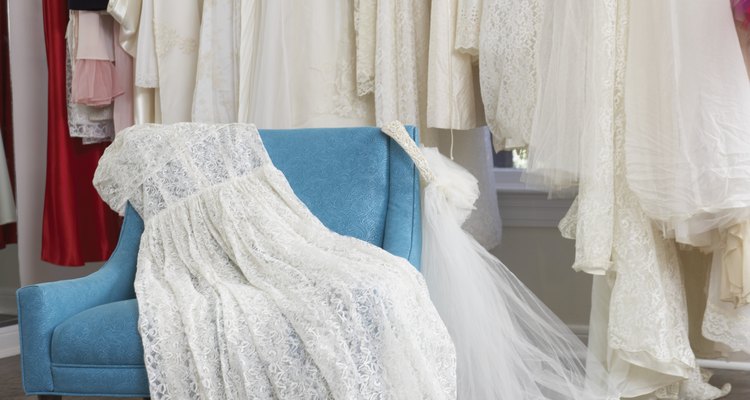
Jack Hollingsworth/Digital Vision/Getty Images
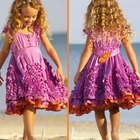
Look in the closet of any mother and you are bound to find two dresses: her wedding gown and her child's christening gown. What if they were one and the same? A christening gown often becomes a family heirloom and gains even more meaning when made from the wedding gown of the baby's mother or grandmother. Here's how to create a beautiful christening gown, worthy of being worn for generations, out of a wedding dress.
Carefully take apart the fabric of the wedding dress using a seam ripper and scissors. Be careful to keep fabric swaths as large as possible until it comes time to cut the pattern. Detach lace and beaded trim separately and hold aside as decorative touches for the christening gown.
Iron all fabric pieces and set aside. Using your measuring tape, calculate the amount of fabric you have and make sure you have as much as the pattern calls for.
Lay the pattern pieces out on the fabric. Pin the pieces to the fabric using straight pins, then cut the fabric according to the pieces with sharp sewing scissors.
Sew the fabric pieces together using your sewing machine according to the pattern instructions.
Use the lace and beading from your wedding dress as decorative finishes on the christening gown. Trim the hem, sleeves and neckline with lace, for example, or attach a piece of beaded silk to the bodice. This delicate work is often best accomplished by hand sewing rather than using a machine.
If you are not experienced with sewing, a capable local seamstress can make short work of such a project. Ask friends or your local craft store for recommendations.
Related Articles

How to Hem a Sequin Dress
Wedding Dresses of the 1920s, 1930s & ...

Bridal Bouquet Etiquette: Who Pays?

How to Make a Wedding Shawl
How to Make a Bridal Cape for a Wedding ...

What Is Silk Chiffon?

Funny 60th Birthday Ideas

How to Crochet a Wedding Veil
Difference Between Bodice and Corset

What Do Chinese Women Wear?
How to Attach Feather Boas
How to Make a Twirly Skirt

How to Fix a Wedding Dress That Is Too ...

How to Make Irish Dancing Costumes

Formal Wear for a Black Tie Affair for ...
What Is the Difference Between a ...

How to Cook Tender Rolled Flank Steaks ...

How to Fix a Low Neckline on a Wedding ...
Mom to Daughter Special Wedding Gifts

How to Lengthen Dress Coat Sleeves
References
Writer Bio
Writer and photographer Caroline Goddard tells stories in multiple mediums. Based in Phoenix, AZ, her frequent travels allow for a broader perspective on her subjects. She has a Bachelor's degree in business and has run her copywriting and photography studio since 2005, where she writes for such publications as Eat Fresh Arizona and SheKnows.com.
Photo Credits
Jack Hollingsworth/Digital Vision/Getty Images