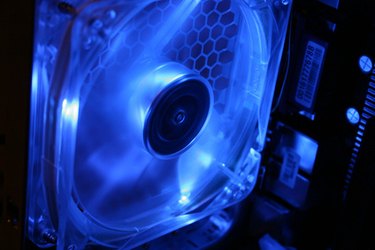
Computer manufacturers install fans into your PC for two primary reasons. The first is to provide directed cooling onto individual components such as a CPU, or GPU. The second reason is to provide generalized air movement throughout the case, lowering the overall temperature of your PC and discouraging dust settlement upon internal components. Each fan in use though creates a drain on the PC's power supply as well as increasing system noise. To reduce power usage or PC noise you can disable individual fans in your system, either through the system setup menu, known as the system BIOS, or by physically removing the power leads for the chosen fans from the power supplied by your system.
Step 1
Turn on your computer, and then press the key indicated by your computer during boot-up to access the system BIOS as the computer flashes through the post screen. The post screen is the screen listing the computer type, CPU speed, and system RAM.
Video of the Day
Step 2
Navigate through the BIOS menus using the arrow keys to select the system monitor menu.
Step 3
Highlight the fan status for the fan you wish to disable from the fans listed in the menu. Alter the status using the "+" and "-" keys until it reads "Disabled". Save the change and exit BIOS by pressing the "F12" key.
Step 4
Turn off the PC and remove the power plug from the power supply at the rear in order to disable a fan not accessible through the BIOS, such as a case fan, by physically unplugging it from the power supply.
Step 5
Open the computer case by removing the screws holding the case cover in place at the rear of the case. Slide the cover back from the case front and off the case cover.
Step 6
Trace the fan's power supply cord from the body of the fan until it connects with a cord leading directly from the power supply or to a plug in the motherboard.
Step 7
Unplug the fan from the motherboard or the power supply to disable it.
Video of the Day