Things You'll Need
Thick yarn in black or tan
Scissors
2-by-4 wood, 12 inches long
Staple gun with staples
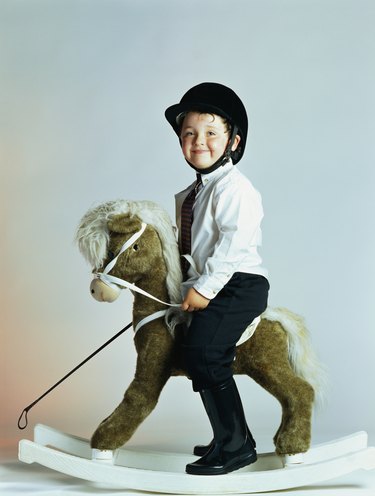
Rocking horses can be traced as far back the 17th century. Made initially to help children learn to balance before moving to real horses, rocking horses had incredible details such as leather saddles, glass eyes and real horsehair manes and tails. Today, completing a rocking horse with a mane and tail is still an essential step for a finished look. While you can purchase real horse hair, a soft yarn lasts longer while still offering a touch of realism.
Step 1
Hold the two-by-four in your left hand. Find the tail of the yarn and hold the tail with your left thumb on the piece of wood. Line the end of the yarn with the end of the wood.
Video of the Day
Step 2
Wrap the yarn around the wood lengthwise loosely until you have wrapped the yarn at least 50 times. Cut the yarn.
Step 3
Grab the yarn, wrapped around the wood, on one of the shorter sides of the wood.
Step 4
Cut the yarn. This gives you at least 50 strands of yarn 26 inches long. You can tie a piece in the middle and attach the strands at this point to the backside of the horse, or tie a piece around one end and make a longer tail. Staple the yarn to the back side of the horse in bundles of 10 to 15 strands each, using a staple gun with upholstery-weight staples.
Step 5
Repeat the process of wrapping the yarn and cut another bundle of at least 50 strands. Fold the strands in half and cut at the midpoint to give you at least 100 strands that are about 7 inches long each.
Step 6
Staple small bundles of about seven to 10 strands along the back of the horse's head beginning at the base of the neck. Staple in the middle of the strands for a mane just over 3 inches long, or staple at the ends for a longer mane.
Warning
Use caution when operating a staple gun.
Video of the Day