Things You'll Need
Round container
Pencil or push pin
Wax paper
Tape
Blanket
Pinhole cameras are a great craft to use in science class when you are ready to teach children about light, and how the eye works. The tiny pinhole is the same as your eye's pupil, and your retina works to screen the picture. When you look through the pinhole camera you will notice that the pictures are upside down. According to Kidipede, this is how your eye really sees them. Your brain works to flip the images so that you can view them as they really are.
Step 1
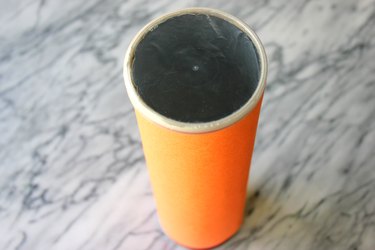
Find a round container to make your pinhole camera out of. The best containers are the ones oatmeal or potato chips come in.
Video of the Day
Step 2
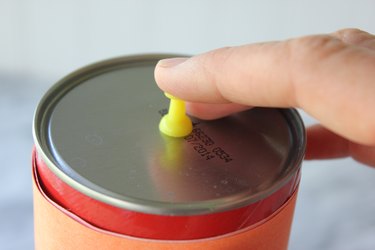
Push the tip of a pencil through the bottom of the round container to create a pinhole. If the bottom is too hard, you may need to use a push pin to create a pinhole.
Step 3

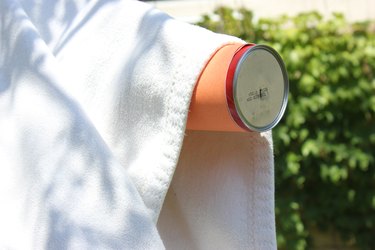
Tear off a piece of wax paper to fit over the top end of the round container. Secure it in place with a piece of tape. If the round container came with a clear lid, you can just snap the lid on instead of using the wax paper.
Step 4
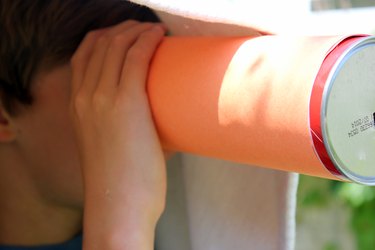
Drape a blanket over the camera and your head. Slide out the pinhole end of the camera, but keep the rest of the camera under the blanket.
Step 5
Look through the wax paper or clear plastic lid at different objects. You will notice that the objects are backwards, and upside down.
Tip
You could also use a rubber band to hold the wax paper in place if you do not have any tape.
Warning
Make sure your container is clean before you use it. You don't want oats or tiny pieces of potato chips to obstruct your view.
Video of the Day