
Camcorders or tape decks that play 8mm tapes are becoming scarce. While most video tapes are estimated to last up to 30 years, no one knows for sure how long they’ll last. A lot depends on where and how they are stored. Converting 8mm tapes into a digital format ensures that your footage can be backed up to current media like DVDs or hard drives time and time again, without suffering any degradation. It’s important to convert older video formats to newer formats, as the ability to play back older, proprietary formats can disappear.
Step 1
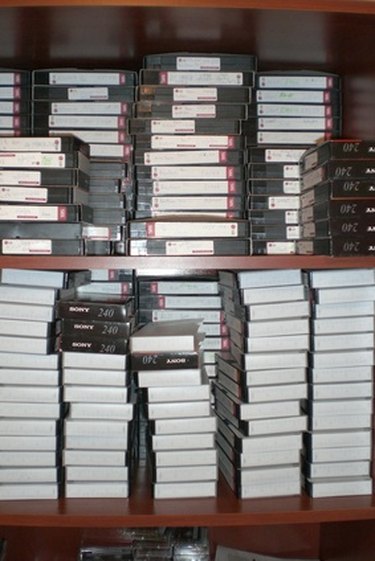
Organize your 8mm tapes and decide which digital format you will use. For example, this could be DVD or DV video stored on a computer hard drive. Use a high-quality video format, since you can always convert high quality video into other formats later.
Video of the Day
Step 2
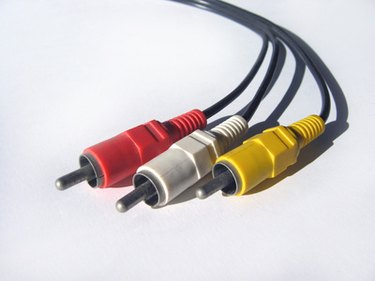
Connect your 8mm camcorder or playback deck to a digital camcorder or digital conversion box using RCA cables (sometimes referred to as dubbing cables). Some tape camcorders may require a proprietary cable, but the end that connects to the digital camcorder will still look like standard RCA cables.
Step 3
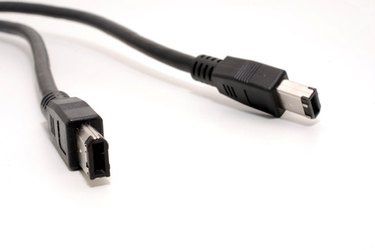
Attach the digital camcorder or analog-to-digital converter box to a computer with a Firewire or USB 2 cable. If your computer has both, always choose Firewire over USB 2 when working with video. Most digital Mini-DV or HDV camcorders utilize Firewire connections.
Step 4
Start up your video capture software and choose to import new footage from the camcorder. Microsoft Movie Maker is free software that comes with most Windows computers and has the ability to capture video. If you are on a Mac, you can use the free iMovie software. Press play on your 8mm camera or tape deck and the video will “pass through” the digital camcorder or converter box to your computer.
Step 5
Save your newly converted video footage to your computer and back up to external hard drives or DVDs often. Remember, hard drives can fail. You don't want to lose your valuable video footage.
Video of the Day