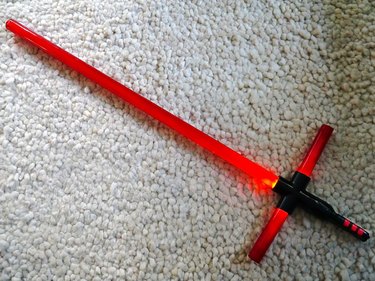
Join the Dark Side with a DIY Star Wars light saber inspired by The Force Awakens. This double-blade cross-guard saber protects your hand from being sliced off by an enemy fighter, which of course, was a major problem in the past. To make this Sith-inspired light saber yourself, you'll need a few items found at the hardware store, and then you'll be on your way to defending the Empire.
Video of the Day
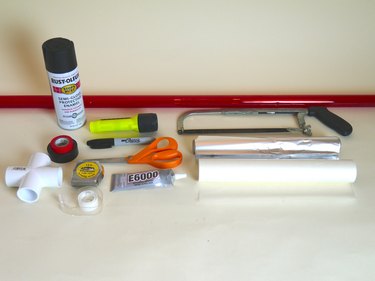
Things You'll Need
1-inch PVC cross joint (found in the sprinkler section of the hardware store)
Flashlight, size T8 (with fresh batteries)
Epoxy
Duct or electrical tape
Newspaper or kraft paper
Black spray paint
Measuring tape
Black marker
Hand saw
Medium-grit sandpaper, #335
Aluminum foil
Scissors
Clear tape
Wax paper
Red electrical tape
Tip
The supplies listed make a child-sized light saber, measuring 39 inches. Add one additional 48-inch red colored plastic sleeve to your shopping list to make a 52-inch adult-sized saber.
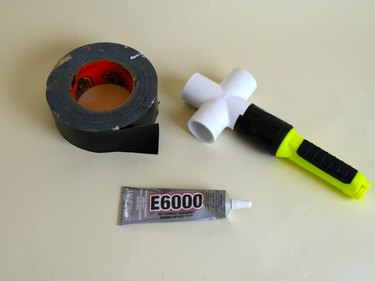
Step 1: Attach the Flashlight
Before you begin, test the flashlight and make sure it works. The outer measurement of the flashlight rim should match the outer rim size of the cross joint, measuring 1 1/2 inches. Apply a bead of epoxy to the rim of the flashlight and glue it to a rim on the cross joint. Secure the connection by wrapping with duct or electrical tape.
Video of the Day
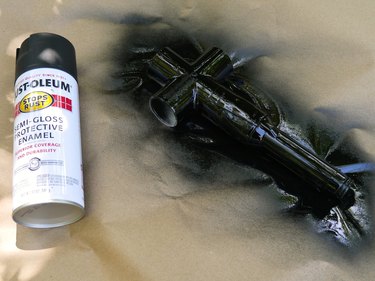
Step 2: Spray Paint the Handle
Cover an outdoor work surface with newspaper or kraft paper and place the handle unit flat on the paper. Spray a coat of black paint, completely covering one side. Don't forget to spray inside the holes of the cross joint. Allow the paint to dry for at least two hours, or until it is dry to the touch. Then, turn the unit over and spray the back. Allow it to dry overnight.
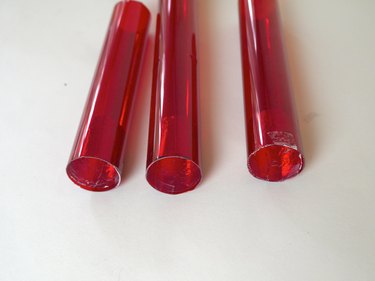
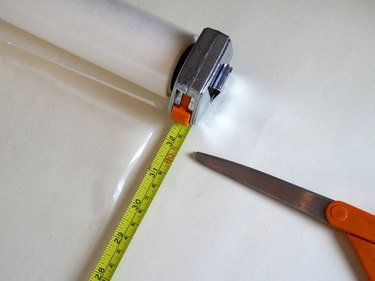
Step 3: Cut the Lamp Sleeve
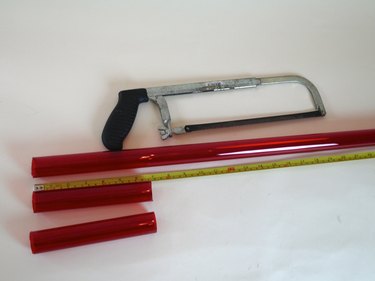
While the paint on the handle unit is drying, use a measuring tape and a marker to mark the lamp sleeve at 33 inches. Then, take the sleeve outdoors and place the long end on an elevated flat surface such as a table. Place it so the mark is off the table about 2 inches. Hold the long end of the sleeve firmly on the table and cut through the sleeve at the mark with a hand saw.
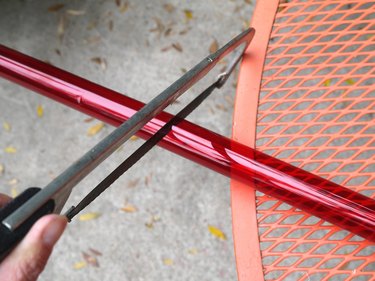
Step 4: Cut the Small Lamp Sleeve
Set the 33-inch piece of the sleeve aside and mark halfway on the remaining piece. Halfway should measure roughly 7 inches. Again, place the sleeve on an elevated flat surface and cut through the mark. You should end up with one long 33-inch piece and two shorter 7-inch pieces.
Tip
To make a longer saber for an adult, use two lamp sleeves. Set one aside for the long shaft, and cut two 8-inch pieces from the other.
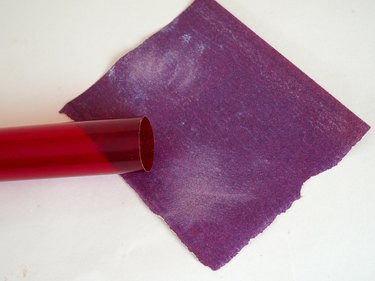
Step 5: Sand the Edges
The hand saw will leave the ends of the tubes sharp and rough. Use sandpaper to smooth the ends of the three tubes.
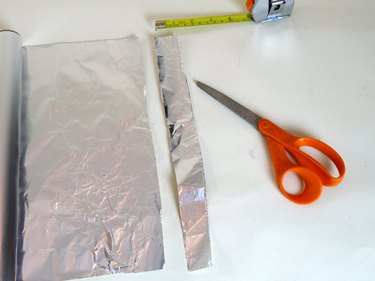
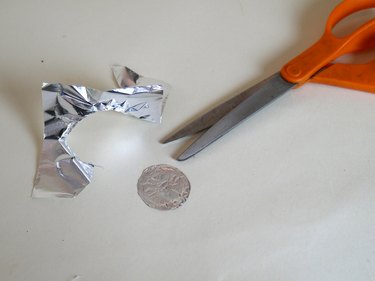
Step 6: Cut a Strip of Foil
Set the tubes aside briefly, and use scissors to cut a 1-inch wide strip of foil. Then, trim the strip into three equal parts.
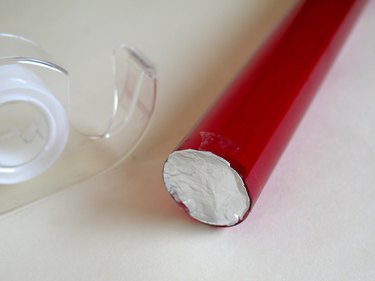
Step 7: Insert the Foil
Using foil inside the base of the tubes helps the light reflect into the tube. Take one of the three foil strips (the shiny side of the foil should be facing in and the dull side out), and pull it between two fingers so it flattens and coils up. Do this to all three strips, and then simply place each one in the ends of each of the three red tubes. Use a small piece of clear tape to fasten it to the side of the tube so it doesn't move.
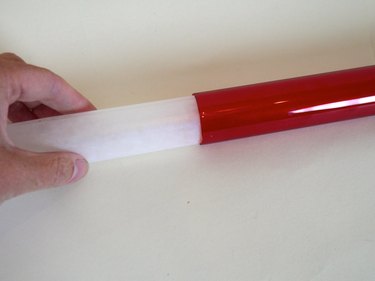
Step 8: Add a Wax Paper Lining
Add a wax paper liner to the inside of the tube to keep the light in, and the entire tube will light up. Measure the length of the tube shaft (minus the inch of foil) and cut a piece of wax paper to match this measurement. Then, fold and cut the the wax paper in half vertically.
Step 9: Insert the Wax Paper
Roll one half of the wax paper and place it in the long tube through the end opposite the foil. When the paper reaches the foil, trim the excess wax paper and tape it to the sleeve with clear tape. Use the other half of the wax paper to do this to the remaining two smaller tubes.
Step 10: Make a Foil Reflector
Adding a final piece of foil at the end of the long tube helps the light reflect back down and makes the saber glow. Place the end of the tube on top of a small piece of foil and press down so that the imprint of the tube is left on the foil. Make only one circle for the long shaft of the light saber. The smaller tubes don't require this step. Use scissors to cut out the foil circle.
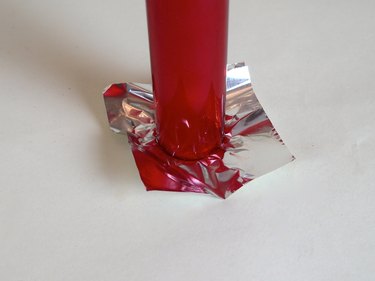
Step 11: Add the Foil Reflector to the Tube
Place the foil circle (shiny side facing in) horizontally inside the top of the tube. It should sit easily on the top of the wax paper. Use clear tape to cover the entire top of the tube to hold the foil in place and protect it from punctures. Set the tubes aside.
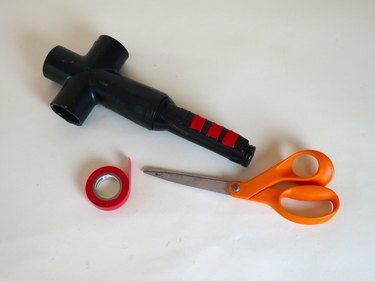
Step 12: Make Buttons on the Handle
After the handle unit has dried overnight, use small patches of red electrical tape to make decorative buttons.
Step 13: Assemble the Light Saber
Finally, install the tubes into the handle unit. They should fit snugly inside the cross joint.
Tip
The tubes in the handle will be too small to fit in the first chamber of the cross joint. They need to be pushed into the middle. However, if you push them too far, they will block the light. Practice installing the tubes so their ends reach the middle of the chamber without blocking it.

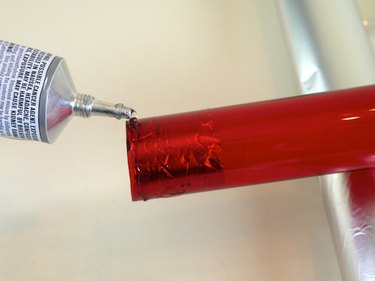
Step 14: Secure the Tubes
After you have the hang of where the tubes should fit, add a small bead of epoxy to the foil-ring end of the tubes and return them to the chamber in the cross joint.
Step 15: Let the Light Saber Dry
Allow the light saber to sit undisturbed for two hours. After that, light it up and go use it to fight the rebel forces!
