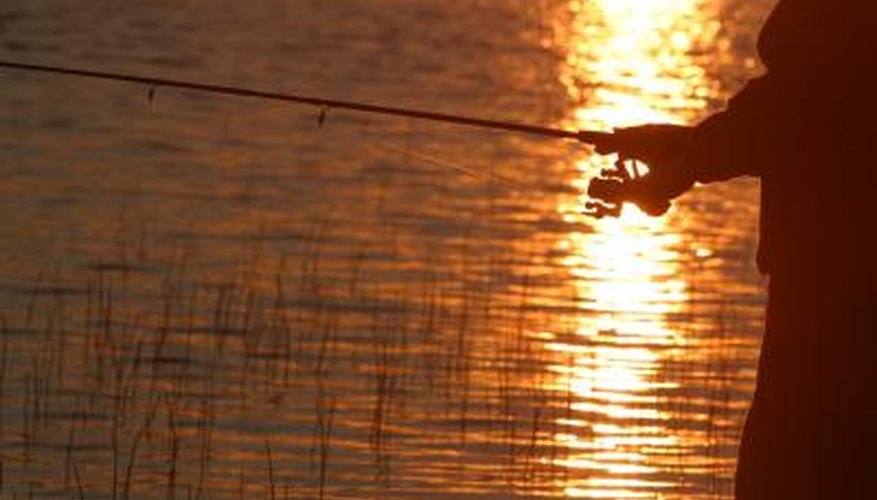


A fishing line is only as strong as the knot that holds your hook to it. The wrong knot can lead to a trophy fish swimming off with your lure and your pride. Spiderline makes both monofilament (one stranded line) and braided fishing line. Some of Spiderline's monofilaments are smaller in diameter than other brands of the same test (amount of weight the line can hold without breaking). A few knots are recommended by the customer service at Spiderline.
Palomar Knot
The Palomar knot is recommended for Spiderwire UltraCast and Spiderwire Stealth lines. Spiderwire customer service also recommends this knot for Spiderwire Super Mono EZ and XXX if it is over 17 lb test. The Palomar knot is generally known to be strong and reliable. It is fairly simple to learn and "is a knot which can be tied in the dark," according to animatedknots.com. The only drawback with this knot is that the lure must be passed through the loop in the line, which can be awkward or difficult if your lure is very large. If you don't make the loop large enough, you will have to start over.
Trilene Knot
Spiderwire recommends the Trilene knot for Spiderwire Super Mono EZ and XXX that is less than 17 lb. test. The Trilene knot is a strong, reliable knot that is most suited for joining fishing line to hooks and lures. A double-wrap of line through the eye of the hook adds strength and helps retain the line strength. When you trim the end of the line after tying this knot, leave around 1/8 inch of line to make sure the line doesn't pull out of the knot.
Arbor Knot
Use the arbor knot to attach the line to the fishing reel, or "arbor." Braided Spiderline has been known to slip on the reel, so wrapping the line twice around the reel before tying the knot can help, as can putting on several feet of monofilament, then tying the Spiderline to the monofilament. This is a simple knot that is essential to know for tying your line to your reel securely.
References
- Spiderwire Customer Service
- Line Guide
Writer Bio
A freelancer from South Dakota, Maria Tussing has been writing since 2000. She has been published in "Family Fish & Game," "Wondertime," "Today's Horse" and "Cattle Business Weekly," among other publications. Tussing holds a Bachelor of Science in journalism from Chadron State College.