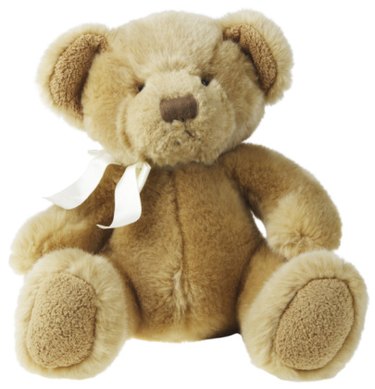
Handmade stuffed teddy bears make great gifts for a birthday or a baby shower. While there are handcrafted, collectible bears made of imported cashmere, a simple approach works best for a first-time project. By sticking to common, inexpensive materials and a basic pattern you can craft a cuddly bear for your favorite child. A basic familiarity with sewing and sewing terms is necessary to make a stuffed teddy bear.
Fabric
Video of the Day
Teddy bears can be made of any type of fabric, including denim or other cotton fabrics. To create a furry-looking bear, choose a washable, medium length plush felt, fur or fleece fabric. Synthetics such as polyester will not shrink or wrinkle, and stand up well to a lot of play and love.
Video of the Day
Pattern
Choose a simple teddy bear pattern for your first attempt. Avoid a pattern with a lot of small pieces or detailed sewing such as numerous darts. Sophisticated teddy bear makers use small metal or hardboard disks for joint movement. This is not necessary for a first-time bear. Stick to medium-size bears. Small bears, under 6 inches tall, will be difficult to sew and stuff. Choose a pattern for a 10 to 16 inch bear.
Stuffing
At one time excelsior, or wood wool made from log shavings, was standard stuffing for teddy bears. Collectible handmade bears are sometimes stuffed with plastic or glass pellets to make them easier to pose. For a first bear, use the standard, easy-to-find polyester fiberfill. This can be found at most craft and sewing stores. You can also use leftover batting from a quilt project, or recycled stuffing from an old quilt or pillow.
Create the Bear
Cut the pattern pieces out of the fabric. If using fur or plush, place the pattern on the back, non-furry side and be careful not to cut the fur itself, only the backing. Sew the pieces together in the order the pattern recommends. Use a sewing machine for tighter stitches, although you can sew by hand. Small parts, like ears, may need to be sewn on by hand. You need to attach safety eyes before the bear is stuffed. These consist of a stem and washer that secure the eyes to the body, and can be found in craft supply stores. Leave an opening in the back seam and begin stuffing the head and legs first. Hand stitch the bear closed when done.
Finishing Details
Experts do not recommend the traditional buttons for the eyes and nose on a bear for young children.You can embroider eyes, if you did not choose safety eyes, after the bear is stuffed. Embroider the nose and mouth as well, or hand sew felt cut-outs. Other details may include a ribbon or scarf around the neck, or a purchased or handmade hat. You can clothe your bear by sewing a simple vest or dress from a doll clothing pattern.