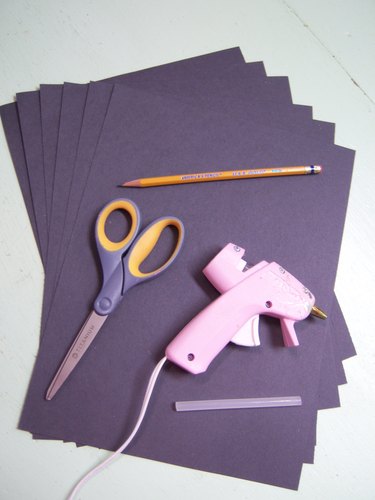
Things You'll Need
Black construction paper, 6 pieces
Scissors
Hot glue gun with hot glue
Glue stick
Pencil
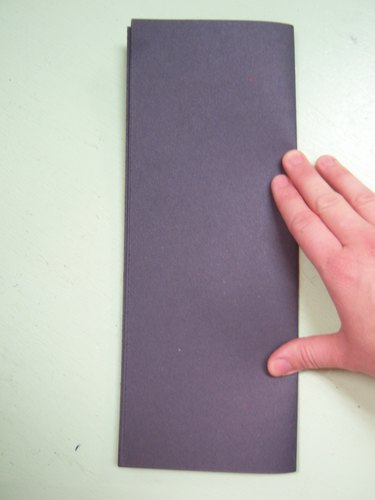
Step 1
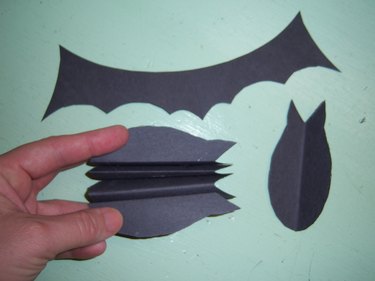
Fold five pieces of black construction paper in half vertically and stack them neatly. Try to keep them together as you fold them, but if they become a little uneven at the edges, that's OK: It will not hinder the design.
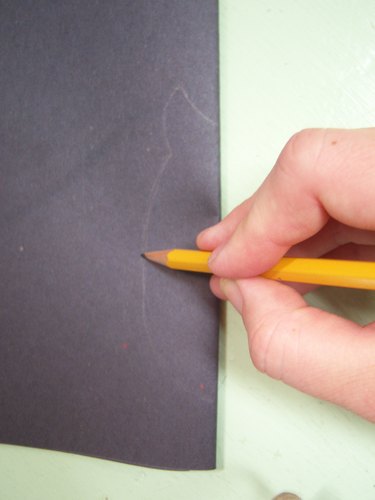
Step 2
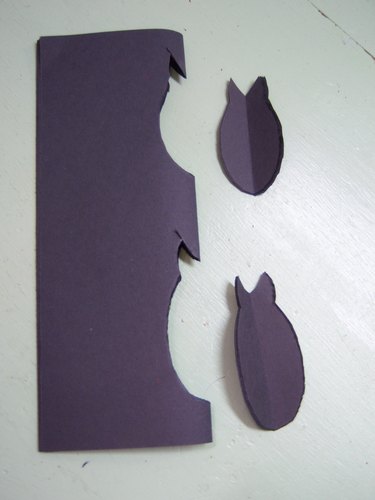
Use the pencil and draw two half bat body outlines, with no wings, on the top sheet of construction paper along the creased side. After you cut it, it will make the bat form, so make sure you cut it exactly as you want the whole bat to look.
Video of the Day
Tip
First Palette has printable bat outlines that are perfect for this project.

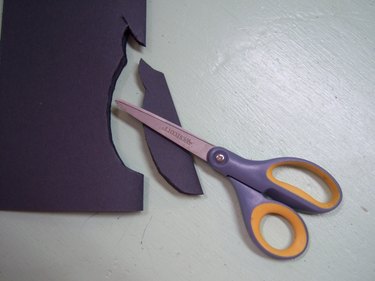
Step 3
Hold all five pieces of construction paper very tightly together and carefully cut around the bat body outlines you drew. This step will make your bat have a three-dimensional shape and add that extra special touch to your party decor.
Tip
In Step 3, you will cut out five bat bodies at a time, but if you do not feel comfortable doing it this way, cut the bat bodies out of one folded sheet at a time.
Step 4
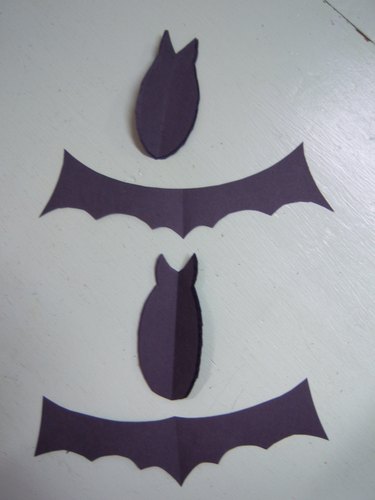
On a separate blank and uncut sheet of black construction paper, outline two pairs of bat wings by folding the paper horizontally and drawing half of the bat wing on the creased side with your pencil. Cut the wings out just as you previously cut the body.
Tip
Use the wings that printed out with the bat body template so that the wings stay proportional to the body.
Step 5
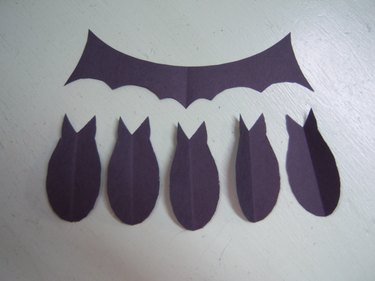
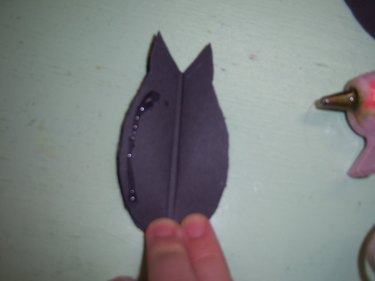
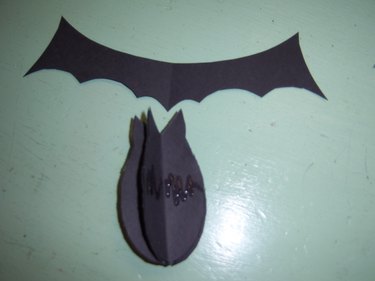
Get the hot glue gun ready and separate all of the cut bat bodies into individual bodies. Place hot glue on the far edge of the cut bat body and glue on another cut bat body with the folded sections touching, so it looks similar to a butterfly. Continue until all of the bat body sections have been glued together.
Tip
Gluing the bodies together while keeping them folded makes it easier.
Step 6
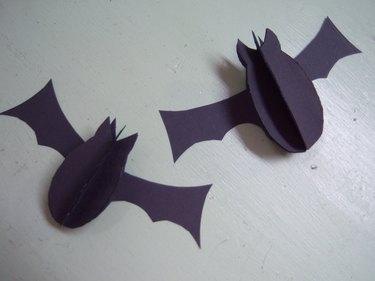
Hot glue every edge of the bat body together until you have a three-dimensional bat body. Put hot glue on the flat bad body side and attach the wings to it.
Step 7
Your finished bat can be sat on a shelf or hung from desired locations with string, ribbon, yarn or thread glued on the back of the wings.

Video of the Day